What Is The Chalk Test For Tire Pressure?

If you want to prolong the life of your tires, one of the most important things to do is to keep track of is your tire pressure. There are a lot of different ways of doing this. You can always go to a mechanic to have them check, or you can try a DIY (Do It Yourself) method. One way people have been testing tire pressure and making sure it is at the right level is through the Chalk Test. But what is the Chalk Test?
The Chalk Test is an informal test to make sure car tires are filled to the proper air pressure. This is done by repetitive rounds of filling or releasing pressure in tires and drawing chalk on them. Owners drive their vehicle in a line and check the chalk left on the tire.
Now you may be wondering, “how exactly can I perform the Chalk Test on my vehicle?” Continue reading to find detailed instruction on performing the Chalk Test and why it’s useful.
How To Perform The Chalk Test
This is a simple test which vehicle owners can perform on their vehicles to find the perfect pressure of air for their tires. Below are instructions and steps to follow to perform this test on your own vehicle.
Materials You Will Need
Before we can begin, you need to make sure you have access to these tools and materials:
- Air (to inflate your tires)
- A tire pressure gauge
- Chalk
- A pen and paper (to keep note of pressure)
- A dry, flat, large surface for testing (such as an empty parking lot)
Drive to the Testing Area
Make sure that the area you are testing on has minimal rocks, no large bumps, and no potholes. The area needs to be large enough you can drive in a straight line about 10-20 feet back and forth. The best place to do this is in an empty parking lot. If you are doing this on the street next to your house, make sure no cars are coming. You will be driving back forth several times and you won’t want to hit anything or anyone.
Fill Your Tires With Air
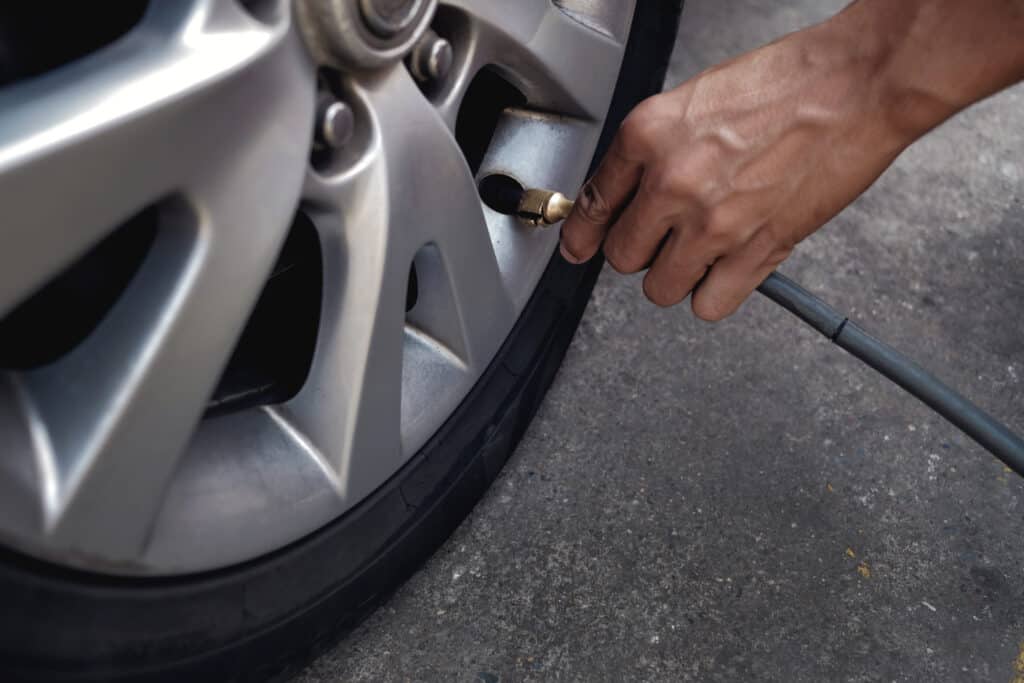
Begin by filling your tires completely full of air. Yes, this will be too much, but this is our starting point. Only inflate to the maximum level of safe inflation (the side of your tires should have this marked), since you do not want to damage your tires in the process of attempting to prolong them.

Mark Tire With Chalk
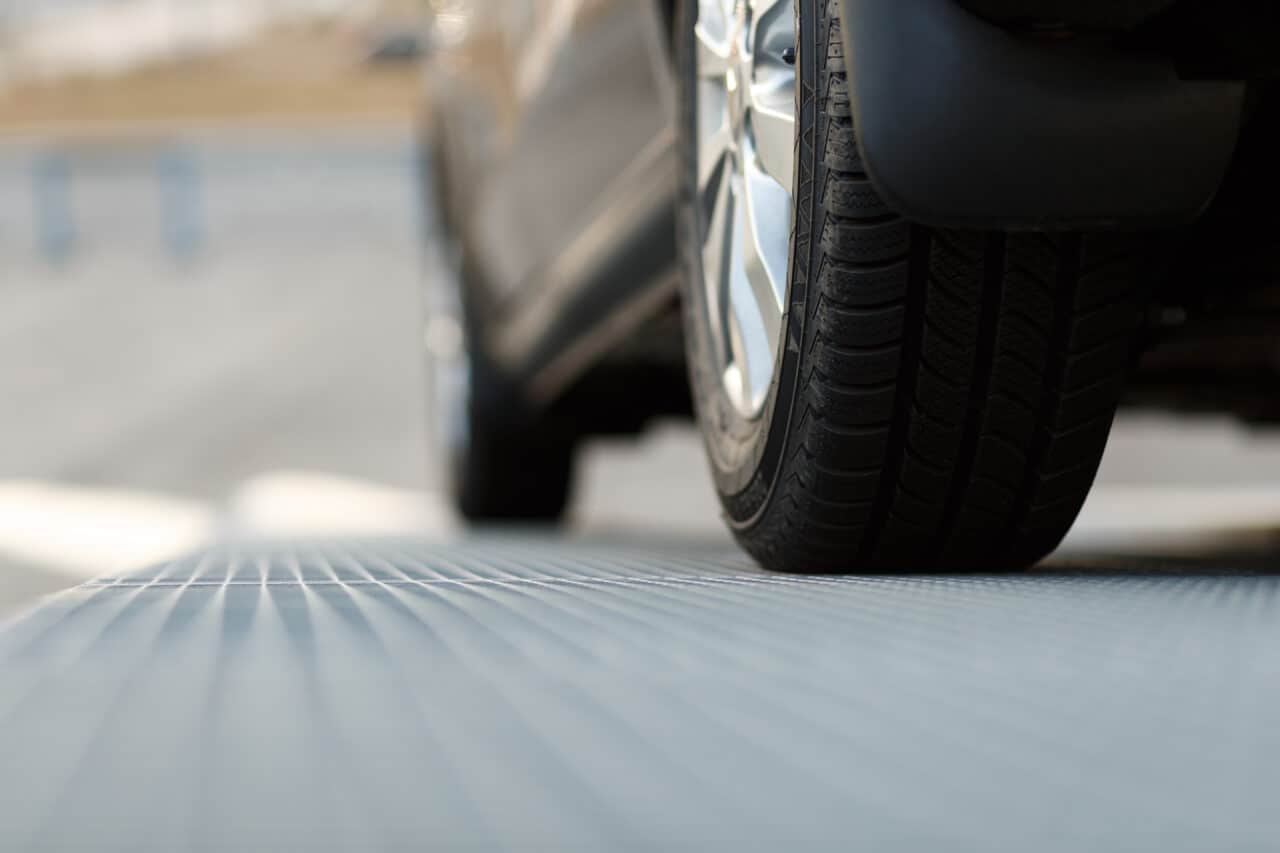
Using the chalk, fully color in a thick line across the width of the tire (the part that touches the road when driving). You should fully color in a section, making sure the line is at least 1-2 inches thick so you can properly diagnose the correct pressure. Your chalk marking should fill the entire width of the tire.
Drive The Vehicle
Now drive (or have a separate person drive) the vehicle in a straight line about the length of a vehicle. You should drive about 10-20 feet. Drive backward in a straight line to the beginning position. Making sure you are driving straight is vital to the test. If you turn or rotate your tires, this could rub off some of the chalk which normally would have stayed on. This will give you an inaccurate reading.

Examine the Remaining Chalk On Tire
Look at the tire. If there is chalk still on the edge part of the tire, you have too much air pressure in your tires. Usually, if you filled your tires to the maximum air pressure, the edge of your tire should still have chalk after driving in a straight line. Using your pressure gauge, keep note of the pressure and that there is still chalk left on the tire.
Repeat
Release about 3 lbs of pressure from your tire and begin the process again. Repeat steps “Mark Tire With Chalk” through “Examine the Remaining Chalk On Tire” until you do not see any chalk left on the tire. This means you have reached the perfect PSI (Pounds Per Square Inch) for your tires. Keep note of this PSI to reference in the future.
Note- you will have to do this for the front tires as well as the rear. This is a great test to do customize the PSI you have your tires at. Having different pressures for front and back tires will greatly increase the lifespan of your tires. You will also have to redo this test whenever you purchase different tires.
Important Note
This test is not meant to fix problems that you may be experiencing with your vehicle. If you are having concerns with your vehicle and its function, you should take it to a mechanic and have it looked at. This test is meant to give you a more personalized PSI (Pounds Per Square Inch) for your tire pressure to help you prolong the lifespan of your tires.
Video Reference
If you are having difficulty picturing how to perform this test or you have a question about how to do something, watch this short video to see a visual representation of how to perform it.
Why You Should Perform The Chalk Test On Your Vehicles
Although all car companies tell you the specific pressure to keep their tires at, if you place larger tires on your vehicle, it can be difficult to know the new pressure. Even if you still have the same tires, or the same brand of tires the dealership gave you, it may be good to check to make sure the pressure they gave you works the way you need and expect it to.
Tire pressure can greatly impact the lifespan of your tires. Improper tire pressure can cause certain tires and parts of tires to wear out faster than others. This will mean you have to purchase new tires sooner than necessary. Performing this simple test can save you money and time from needing to purchase new tires. This is a test that should be performed when you purchase a new vehicle and if/when you purchase larger tires.
This is a low-cost and effort test that can only give you good information, why wouldn’t you take advantage of it?
