How to Remove Shifter Knob Jeep Wrangler: 4 Practical Steps
The process of removing a shifter knob from a Jeep Wrangler often requires the expertise of automotive enthusiasts. To replace the stock knob with a customized alternative or address maintenance needs, you should follow the correct procedure.

Pry off the shift pattern using a flathead screwdriver. Locate the nut underneath the knob and use the proper techniques to remove it, such as the twist & pull method, blunt metal piece & mallet method, or a vice grips method.
Here, we will explain the step-by-step process of removing the shifter knob so you can either replace it or make any necessary repairs. By the end, you’ll have the confidence and knowledge needed to remove the Jeep Wrangler’s shifter knob with ease.
How to Remove Shifter Knob Jeep Wrangler: Step-By-Step Guide
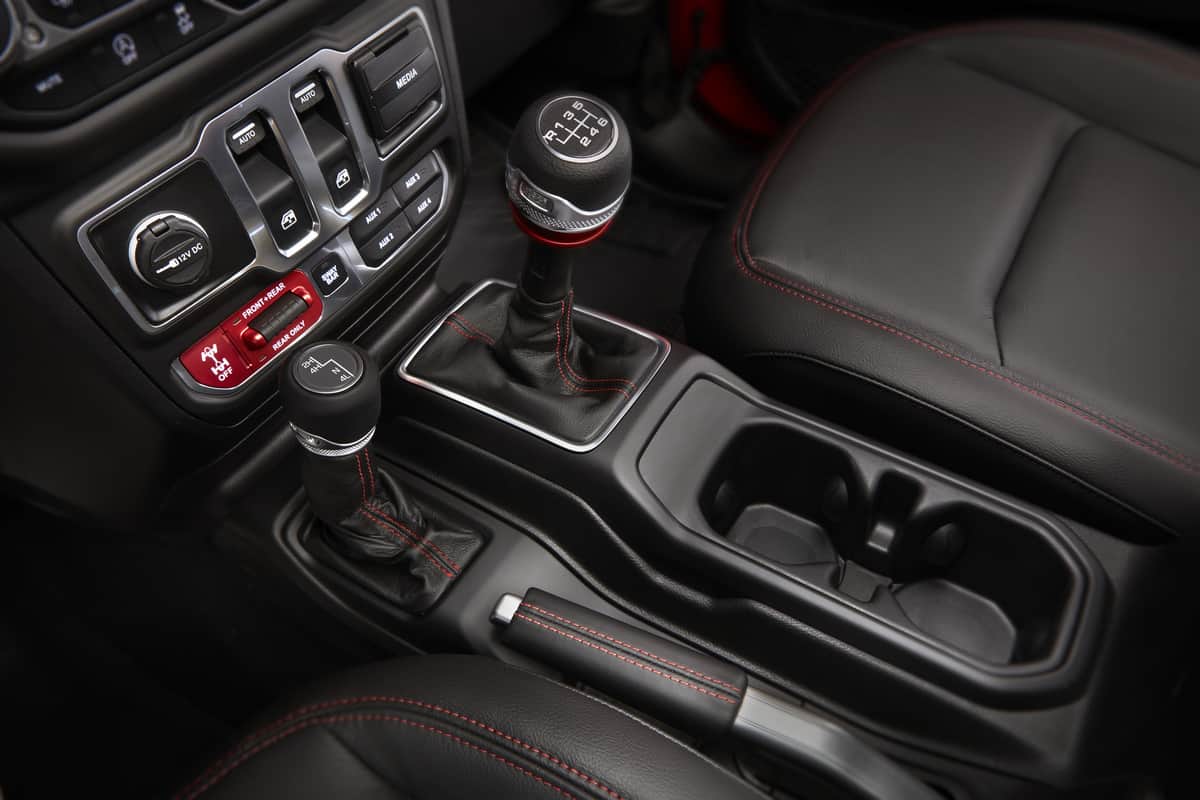
A Jeep Wrangler usually has two shifter knobs. Whether upgrading stock items or repairing them, the process is similar. Follow these steps to remove the Jeep Wrangler shifter knob.
- Prying off the shift pattern
- Locating the nut underneath
- Using techniques for removal
- Twist and pull out method
- Blunt metal piece and mallet method
- Vice grips method
- Heating method
- Ensure proper assembly or replacement
Step 01: Prying off the Shift Pattern
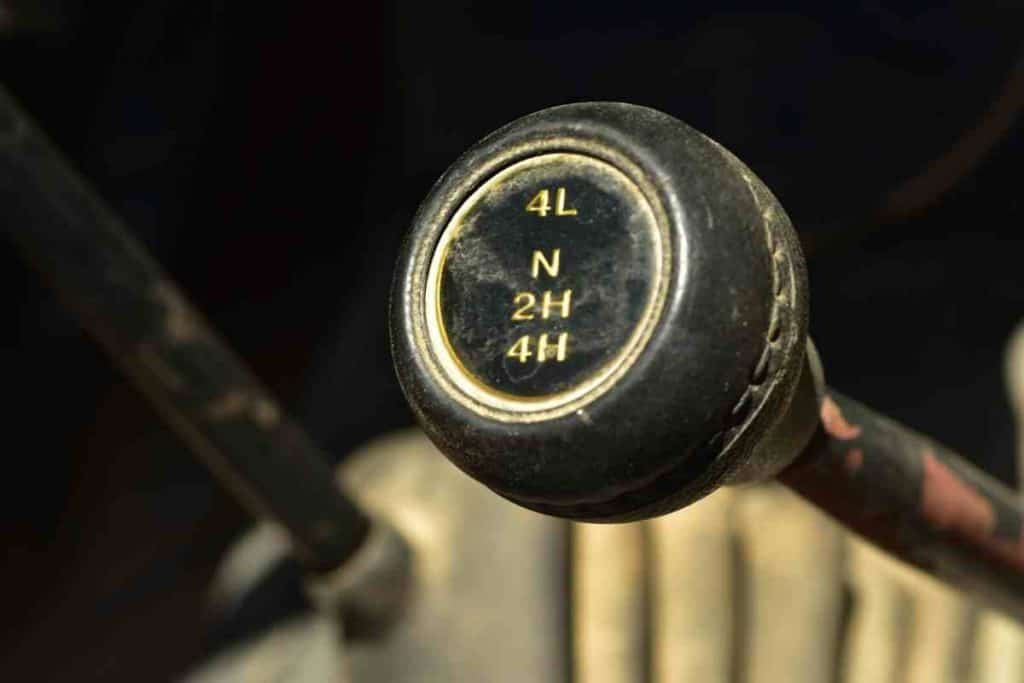
Start by prying off the shift pattern cap using a flathead screwdriver or similar tool to lift and remove it gently. The shift pattern cap is located on top of the shift knob and is usually secured in place with clips or adhesive.
Carefully insert the screwdriver under the edge of the cap and apply gentle pressure to pry it off. Be cautious not to use excessive force to avoid damaging the cap or the surrounding area.
Once the shift pattern cap is removed, you’ll have access to the nut that secures the shift knob. This nut needs to be removed to take off the shifter knob completely.
Step 02: Locating the Nut Underneath
To locate the nut underneath, you can simply slide your hand down the shift lever of your Jeep Wrangler. Feel for a small, circular metal object, which is the nut responsible for securing the shift knob onto the shift lever. It may be closer or slightly above the shift lever’s base.
Once you have located the nut, you should exercise caution while removing it to avoid damaging the shift lever or surrounding components. Using an appropriately sized wrench or pliers, grip the nut firmly and turn counterclockwise to loosen it.
Keep in mind that some shift knobs may have a lock washer or set screw holding the nut in place, so be sure to remove these before attempting to loosen the nut.
Step 03: Using Techniques for Removal
Now that the nut has been loosened, you can choose the following techniques to remove the shift knob:
Method 01: Twist and Pull Out Method
According to four-wheel automotive enthusiasts, the easiest way to remove a shift knob is by using the twist and pull-out method. Grasp the shift pattern and twist it counterclockwise to loosen it from the threads. Once it’s sufficiently loosened, firmly grip the knob with both hands.
Apply upward force while giving the knob a slight twist. This action will disengage the knob from the indexed groove on the shift lever. With consistent and controlled pulling, the knob should eventually pop off.
Method 02: Blunt Metal Piece and Mallet Method
Manage a blunt metal piece like a flat-head screwdriver and a mallet. To use this technique, you must place a sturdy metal piece against the bottom of the knob, such as a blunt piece of metal.
Then use the mallet, and deliver controlled strikes to the blunt piece, which will help break the bond between the knob and the shift lever’s groove.
Ensure the metal piece is securely positioned to prevent damage to surrounding components. This method is especially effective for overcoming resistance during removal.
Method 03: Vice Grips Method
Once the shift pattern is removed, firmly grasp the shift knob with a pair of vice grips. Adjust the vice grips for a secure hold and then, with controlled force, twist and pull upward simultaneously. The additional grip provided by the vice grips helps break the knob free from its seated position on the shift lever.
Method 04: Heating Method
Use a heat gun or hairdryer to warm the surface of the knob. The heat will soften the material, making it easier to manipulate. Be careful not to overheat or damage the knob or surrounding components. Once heated, attempt to pull or twist and pull the knob to remove it.

Step 04: Ensure Proper Assembly or Replacement
After removal of the shift knob, inspect for any damage and replace as needed. Make sure you align the shift pattern cap correctly during the reassembly or replacement process of the Jeep Wrangler shifter knob. The shift pattern cap is an important component that indicates the gear positions on your vehicle.
Also, exercise caution when tightening the nut that secures the shifter knob. Over-tightening can cause difficulties in future removal, so tighten it just enough to secure the knob in place without excessive force.
Is it bad to keep removing and replacing the shift knob?
It’s not necessarily bad, but excessive removal and replacement of the Jeep Wrangler’s shift knob can potentially damage the threads on the shifter lever over time. Using the proper tools and techniques is important to avoid stripping the threads.
Can a weighted shift knob hurt your transmission?
A weighted shift knob will not harm your Jeep Wrangler’s transmission or not activate the Jeep service shifter either. It can improve shift feel and reduce the effort needed to shift gears. However, it’s important to choose a shift knob that is compatible with your car’s thread size and weight preferences.
Remove Your Jeep Wrangler’s Shifter Knob with Ease
Removing the shifter knob on a Jeep Wrangler is a relatively simple task. As the steps outlined above, you can easily detach the knob from the shifter lever. From prying off the shift pattern to utilizing innovative techniques, we shared our knowledge to ensure success.
Whether opting for the twist and pull-out method, the blunt metal piece and mallet approach, using vice grips, or employing heat, each technique carries its uniqueness. The final emphasis on ensuring proper assembly or replacement brings a sense of completion.
