Replacing Your Brake Pads: The Essential Guide to When and How
Each time we get behind the wheel, we depend on a complex network of components that ensure our safety and comfort during the journey. Among these, brake pads play a critical role, often unnoticed until we need them most. These vital parts enable us to stop our vehicles effectively and safely. As they wear down over time, understanding when and how to replace them becomes essential for maintaining our driving safety.
Related Post! The Ultimate Car Maintenance Checklist
When And How Do I Replace My Brake Pads?
Replace your brake pads when you hear squealing noises or notice decreased braking efficiency. To change them, lift and secure the vehicle, remove the wheel, detach the caliper, swap the old pads for new ones, and reassemble. Always check the brake fluid and bed the new pads after installation.
Recognizable indicators such as the squeal of the brakes or a shudder in the pedal signal it’s time to pay attention to your vehicle’s braking system.
DIY Brake Maintenance
Maintaining optimal brake performance starts with recognizing these signs of wear. I still vividly recall the first time I replaced my brake pads; it was a task that brought a sense of pride and substantial relief. This maintenance does not always necessitate a professional mechanic—if you have the right tools and information, you can do it yourself. Performing this crucial upkeep personally not only brings peace of mind but also proves to be cost-effective in the long run.
Deep Dive into Brake Pads
Understanding the function, types, and wear indicators of brake pads is crucial for keeping your vehicle safe:
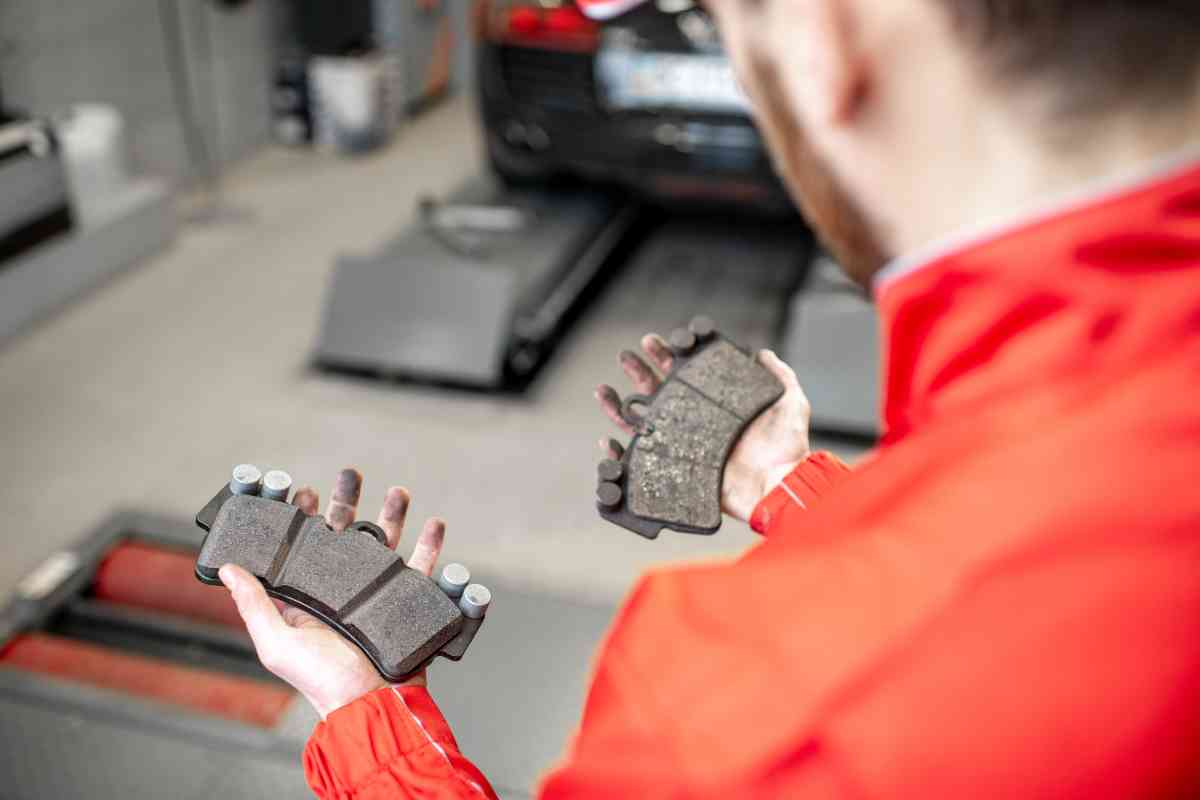
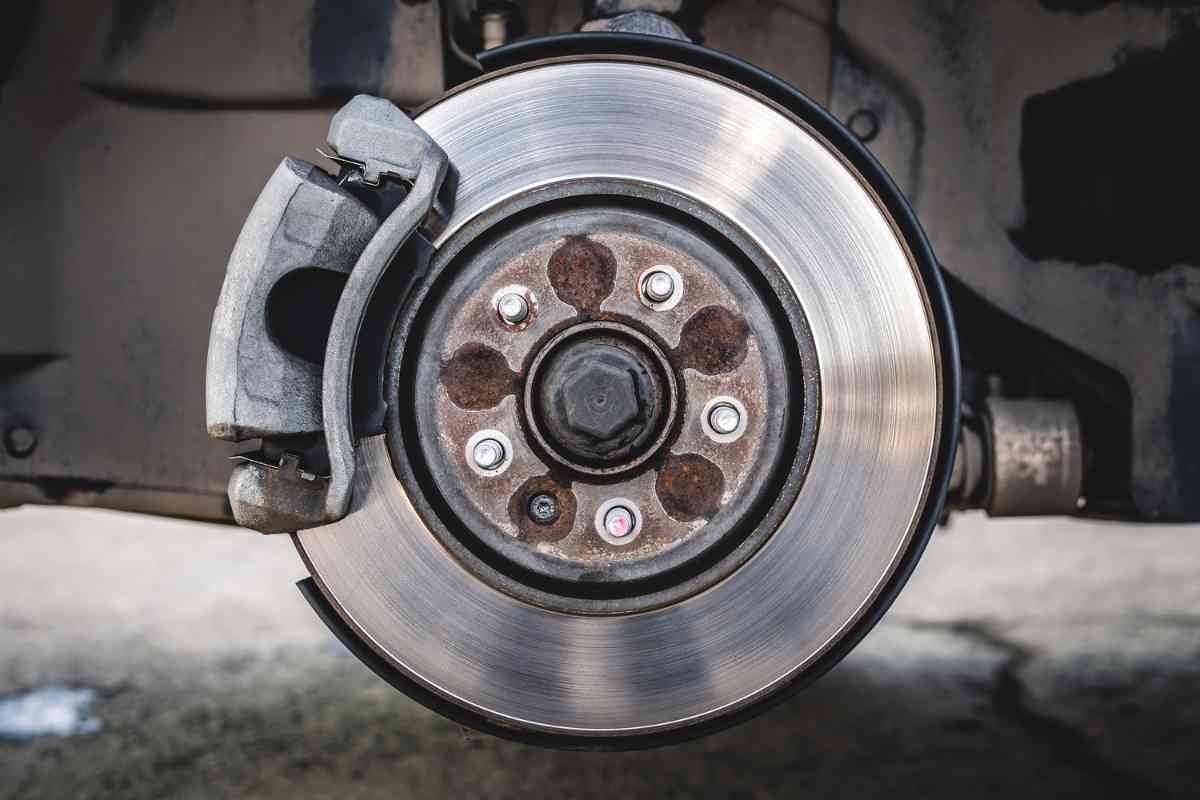
- Function and Importance: Brake pads are key in the braking system, providing the necessary friction to slow down and stop your vehicle. When you press the brake pedal, the pads engage with the rotors, reducing wheel speed. Ensuring they function properly is imperative for safe driving.
- Types of Brake Pads:
- Ceramic: Known for their quiet operation and cleanliness, ceramic pads work well across a broad temperature range.
- Semi-Metallic: These are durable and effective in heat transfer but may produce more noise.
- Non-Asbestos Organic (NAO): Made from organic materials, these pads are softer and quieter but tend to wear out quicker.
- Low-Metallic NAO: These contain more metal, enhancing heat dissipation and braking power, though they can be louder and produce more brake dust.
- Signs of Wear and Tear:
- Noise: Squealing or squeaking when braking often indicates thinning pads.
- Braking Performance: A decrease in responsiveness or a “spongy” feel in the pedal can mean the pads are wearing out.
- Visual Inspection: If the pad is less than 1/4 inch thick, replacement should be considered soon.
Related Post! Your Car Battery Maintenance Guide
Knowing When to Replace
When discussing vehicle maintenance, understanding the right time to replace your brake pads is key for ensuring safety and optimal performance. Let’s explore how you can keep your stopping power in top condition.
Mileage Guidelines
The lifespan of brake pads can range from 25,000 to 50,000 miles, but this varies depending on your driving habits and environment. For example, driving frequently in urban areas with heavy traffic may necessitate more frequent replacements.
Visual Inspections
Regular visual inspections are crucial. Generally, it’s time to replace your brake pads when their thickness is reduced to about 0.1 inch. Some pads feature wear indicators that signal the need for replacement, making it easier to identify when a change is due. Checking your brakes during routine tire rotations can prevent future complications.
Performance Indicators
Listen and feel for signs of wear. Common indicators include:
- Squealing or Screeching: These sounds typically suggest that it’s time to replace the brake pads.
- Vibration or Increased Stopping Distance: These symptoms can indicate that the brake pads are worn and require attention.
Tools and Materials
Having the right tools and materials is essential for a safe and effective brake pad replacement. Ensure all tools are in good working condition and suitable for your vehicle.
Required Tools List
- Ratchet and Socket Kit: Needed for removing caliper bolts.
- Torque Wrench: Ensures bolts are tightened according to the manufacturer’s specifications.
- Brake Pad Spreader or C-Clamp: Used to retract the brake caliper piston, making room for new pads.
- Torx / Allen Set: Necessary for vehicles that require these tools for removing the brake caliper.
- Jack and Jack Stands: For lifting and securely supporting the vehicle.
- Lug Nut Wrench: To remove and fasten the wheels.
- Brake Caliper Piston Tool: Helps in properly retracting the brake caliper piston.
Additional Helpful Items
To make the brake pad replacement smoother and more efficient, consider these extras:
- Nitrile Gloves: Protect your hands from chemicals and debris.
- Safety Glasses: Shield your eyes from brake dust and flying particles.
- Brake Cleaner: Essential for cleaning the brake components, which can enhance the performance of new pads.
- Brake Fluid: Check and adjust the brake fluid level and quality as needed.
- Shop Rags: Useful for cleaning up spills and wiping down parts during the job.
By understanding these guidelines and equipping yourself with the right tools, you can effectively manage the condition of your brake pads, ensuring your vehicle remains safe and reliable on the road.
Step-by-Step Replacement Procedure
Replacing your brake pads is a crucial safety task that requires careful preparation, the right tools, and attention to detail. Here’s a step-by-step guide to ensure you perform this maintenance task successfully and safely.
Preparing the Vehicle
- Safety First: Begin by parking your vehicle on a flat, stable surface and engage the parking brake. Place wheel chocks behind the rear tires to prevent any movement.
- Protective Gear: Before you start, make sure to wear safety goggles and protective gloves to shield yourself from brake dust and debris.
Removing the Wheel
- Loosen Lug Nuts: Slightly loosen the lug nuts on the wheel covering the brake assembly before lifting the vehicle. Do not remove them entirely at this point.
- Lift and Secure: Use a jack to lift the vehicle and then secure it safely on jack stands. Once secure, fully remove the lug nuts and take off the wheel to access the brake assembly.
Accessing the Brake Assembly
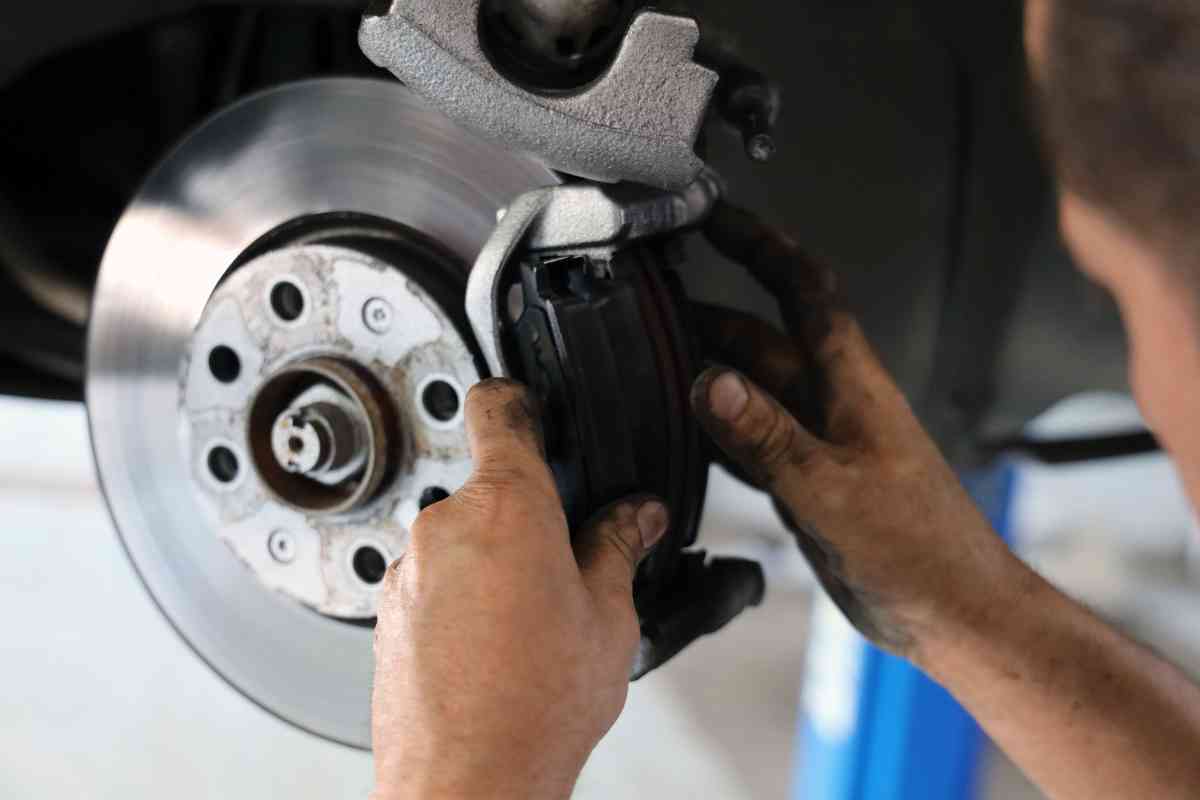
- Caliper Bolts: Depending on your vehicle, you may need to remove the caliper bolts to access the brake pads. Be sure to support the caliper with a bungee cord or wire to prevent it from hanging by the brake hose.
Replacing the Pads
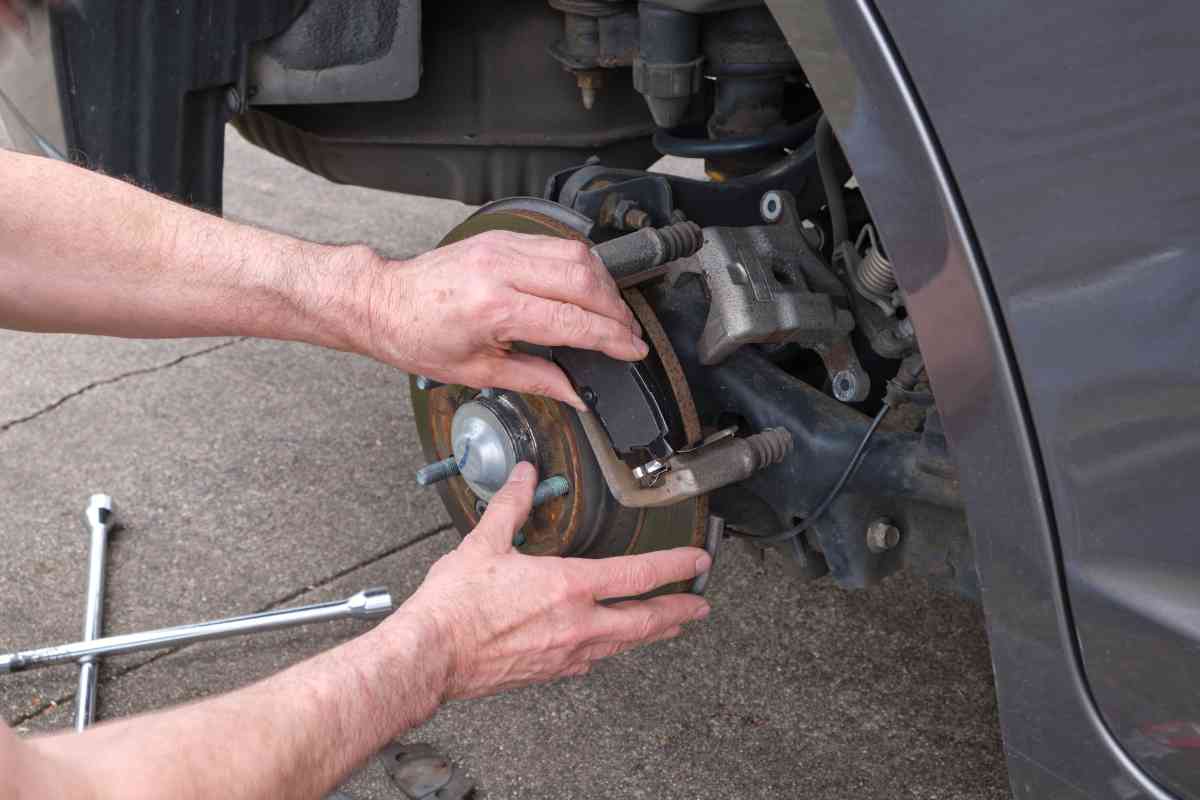
- Remove Old Pads: Carefully remove the old brake pads, taking note of their orientation for a smooth reinstallation process.
- Retract the Piston: Use a C-clamp or a dedicated caliper piston tool to push the caliper piston back. This step is crucial to make room for the new, thicker pads.
- Install New Pads: Apply a thin layer of brake grease to the back of the new pads (avoid the friction surface) and install them in the same orientation as the removed pads.
Reassembly and Final Checks
- Reattach Caliper: Place the caliper back over the new pads and tighten the caliper bolts to the manufacturer’s specified torque.
- Replace the Wheel: Reattach the wheel and hand-tighten the lug nuts. Lower the vehicle from the jack stands and then tighten the lug nuts with a torque wrench to the specified torque.
- Test the Brakes: Before driving, press the brake pedal several times to seat the new pads against the rotors. Check the brake fluid level and top it off if necessary.
- Safety test drive: Take a short test drive to ensure everything is working correctly. Listen for any unusual noises and make sure the vehicle stops effectively.
Additional Tips
- Keep Clean: Use brake cleaner to spray down the caliper, rotor, and other brake components during the job to ensure optimal operation and cleanliness.
- Regular Checks: After your initial drive, it’s wise to check the lug nuts and brake performance again to ensure everything remains secure and functional.
By following these detailed steps, you can confidently replace your brake pads, ensuring your vehicle remains safe and responsive on the road. Always prioritize safety and never rush through maintenance tasks, especially when it comes to your vehicle’s braking system.
Troubleshooting Common Issues
Addressing brake system issues promptly when we hear unusual noises or see warning lights can save us significant trouble and ensure our safety. Here’s a guide to troubleshooting common brake problems and maintaining your system effectively.
Squeaking or Grinding Noises
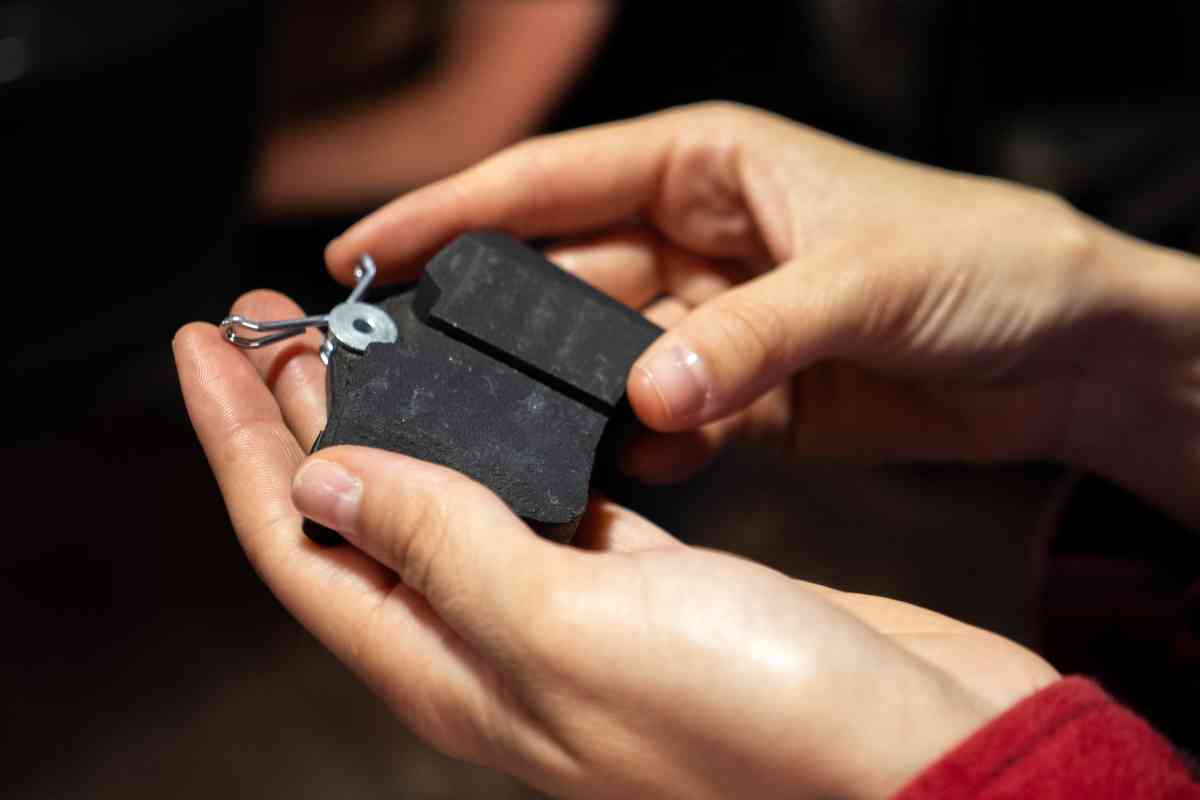
Hearing a high-pitched squeak? This is often a sign that brake pads are wearing thin, triggered by built-in metal wear indicators designed to squeal as a reminder for replacement.
Alternatively, a grinding noise may indicate that the pads have worn away completely, causing damaging metal-on-metal contact with the brake rotors. Immediate attention to grinding noises is crucial to prevent further harm to your brake system.
Uneven Pad Wear
Uneven wear on your brake pads can occur due to sticking caliper pins or malfunctioning brake calipers. If one side of the pad is noticeably thinner than the other, it’s a sign that the brake components are not engaging evenly. Inspecting and lubricating calipers regularly can help ensure smooth operation and prevent this issue.
Brake System Warning Light
Never ignore the brake system warning light on your dashboard. If lit, it could signal a serious problem, such as low brake fluid levels or an issue with the anti-lock braking system (ABS). Check your brake fluid first, and if levels are adequate, seek professional advice to diagnose further issues.
Maintenance Tips for Optimal Brake Health
Regular Checks
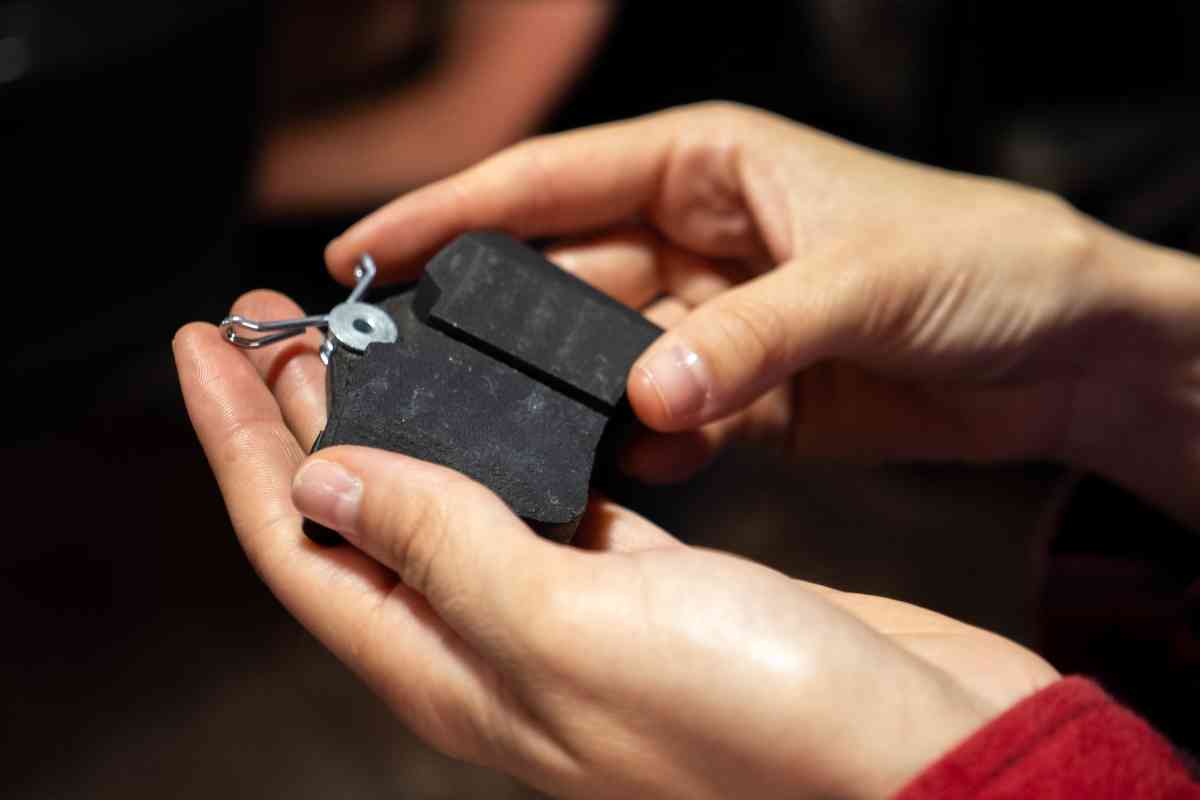
Regularly inspecting your brake pads is essential. Check their thickness at least every six months; if they’re less than 1/4 inch, plan for a replacement soon. Also, pay attention to any squealing or screeching noises while braking, as these sounds are common indicators of worn pads.
Brake Pad Bedding
After installing new brake pads, it’s important to perform a brake pad bedding process. This involves making a series of controlled stops at varying speeds to properly align the brake pad material with the rotor. This process not only extends the life of your pads but also enhances their effectiveness and prevents issues like glazing or uneven wear.
Avoiding Common Mistakes
Common oversights can lead to significant problems. For instance, ignoring the brake warning light is a risky mistake. Always respond to this alert promptly to ensure your safety. Additionally, when replacing brake pads, don’t forget to also replace the hardware kit. These components can wear out and, if not replaced, may lead to uneven wear or noise.
By staying vigilant to the sounds of your brakes and the signals on your dashboard, you can preempt many common issues, maintaining the safety and reliability of your vehicle. Being proactive in vehicle maintenance is key to ensuring that your brakes remain in excellent working condition.
