DIY Car Interior Cleaning Tips: Your Guide to a Fresh & Spotless Ride
Sliding into a spotless car feels like a warm embrace, doesn’t it? That moment when you’re greeted by a fresh scent and a tidy appearance is not just satisfying; it’s a testament to pride and comfort. Yet, the journey to maintain this pristine state amidst the chaos of daily life presents a unique challenge. From the dust that dances in from the roads to the remnants of on-the-go snacks, our cars become unwitting collectors of dirt and the occasional coffee spill. Over time, we’ve realized that a clean car isn’t just a pleasure to behold; it’s a crucial step in preserving its value.
Now, imagine achieving that professionally cleaned look without stepping foot outside your home. Yes, with some simple DIY techniques and items likely already in your cupboard, you can transform your vehicle’s interior from cluttered to clean.
Related Post! The Ultimate Car Maintenence Checklist And Guide
What Are Some DIY Car Interior Cleaning Tips?
To DIY clean your car’s interior, use a microfiber cloth and homemade cleaners like a mix of vinegar and water for upholstery. Tackle stains with baking soda for oil spots and a combination of dish soap, vinegar, and club soda for tougher stains. Regularly vacuum and organize cables for a tidy space.
The secret lies in the magic of items like a microfiber wash mitt and the classic duo of water and vinegar. These DIY heroes not only save money but also fit seamlessly into our schedules, making car cleaning less of a chore and more of an enjoyable habit.
Essential Cleaning Supplies
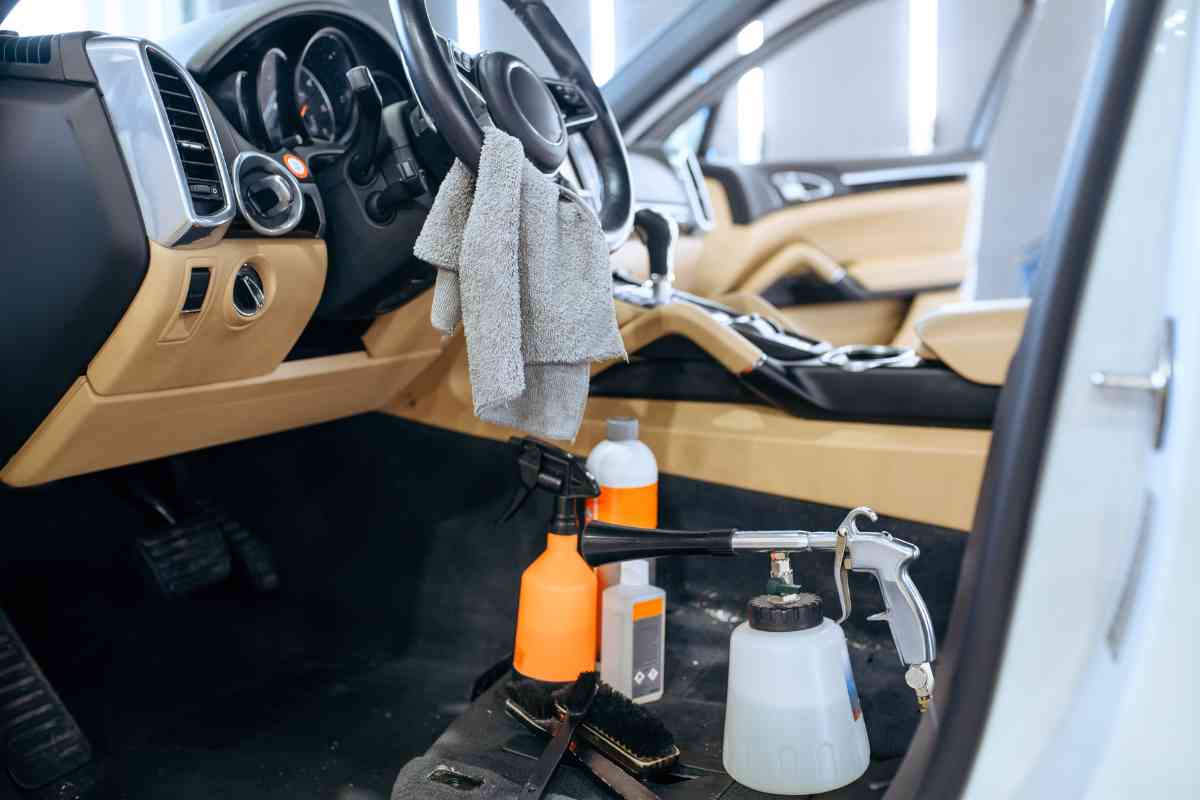
To embark on this cleaning adventure, first, let’s gear up with the right supplies. Having these tools at your fingertips is like having a magic wand that makes dirt disappear.
Choosing the Right Products
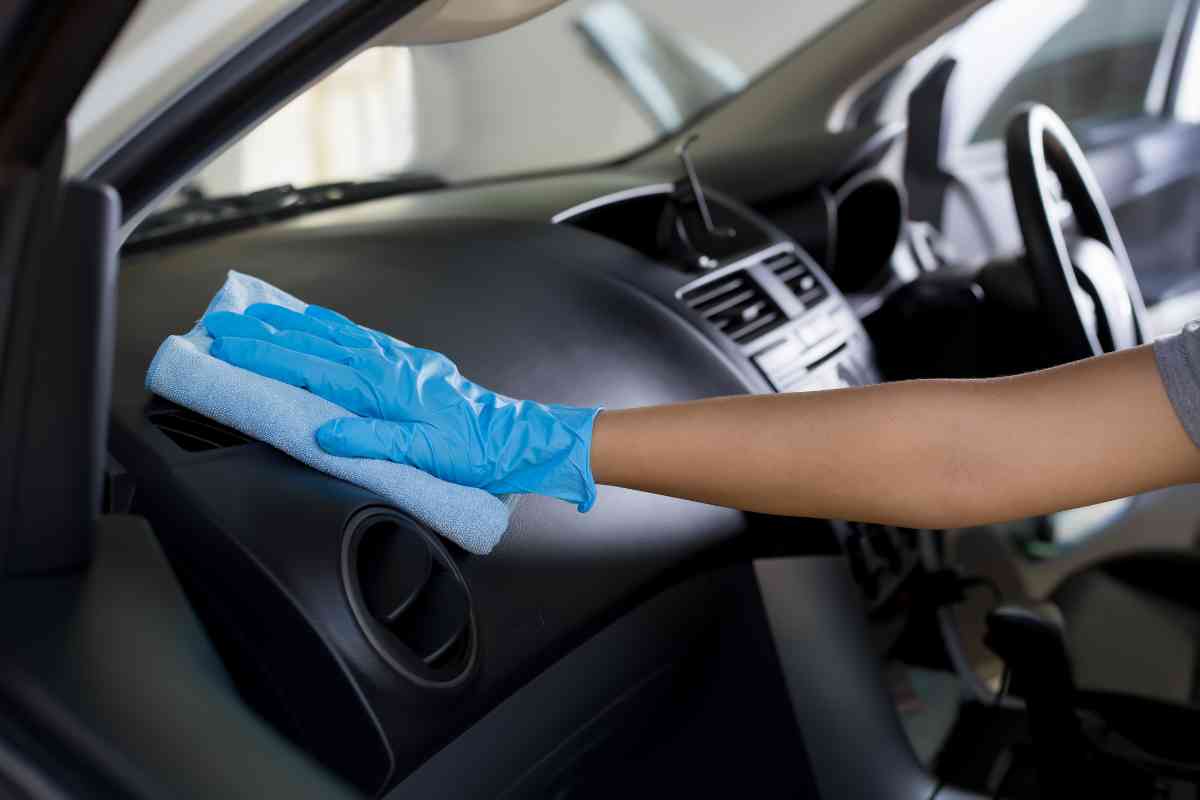
Selecting safe and effective cleaners ensures our car’s interiors stay in top-notch condition. Whether it’s a DIY cleaner with vinegar and baking soda for the upholstery or a specialized leather cleaner to keep those seats luxe, the right products make all the difference.
These are some basic DIY car interior cleaning tips that you must follow:
- Glass: Achieve a streak-free shine with glass cleaner or a homemade mix of vinegar and water.
- Plastics and Vinyl: A gentle all-purpose cleaner or one tailored for interiors will do the trick.
- Carpet and Fabric: Opt for enzymatic cleaners or foam solutions to tackle those stubborn stains.
Tools for the Job
With the right tools, the cleaning process becomes smoother and safer for your car’s delicate surfaces.
- Microfiber Cloths: The MVP for leaving no lint or streaks behind.
- Soft-Bristled Brushes: These little heroes can reach the spots hands and cloths can’t, without scratching.
- Vacuum with Attachments: Perfect for conquering under-seat territories and tight corners, especially recommended after whisking away floor mats.
- Spray Bottles: Ideal for your DIY mixes, ensuring even distribution and application.
Starting with a Clean Slate
One of our essential DIY car interior cleaning tips is before you even start. Diving into the heart of car maintenance, it’s time to roll up our sleeves and give our car’s interior the TLC it truly deserves.
Starting with a clean slate not only sets the stage for a comprehensive clean-up but also rekindles our love for the ride. Let’s embark on this journey with a methodical flair.
Removing Trash and Personal Items
Before anything else, decluttering is our first order of business. Eliminating all unnecessary items like last month’s parking receipts, food wrappers, and those empty bottles makes room for a meticulous clean.
Dive under the seats, explore the door pockets, and venture into the side compartments. Our mission is clear: leave behind only what belongs.
This is one of our favorite DIY car interior cleaning tips because it helps you stay motivated. It’s easy to do and helps you see progress.
Vacuuming the Interior
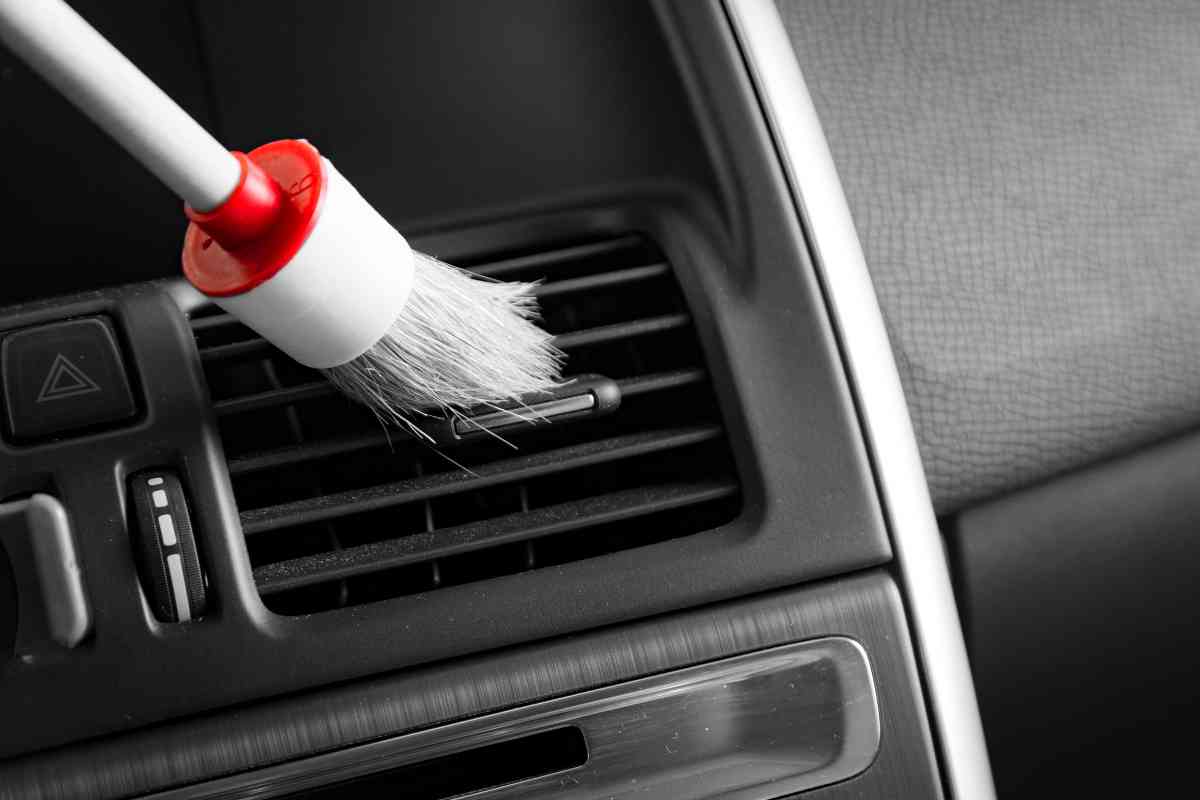
With the clutter out of the way, the stage is set for a vacuuming performance. Armed with a vacuum and its versatile attachments, no nook or cranny stands a chance. It’s about more than just cleanliness; it’s about reclaiming every inch from the grips of dirt, dust, and the occasional rogue French fry.
Another of our DIY car interior cleaning tips is to prevent this from happening. While it’s hard, you can opt to avoid eating in your car.
Cleaning Floor Mats
Next, we focus on the floor mats, a hotbed for dirt and grime. A good shake is just the start; a mixture of white vinegar and hot water takes the cleaning power up a notch. After a thorough scrub and rinse, we let them air dry completely, ensuring they return as champions of cleanliness, not harbingers of moisture and odors.
Dust and Clean the Dashboard
The dashboard, the command center of our vehicle, deserves special attention. Not just for aesthetics, but for its protection and longevity.
Dusting Techniques
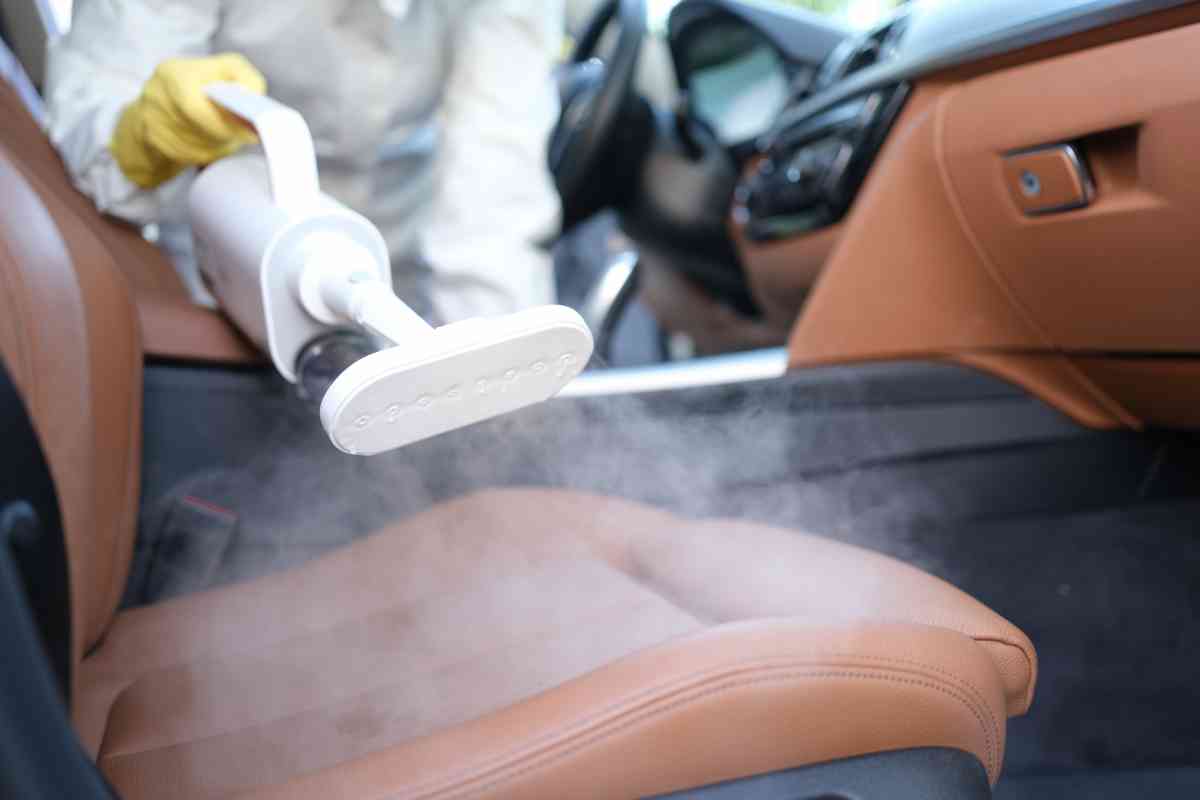
We champion the microfiber cloth for its prowess in dusting. Initiating the clean-up dry ensures we tackle the loose dust effectively. For the more determined dust, a slightly damp cloth becomes our ally. And for the adventurers, a soft-bristled brush or compressed air can reach the frontier lands of vents and switchgear.
One of our DIY car interior cleaning tips is not to overdo it.
Protecting Surfaces
With dust and grime vanquished, protecting our dashboard is crucial. A UV protective solution applied with a microfiber cloth wards off the sun’s harsh rays, ensuring no fading or cracking betrays the dashboard’s elegance. For those with a leather dashboard, a specific conditioner keeps it as luxurious as intended.
Spot Cleaning Upholstery
Diving into the art of spot cleaning upholstery, we turn occasional mishaps into opportunities to showcase our car care prowess. From coffee spills to mud streaks, the right strategy transforms these challenges into victories with ease.
Stain Removal Basics
The golden rule of our DIY car interior cleaning tips? Act swiftly. The moment a spill happens, spring into action to prevent the stain from setting in. This proactive stance is key to ensuring successful removal.
- Blot, Don’t Rub: Gentle dabbing with a clean, absorbent cloth is the way to go. Rubbing might push the spill deeper, making it a more formidable foe.
- Check Manufacturer Recommendations: Your vehicle’s manual isn’t just for troubleshooting; it’s a treasure trove of guidance on caring for your upholstery with the right products.
Homemade Solutions
Nature and your pantry offer some of the best solutions and our favorite DIY car interior cleaning tips for tackling stains:
- Vinegar and Water: This dynamic duo, mixed in equal parts and housed in a spray bottle, is a champion against fabric upholstery stains.
- Baking Soda for Oils: For greasy adversaries, baking soda is your knight in shining armor. Let it sit to absorb the oil, then vacuum away the remnants of battle.
- Mixture for Tough Stains: Armed with dish detergent, vinegar, and club soda, you’re ready to take on tougher stains. A gentle scrub and a thorough rinse later, victory is yours.
Patience and promptness are your best allies, transforming the daunting into the doable and keeping your car’s upholstery in pristine condition.
Related Post! 4 Ways To Clean Car Upholstery With Baking Soda
Leather Care
Elevating the ambiance of your car, leather demands its own brand of TLC, requiring specific strategies to maintain its elegance and durability.
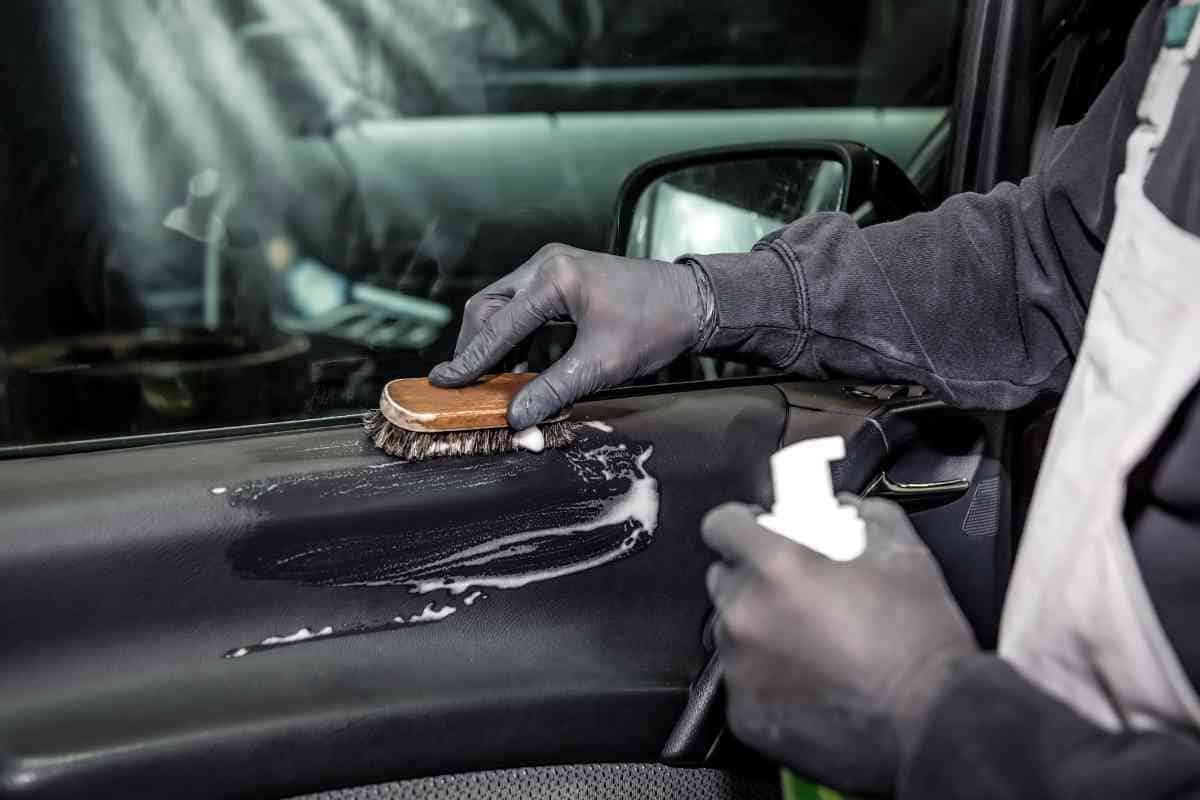
Leather Cleaning
Begin with a pre-cleanse using a soft-bristled brush or microfiber cloth to banish dust and debris. Apply a pH-balanced leather cleaner to a microfiber cloth, not directly onto the leather, to prevent soaking and ensure controlled cleaning. Gently wipe in circular motions to lift away the grime without harm. Buff dry immediately with another clean cloth to avoid any cleaner residue.
Leather is extremely durable, but it’s also susceptible to change. So, one of our DIY car interior cleaning tips is to focus on constant care.
Leather Conditioning
Post-cleanse, leather conditioning is akin to a spa treatment for your car’s interior. It rejuvenates, restores, and protects. Select a conditioner that matches the leather’s needs—cream or gel—and apply with a gentle hand. Allow the leather to absorb the conditioner, then buff to a subtle glow, ensuring the material remains luxurious and crack-free.
Related Post! Common Household Products You Can Use To Clean Leather Car Seats
Window and Mirror Maintenance
Ensuring your car’s windows and mirrors are crystal clear is not just about keeping up appearances—it’s a vital part of maintaining safety and visibility. The method matters just as much as the motive, especially when aiming for that elusive streak-free shine.
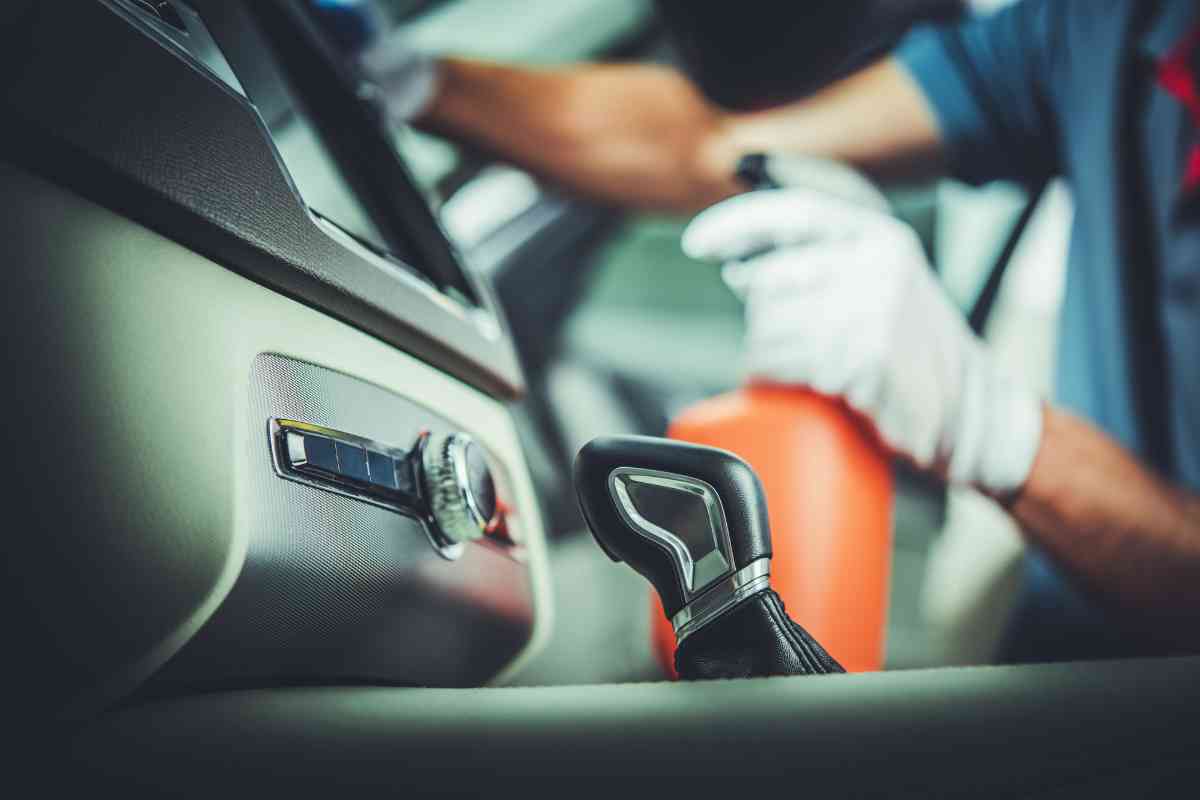
Streak-Free Techniques
Embark on your cleaning journey with a dry microfiber cloth to banish dust. Opt for an automotive-specific glass cleaner to safeguard any special window treatments like tints or defogger lines. To avoid the dreaded streaks, perform this cleaning ballet in the shade or during the cooler parts of the day, applying cleaner to the cloth before gently working it across the glass in a smooth, systematic fashion.
Tips for a Streak-Free Finish:
- Employ a clean, lint-free microfiber cloth for an impeccable finish.
- Avoid the sun’s glare by cleaning in the shade or when it’s cooler.
- Spray cleaner onto the cloth, not directly on the glass, to prevent streaks.
For more tips, checkout our other article, How To Clean Car Windows Without Leaving Streaks
Cleaning Tints and Films
For those with tinted windows or films, tread lightly. Steer clear of ammonia-based cleaners to avoid damage. A simple yet effective concoction of water and vinegar, mixed and spritzed from a spray bottle, offers a safe and economical cleaning solution, a vital aspect of our DIY car interior cleaning tips. Use a gentle touch with a soft cloth to maintain the integrity of your window treatments.
Guidelines for Tinted Windows:
- Choose ammonia-free solutions for cleaning.
- Wipe softly with a soft microfiber cloth—scrubbing is off-limits.
- Consult the manufacturer’s care instructions for bespoke advice.
Related Post! How To Clean Bugs Off A Car Windshield
Maintaining Air Quality
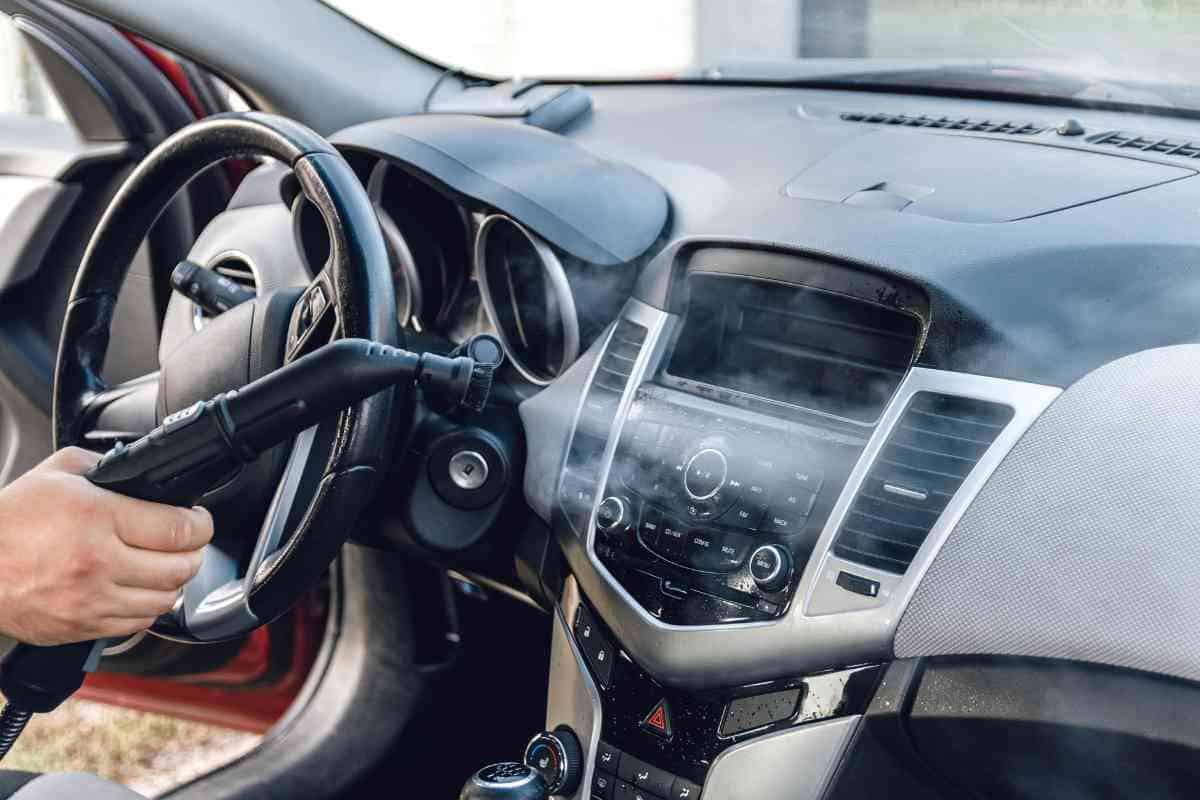
The purity of your car’s interior air is a cornerstone of a pleasant driving experience. Here’s how to keep it fresh and invigorating:
Replacing Air Filters
Regularly updating your car’s air filter is a defense against pollutants and allergens. Depending on your driving environment, a new filter every 15,000 to 30,000 miles can significantly improve interior air quality.
Using Air Fresheners
Air fresheners add a final flourish to a clean car, injecting personal flair into the air. Select a fragrance that resonates with you, but remember, the best scent is one supported by cleanliness. Address odor sources directly for lasting freshness.
Special Touches
Adding personal and practical touches to your car’s interior not only beautifies the space but also enhances your driving joy.
Organizing Cables and Gadgets
Declutter your tech with cable clips or DIY solutions like binder clips to keep charging cables neatly in place. Consider a gadget organizer for a tidy and functional space, freeing your mind from the distractions of disarray.
Personalizing Your Space
Make your car’s interior a reflection of your personality:
- Seat covers and floor mats in styles that speak to you elevate the car’s interior design.
- Small customized ornaments or aromatherapy diffusers add a personal touch without overwhelming the senses.
Embrace the philosophy that a car’s interior is not just a space but a sanctuary. By following these guidelines, you create an environment that’s as pleasant to be in as it is to look at, ensuring every journey is safe, clean, and uniquely yours.
