DIY Oil Change: A Step-by-Step Guide to Changing Your Car’s Oil at Home
Performing an oil change at home is a task that we car enthusiasts can truly appreciate. It’s an essential piece of maintenance that not only extends the life of our vehicles but also gives us the satisfaction of getting under the hood and doing the work ourselves. We’ve all been there, looking to save a bit of money or simply wanting to get more acquainted with the mechanical workings of our rides.

Related Post! 12 Things You Need To Know Before You Change Your Car’s Oil & Air Filter
How Do You Do An Oil Change At Home?
To do an oil change at home, start by warming up your engine, then drain the old oil by removing the drain plug and replacing the oil filter. Add new oil through the filler cap using a funnel, check the level with a dipstick, and ensure there are no leaks.
From my years of experience in automotive journalism, I’ve often recommended learning to change your oil as a great starting point for DIY car maintenance. Over time, I’ve picked up several handy tips that make the process smoother and cleaner. For instance, did you know choosing the right workspace is almost as important as the oil change itself? A flat, stable surface will prevent spills and potential accidents, and ensuring the engine has cooled down adequately avoids any burns or other injuries. Plus, we’ve all learned through trial and error that a high-quality oil filter is well worth the investment, particularly if you’re extending the interval between oil changes.

Step-by-Step Guide to Changing Your Oil
- Prepare Your Workspace: Choose a flat, stable surface to work on and lay down protective coverings to catch spills. Ensure the car’s engine is cool and the car is secure by setting the parking brake.
- Drain the Old Oil:
- Locate the Oil Drain Plug: This is usually found at the bottom of the engine. Place your drain pan underneath.
- Remove the Plug: Use the socket wrench to loosen and remove the drain plug carefully. Allow the oil to drain completely into the pan.
- Replace the Oil Filter:
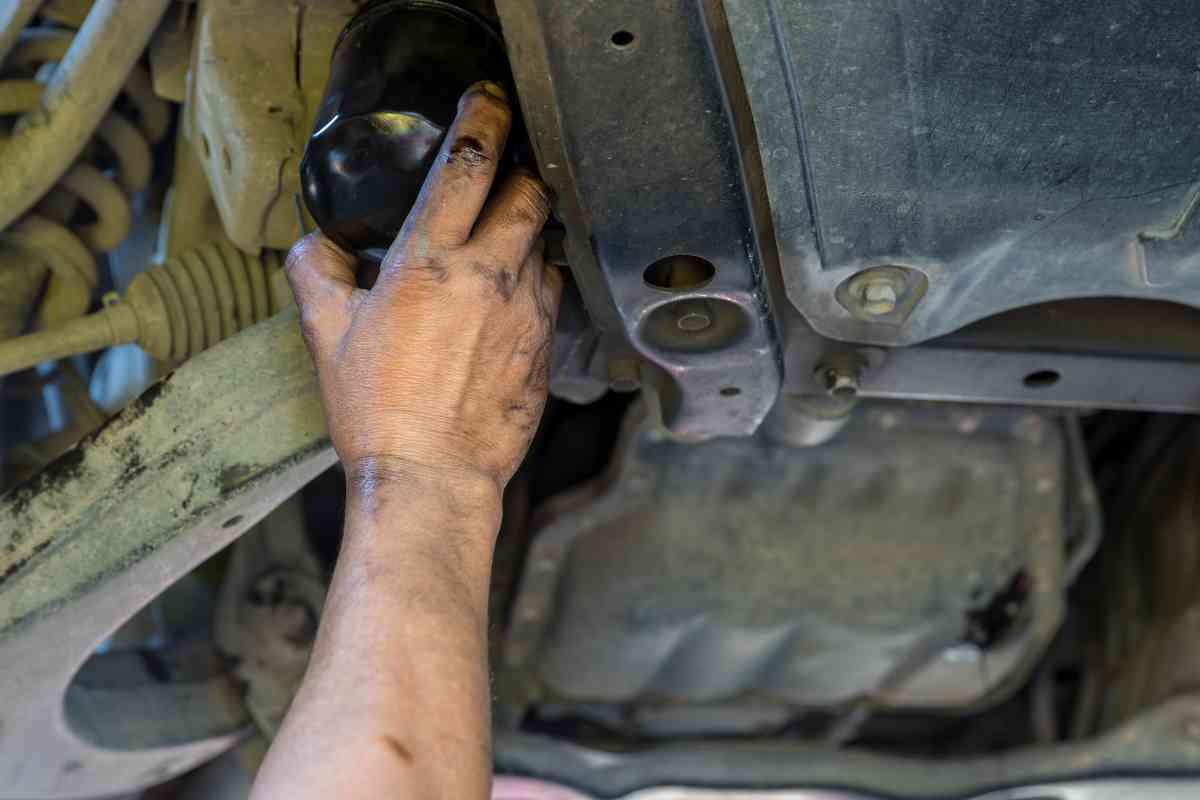
- Remove the Old Filter: Using the oil filter wrench, twist off the old filter. Make sure the drain pan is positioned to catch any residual oil.
- Install the New Filter: Lightly oil the rubber seal of the new filter with new oil. Screw it in place by hand until it’s secure but not overly tight.
- Add New Oil:
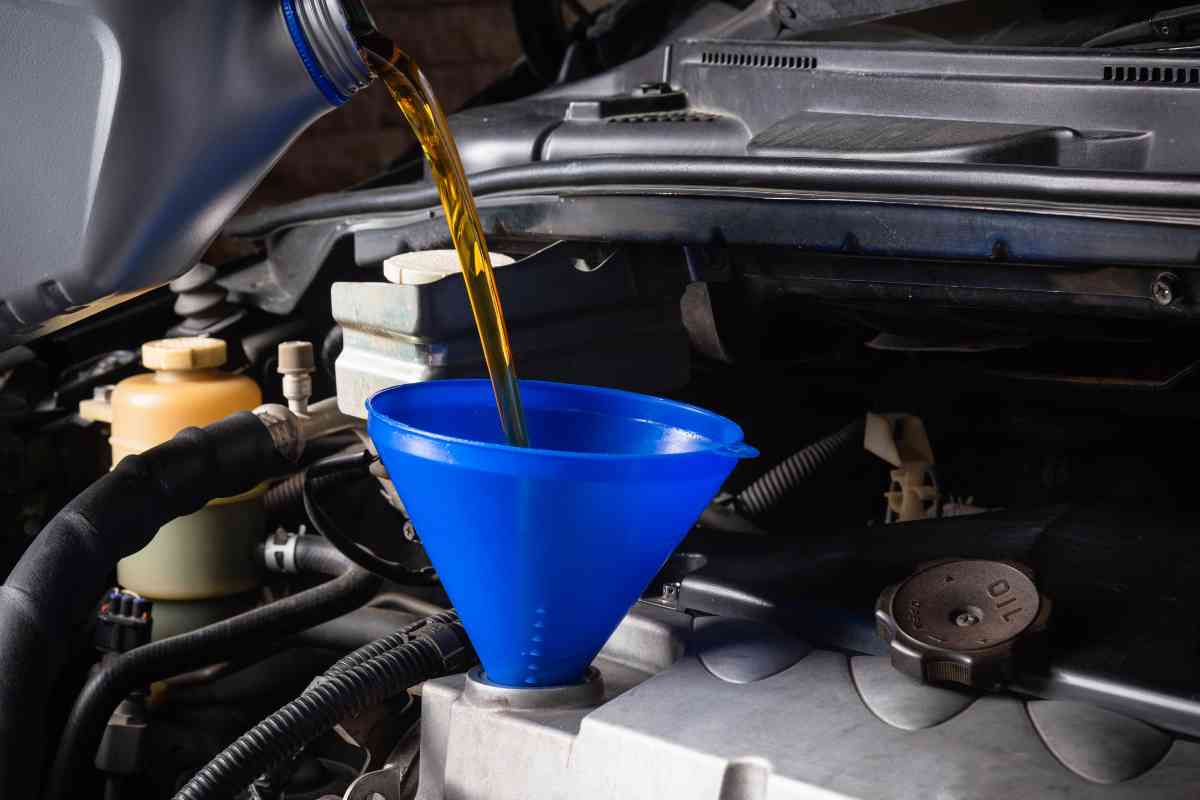
- Pour the Oil: Using a funnel, pour the new oil into the engine. Be sure to use the correct type and amount as specified for your vehicle.
- Check for Leaks: After adding oil, start the engine and let it run for a minute. Check for leaks around the oil drain plug and filter.
- Check Oil Level:
- Use the Dipstick: After the engine has run and is back off, remove the dipstick, wipe it clean, reinsert it, and then pull it out again to check the oil level. Add more if necessary.
- Cleanup and Disposal:
- Dispose of Old Oil: Ensure you dispose of the old oil responsibly. Most auto parts stores accept old oil for recycling.
- Clean Your Tools and Workspace: Wipe down tools and the work area to prevent oil stains or spills.
Related Post! Can An Oil Change Affect Your Car’s Catalytic Converter?

Benefits of DIY Oil Changes
Performing your own oil changes not only saves money but also deepens your understanding of your vehicle’s mechanics. It can be a rewarding experience that strengthens your connection to your car and boosts your confidence in DIY car maintenance.
Remember: Regular oil changes are vital for your vehicle’s longevity and efficiency. By mastering this skill, you not only ensure your car runs smoothly but also take proactive steps in maintaining its health and value over time. Whether you’re a seasoned car enthusiast or a newcomer to DIY car maintenance, changing your oil is a practical skill that benefits your vehicle’s performance and your own automotive knowledge.
Draining the Old Oil
Before diving into an oil change, remember that draining the old oil is the first hands-on step in refreshing your car’s engine. It seems straightforward, but doing it correctly is crucial to maintaining a healthy engine.
Draining the Oil: Step-by-Step Guide
- Locating the Oil Drain Plug: Start by identifying the oil drain plug, typically found on the lowest part of the engine on the oil pan. It’s important to correctly locate this plug, as it’s the gateway to draining the used oil. If unsure, refer to your vehicle’s manual to avoid any mistakes.
- Removing the Oil Cap: Before you begin draining, remove the oil cap located on top of the engine. This prevents a vacuum and allows the oil to drain smoothly. It also serves as a reminder to refill the oil once you’re done.
- Draining the Oil: Position an oil catch pan under the drain plug, ready to collect about 4 to 6 quarts of oil, depending on your vehicle’s capacity. Use the appropriate wrench to loosen the plug counterclockwise, then carefully unscrew it by hand. Be prepared for the oil to flow out quickly at first, then slow to a drip. Allow all the oil to drain completely—a little patience here ensures a more thorough job. Once drained, clean the drain plug and its area, then re-screw the plug by hand to avoid cross-threading, and give it a final tighten with the wrench.
Related Post! Does Discount Tire Do Oil Changes?

Replacing the Oil Filter: Essential for Engine Health
- Locating the Oil Filter: Find the oil filter, which is usually mounted on the side of the engine and resembles a metal canister. In some models, it may be concealed behind a protective cover which you’ll need to remove. Ensure the engine has cooled down to avoid burns.
- Removing the Old Oil Filter: Place your oil drain pan beneath the filter area to catch any residual oil. Using an oil filter wrench, turn the filter counterclockwise to loosen and remove it. Handle the old filter carefully to avoid spilling trapped oil.
- Installing the New Oil Filter: Before installing the new filter, apply a thin layer of new oil to the rubber gasket on the filter. This helps create a good seal and facilitates future removals. Screw the new filter into place by hand, ensuring it’s snug but not overtightened to prevent damage. Normally, no tools are needed for this step to avoid excessive tightening.
Adding New Oil

After draining the old oil and swapping out the oil filter, the next crucial step in a DIY oil change is adding fresh oil to ensure your engine runs optimally. Here’s a detailed guide to refilling your engine with oil, checking oil levels, and handling cleanup responsibly.
Adding New Oil to Your Engine
- Prepare to Add Oil: Start by removing the oil filler cap located on top of the engine. Place a clean funnel at the opening to prevent spills while you pour the new oil.
- Pour the Recommended Amount: Refer to your vehicle’s owner’s manual or conduct a quick search online to find out the precise amount of oil required for your vehicle model. It’s crucial to use the type of oil recommended by your manufacturer to maintain optimal engine performance.
Checking the Oil Level
- Allow Oil to Settle: After adding the new oil, allow it to settle for a few minutes. Then, remove the dipstick, wipe it clean with a rag, reinsert it fully, and pull it out again to check the oil level.
- Ensure Proper Oil Level: The oil should be between the minimum and maximum marks on the dipstick. If it’s not, add more oil incrementally until the correct level is achieved.
Checking for Leaks
- Run the Engine: With the oil filled and dipstick in place, start your engine and let it run for a few minutes. This process helps circulate the oil and allows you to check for any leaks.
- Inspect for Leaks: Turn off the engine and check around the oil drain plug and filter for any signs of leakage. If you find any, tighten the necessary components slightly and check again.
Related Post! How To Change Your Car’s Air Filter

Cleanup and Environmental Responsibility
- Dispose of Old Oil Properly: Transfer the drained oil into a container with a secure lid. Many auto parts stores and some service stations offer free recycling of used motor oil. It’s essential to dispose of old oil responsibly to avoid environmental harm.
- Clean Your Workspace: Wipe any spilled oil using rags. If oil has dripped onto your driveway or garage floor, cover the stains with kitty litter to absorb the oil. Sweep up the kitty litter after a few hours, and apply a degreaser to tackle any residual stains.
- Recycle or Dispose of Cleanup Materials: Consider the soiled rags and used kitty litter as hazardous waste and dispose of them according to local regulations.
Related Post! Does Car Engine Oil Evaporate?
Conclusion
Performing an oil change at home not only saves money but also deepens your connection with your vehicle. By following these steps, you can ensure that your car remains in excellent condition, prolonging its life and enhancing its performance. Always remember the importance of handling oil and waste responsibly to protect the environment.
