How To Paint Jeep Fender Flares? 6 Easy Steps!
One area where Jeep paint tends to fade the most is on the fender flares. You can pay someone like a body shop or mobile paint touch professional to do the work for you, or you can tackle the project yourself.
If you want to tackle the project yourself, this article is a complete guide on how to paint Jeep fender flares using automotive paint from Automotive Touchup. *Automotive Touchup provided the products in these photos at no cost to me.
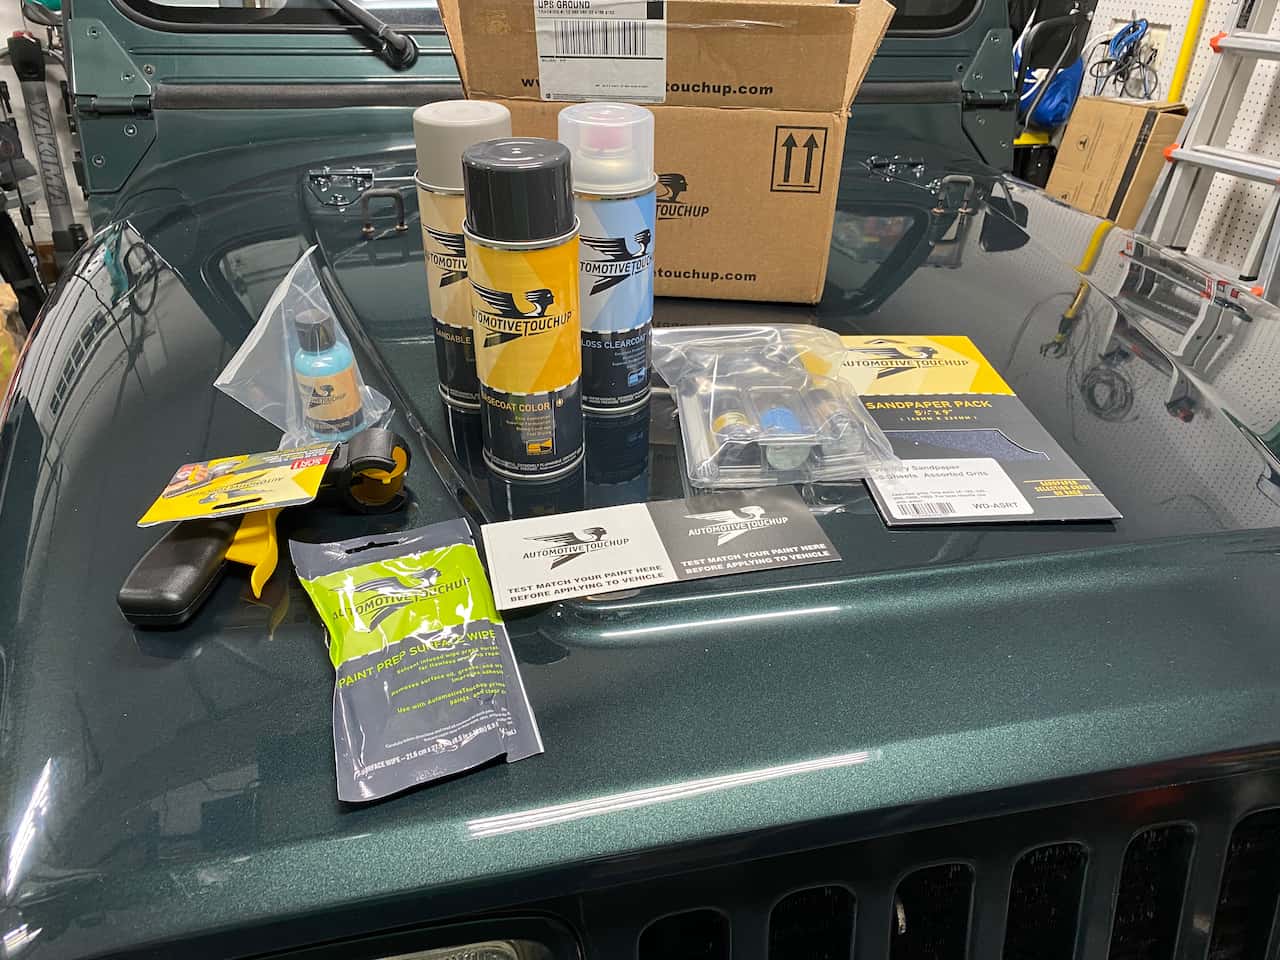
You have two ways to go about it. You can order everything you need from the Automotive Touchup website and it comes all in one box, or you can get some stuff from Amazon, etc., and just get your paints, primers, and clear coat from their site. It’s up to you, but here is a photo of what I got in my box.
How To Paint Jeep Fender Flares?
The best DIY way to paint your fender flares is to use aerosol touch-up spray paint. The painting process is the same as painting any other part of your vehicle. Start by cleaning the fender flares thoroughly, sand out rust and scratches, apply the primer, base coat, and then the clear coat.
Although a few manufacturers offer fender flares in several colors, most only offer black and grey. These are neutral colors that should match with most other colors. If you want something different, you need to paint the fender flares.
Below, I have outlined the painting process step by step to make it easier for you to paint your fender flares.
How To Paint Jeep Fender Flares? Step by Step Process
The aerosol automotive touchup spray paint you should use works best in temperatures between 70 and 80 degrees and about 50% or less humidity. Before you start, you need to test the spray paint in the card provided to ensure you have the hue you wanted. Below is the painting process on how to pain Jeep fender flares.
Clean the Fender Flare
Your flares will bear most of the load when it comes to dirt. So, a crucial step of how to paint Jeep Fender flares is to have them as clean as possible.
Whether you have been mudding or driving around town, you need to clean the fender flares using dish soap. Dirt and dust particles will spoil your paining results. After cleaning, thoroughly dry the surface and then use a prep solvent to remove any grease that may be on the surface.
Set your vehicle away from the sun and away from high humidity areas before you start painting. Note that silicone waxes and tire dressings affect the quality of your painting.
Sand the Fender Flares
Sanding removes any stains, minor scratches and swirls, and rust. It ensures the surface is smooth for easy painting. Use sandpaper with a grit rating of between 180 and 320. After sanding, the primer will mask the scratches from the sandpaper.
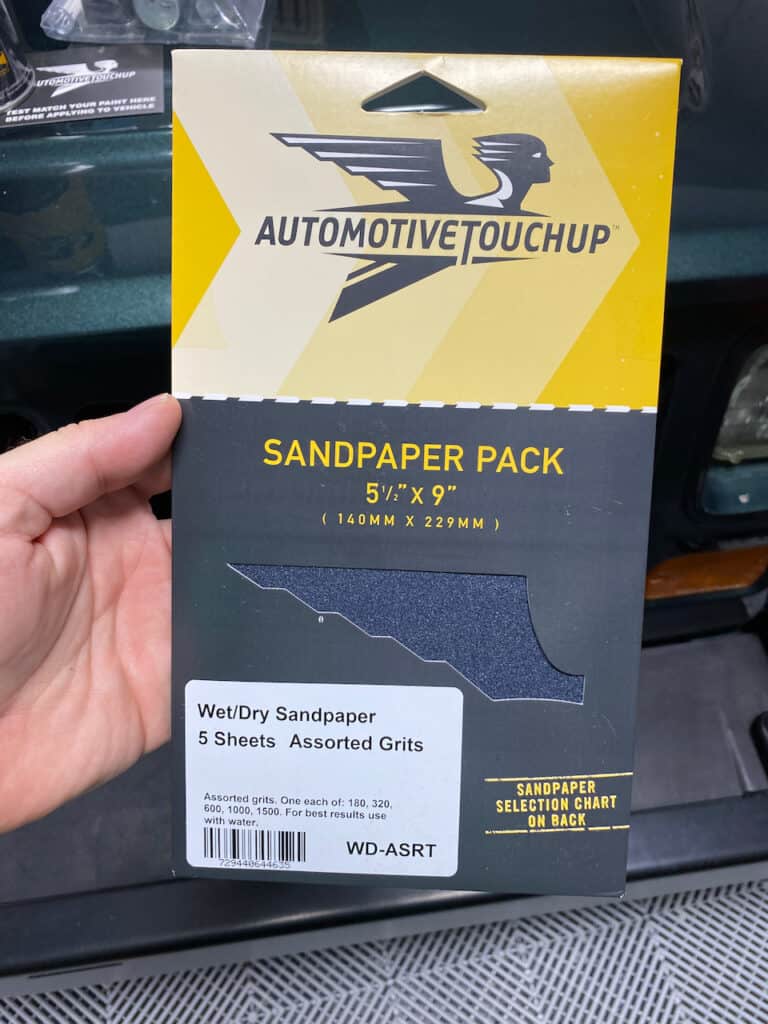
For the areas you will use a basecoat, use a wet 600 grit sandpaper to smoothen out the surface without leaving deep scratches. On other areas, where you will use a basecoat and a clear coat, use a wet 1500 grit sand paper. At the end of this step, every part of the fender flare that you will paint should be sanded to look dull and smooth.
You do not need to sand new plastic and metallic parts. Instead, lightly scuff the new plastic part with a grey fine scuff pad. For metal parts, use a grey fine scuff pad or a red medium scuff pad.
Mask Off Parts Around the Fender Flare
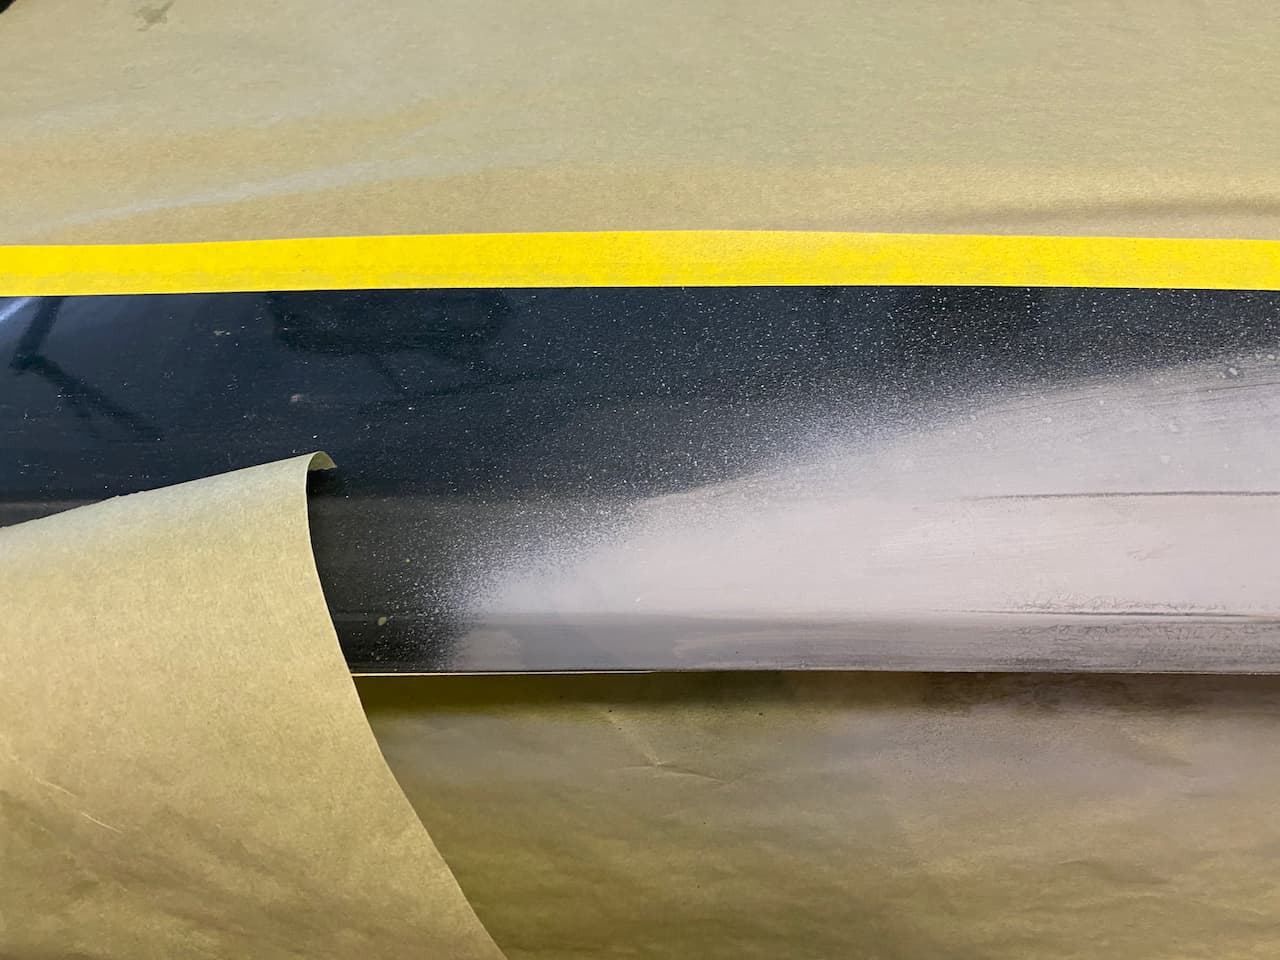
To ensure that the paint doesn’t get to other parts of the vehicle, mask off the body of the car around the fender flares. You may need to loosen the fender flares a little so that you can mast the body completely.
To mask off, you need 3/4-inch automotive touchup masking tape and a pre-taped film or masking paper. The best way to use a tape paper is to put a line with your masking tape and then placing the tape paper on top. This helps you avoid a tape line.
You can also use newspapers, but this should only be when you have no masking paper. Use a few layers of newspaper to ensure the paint doesn’t bleed through. When masking off smaller areas such as your Jeep reflectors, use 1.5-inch or 2-inch masking tape. If you are painting the fender flares in your garage or in any other closed area, use plastic sheeting to cover the Jeep so that you do not overspray.
Last update on 2025-07-05 / If you click this affiliate link and make a purchase, we earn a commission at no additional cost to you.
Apply the Primer
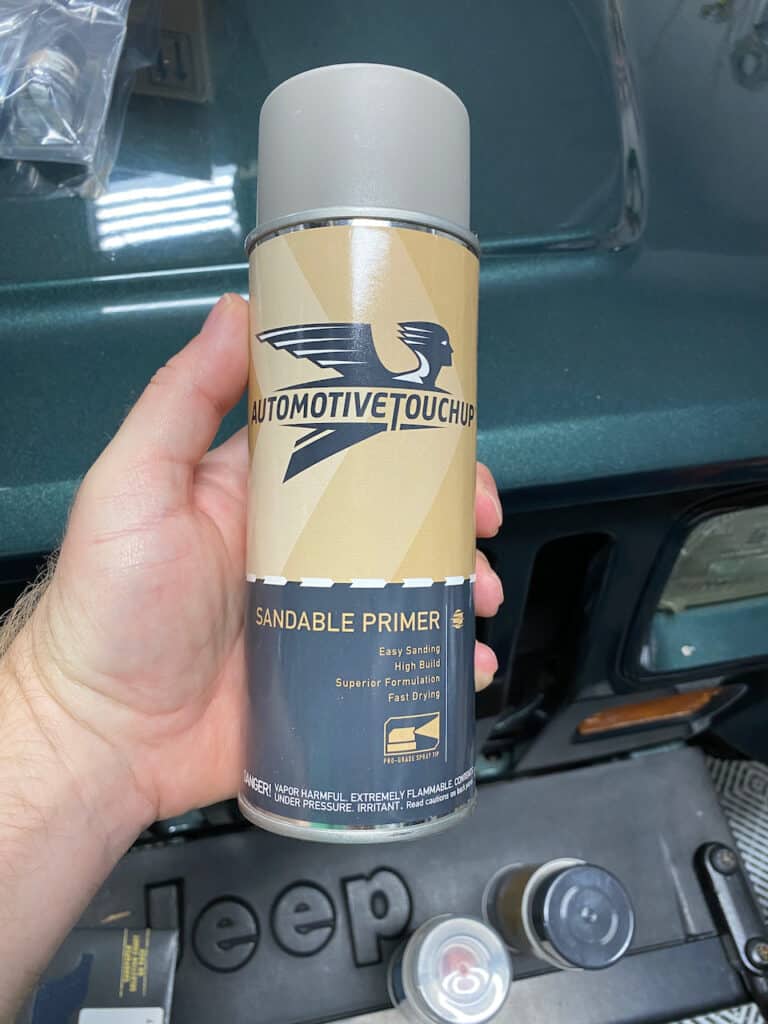
A primer is the first coat that covers the scratches from sand paper. For plastic parts, apply two light coats of adhesion promoter. For metallic parts, apply three coats of aerosol primer spray paint. Ensure you shake the primer well before spraying.
If the fender flare has a plastic treaded surface, apply plastic adhesion promoter.
During the spraying, allow the primer at least five minutes to dry in between the coats. After applying the third coat, leave the primer for about 30 minutes to dry. Once it dries, use a 600 grit wet sandpaper to smoothen the surface with the primer.
Remove the sanding dust with clean water and replace the masking tape and paper with the dust. Avoid using prep solvent on the primed surface and instead use a tack rag to remove the dust.
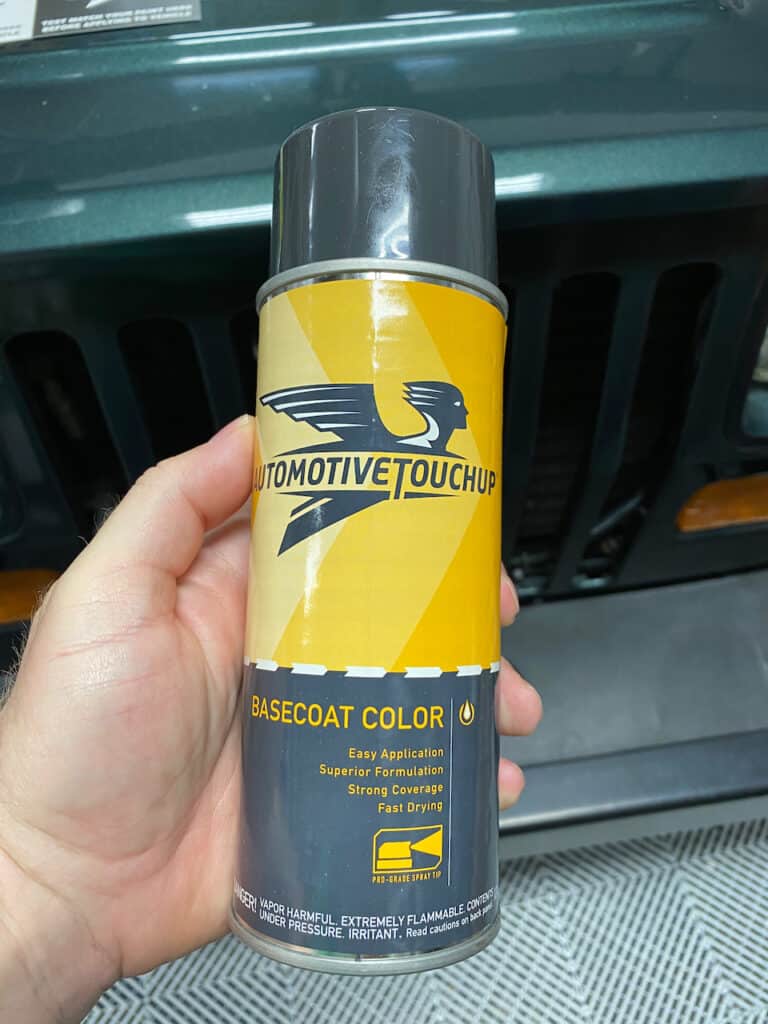
Apply the Basecoat
Once the primer is clean and the area round the fender flare is protected with fresh masking tape and paper, apply the base coat. Shake the can thoroughly and spay on a test panel. This helps you test where the color matches with your Jeep or the hue you wanted.
If the color is what you wanted, apply as many coats as it takes to give a great look. Wait for at least five minutes between each coat to ensure the coat is uniform and dry. If the color you apply looks too dark, you can spray light dust coats to lighten it up a bit. You can use a tack cloth in between the coats to smoothen out the coats even more.
Allow the basecoat about 30 minutes to dry before applying the protective clear coat.
If you choose tri-coat paints, you will need to apply several coats of the ground coat color until you cover the entire area. After that, spay the mid coat pearl color until the surface achieves the desired pearl effect.
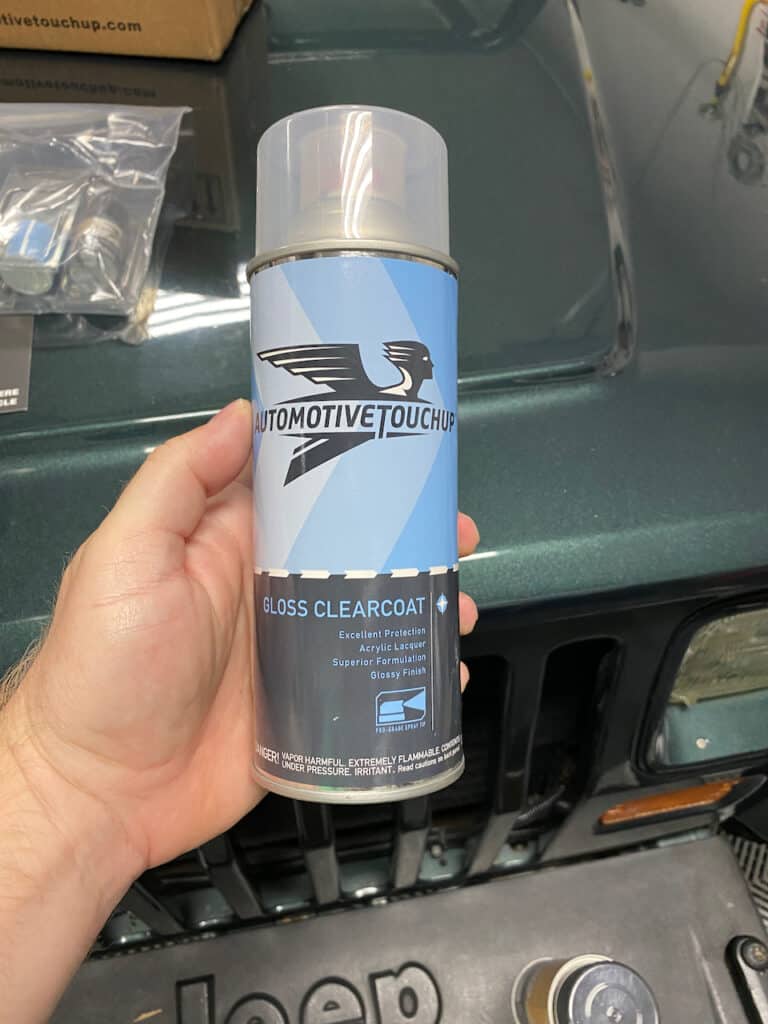
Apply Clear Coat
Ensure that the basecoat is dry before you apply the clear coat. Shake the clear coat can and apply four or five coats of wet clear coat, ensuring that the coat does not drip.
Wait for 10 minutes in between the coats to allow enough time for the coats to dry. Before you spray a coat, ensure the previous coat is dry to touch. However, avoid touching the fender flare paint as you might leave fingerprints. Instead, touch the masking tape on the body or other parts of the Jeep.
If you are painting in a hot place, but not under direct sunlight, the time it takes to dry each coat will shorten. You also need to make the coats thin so that they dry fast.
If you do not allow the coats to dry, you may end up with a color mismatch or loss of gloss. Allow the clear coat a day to dry completely and then use a rubbing compound. The rubbing compound brings out the gloss of the fender flares.
Wait for about 30 days and then wax the surface of the fender flares to protect paint.
Are There Non-Paintable Fender Flares?
If your Jeep has fender flares with a smooth surface, they will look great once you finish them. So, how to paint Jeep fender flares when they’re non-paintable?
It is possible for you to paint almost every fender flare on the market, but the results of each paintjob will vary. The pebbled, grainy, and other textured surfaces tend to blur if you use spray paint on them.
If you spray paint these textured surfaces, you may end up losing the initial appeal of the fender flares. To avoid something that looks unappealing, stick to the original black color.
There are other fender flares with deep grooves and indented pockets. You can paint these ones better than the textured ones, but you have to be cautious to avoid paint pooling.
Fender flares that have smooth surfaces and have no rivets are easier to paint even for someone who has never painted before. The fender flare comes unpainted with a matte or glossy finish. You can choose to leave the fender flare in its black color or spray different colors.
Should You Contrast or Match the Paint Color of the Fender Flare and the Jeep Body?
If you decide the original black color is not for you, you can go with any other color of your choice. You can use the same color as the Jeep’s body, or you can go for a contrasting color. If you choose the same color, you achieve a smooth look with the fender flare looking like it had that color originally.
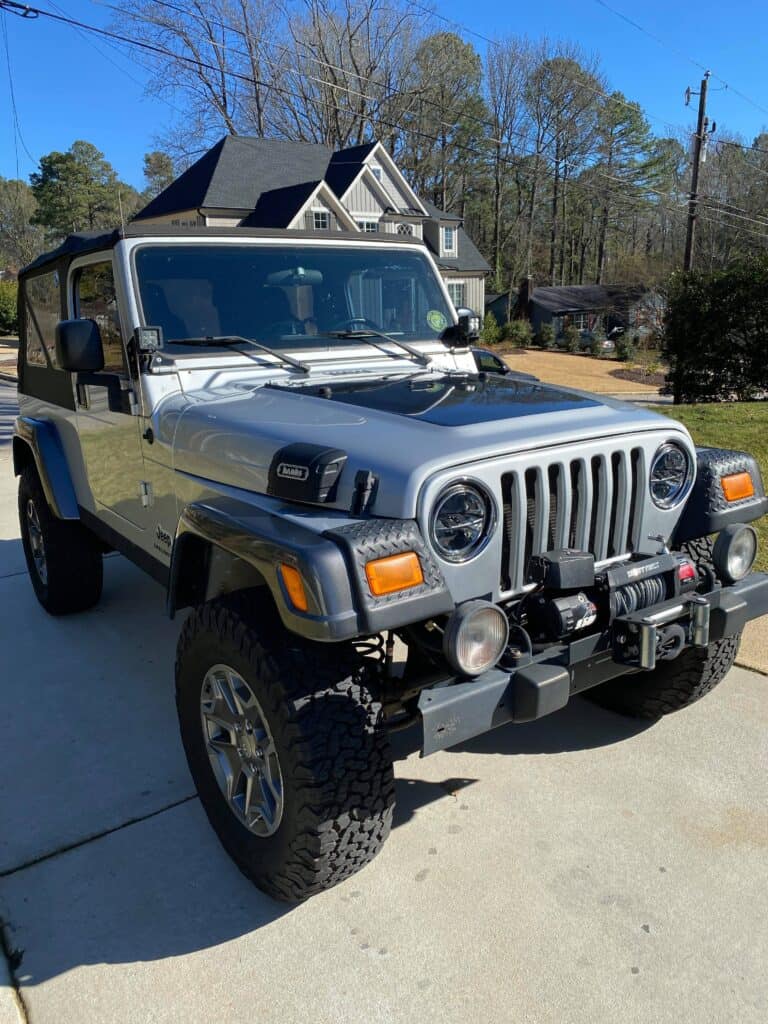
The contrasting colors give your Jeep a unique look. Most automakers give the stock fender flares a contrasting color to improve the appeal of your Jeep.
When you look at how to paint Jeep fender flares, the main challenge with using the same color as the factory color is that the body color may have faded over time. You can use the paint code of your car, but that will only lead to your creating the same look as your car when it was new.
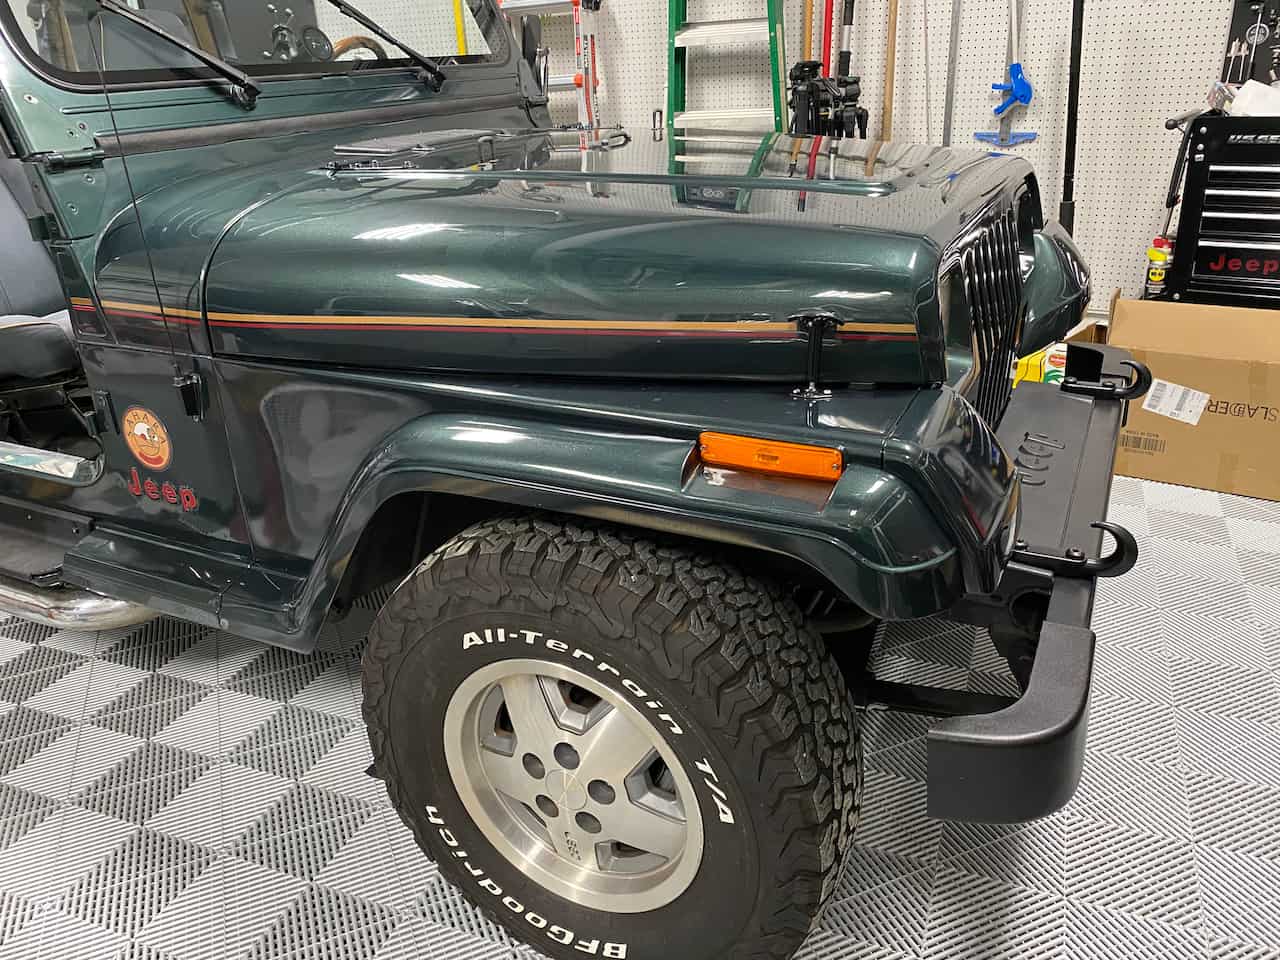
To match the colors, you will need to blend paint until you have the exact match with the faded color. You may not have the means to blend the colors. If this is your dilemma, visit a body shop or opt for contrasting color.
Closing Thoughts On How To Paint Jeep Fender Flares
If you are a DIYer, you’ve probably wondered how to paint Jeep fender flares. It’s an easy process, one that I’ve done before, but it’s time consuming. In the end, it’s worth it.
Fender flares can transform the look of your Jeep if you paint them well. You have to take care of the painting process as you would when painting the body of your Jeep. This way, the paint will not fade or wear off after a few week.
If you lifted your Jeep or added larger-than-stock tires, a fender flare comes in handy. These bigger tires are better at throwing dirt into your wheel wells. Even better, the fender flares will mask the fact that your larger wheels are protruding from the wheel wells.
Even as you seek to protect your wheel wells and make cleaning easier, focus on making the Jeep look great. With high quality paint and a paintjob that follows the procedure above, you can make your Jeep look more muscular and stand out anywhere you go. Plan your painting today, now that you know how to paint Jeep fender flares.


