Wagoneer Restoration – New Carpet Installation
The new Grand Wagoneer Carpet arrived, and I have spent the last few days off and on working on getting the carpet installed.
I have to admit, I was nervous about using a replacement carpet. On many of the message boards people were discussing how it does not look like the original, and I agree it doesn’t look OEM… BUT, it does look really good.
If you want to dress up your Grand Wagoneer, new carpet is a sure way to do it. The only problem will be with new carpet; you will want to make everything else new too! (ask me how I know — ha)
Let’s take a look at the photos:
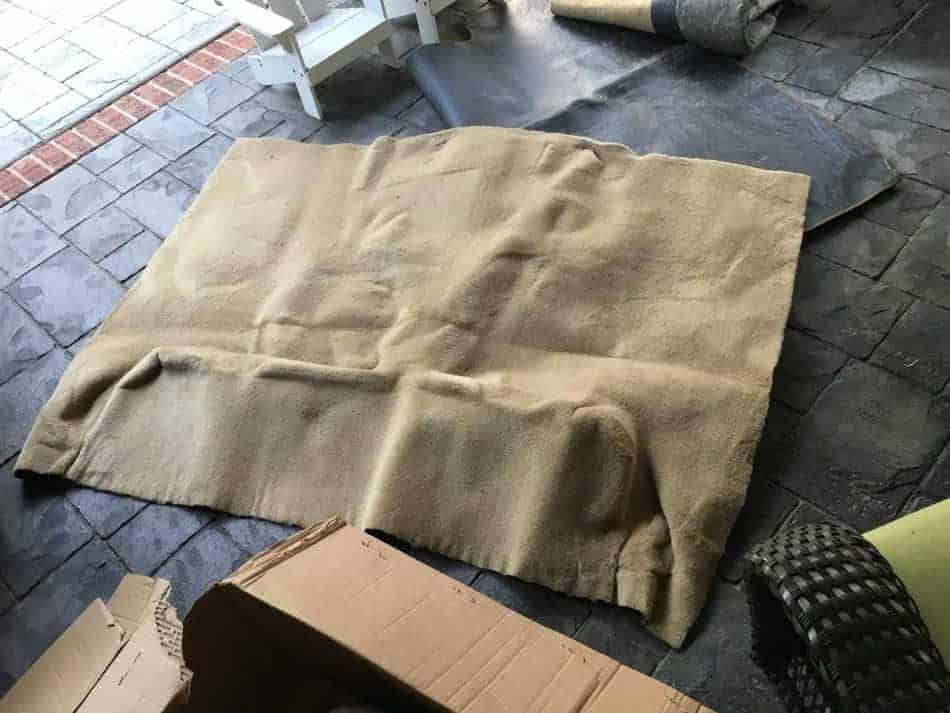
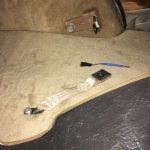
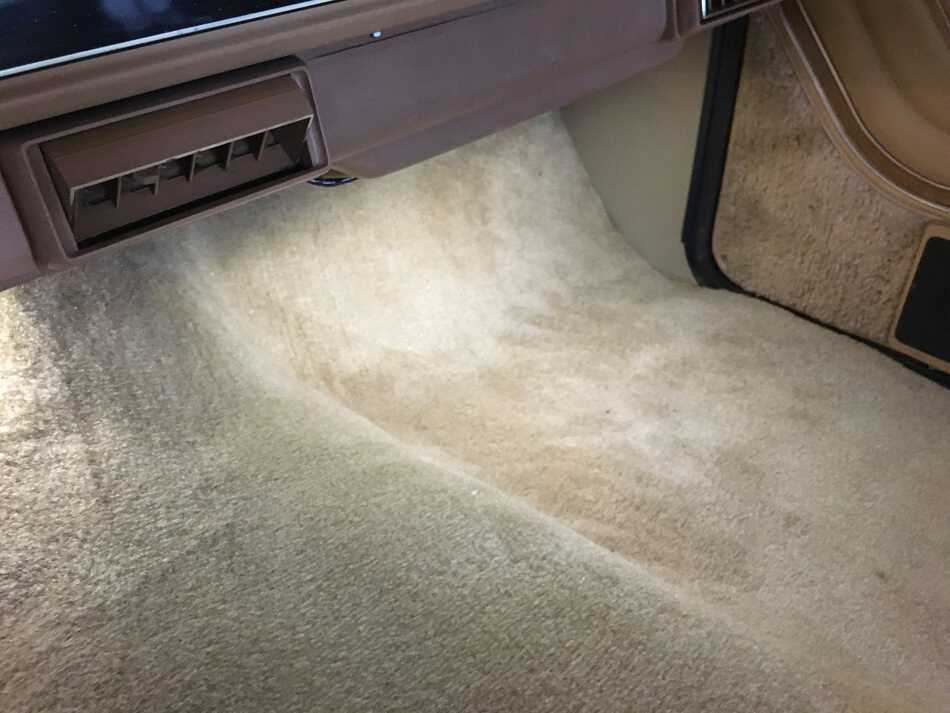
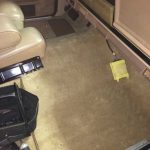
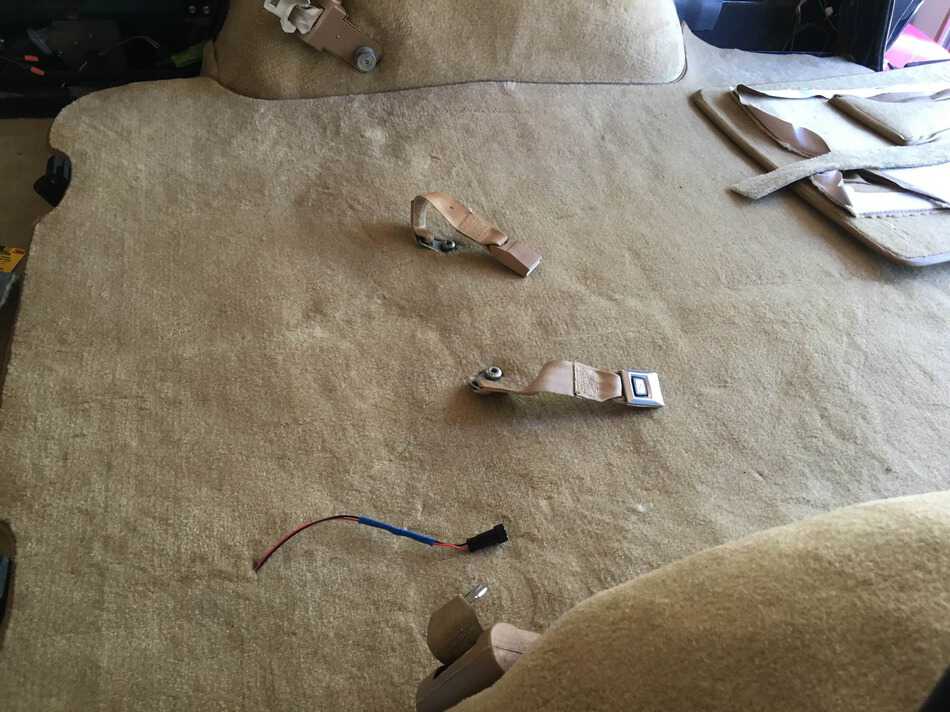
This first shipment had a defect in the centerpiece of the carpet. See on the bottom right side of the picture.
The mass backing was messed up and left a permanent crease that could not be removed. I tried a heat gun and lots of work, but it would not correct. Fortunately, Ryan at BJs Offroad got with ACC and had a new piece shipped to my door for me.
(click here to see the unboxing of the carpet)
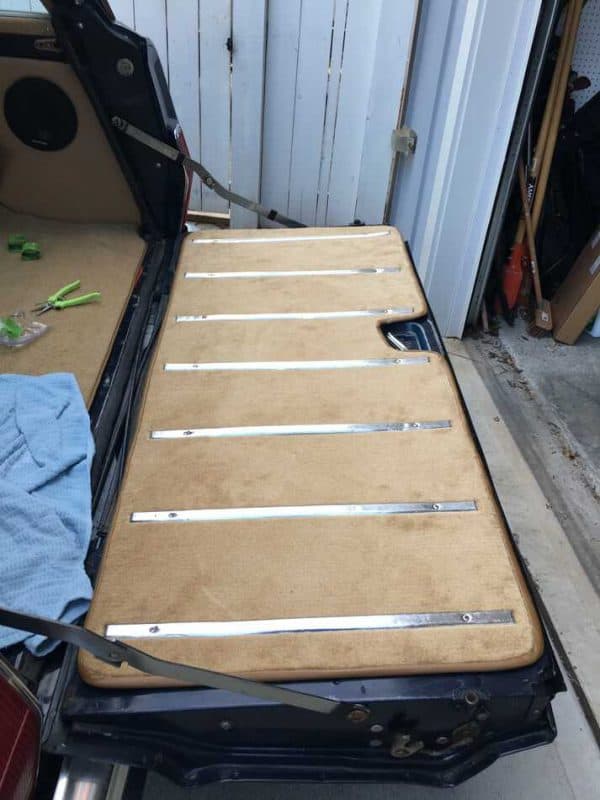
I started with the tailgate because I wanted to see some quick results.
I used spray adhesive on the new ABS tailgate backer board I ordered from user “Men in Black” on the IFSJA forum. His work is excellent, and I highly recommend his ABS products. I paid the upcharge to have the holes pre-drilled. They were a perfect match.
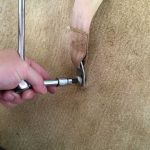
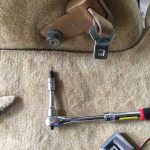
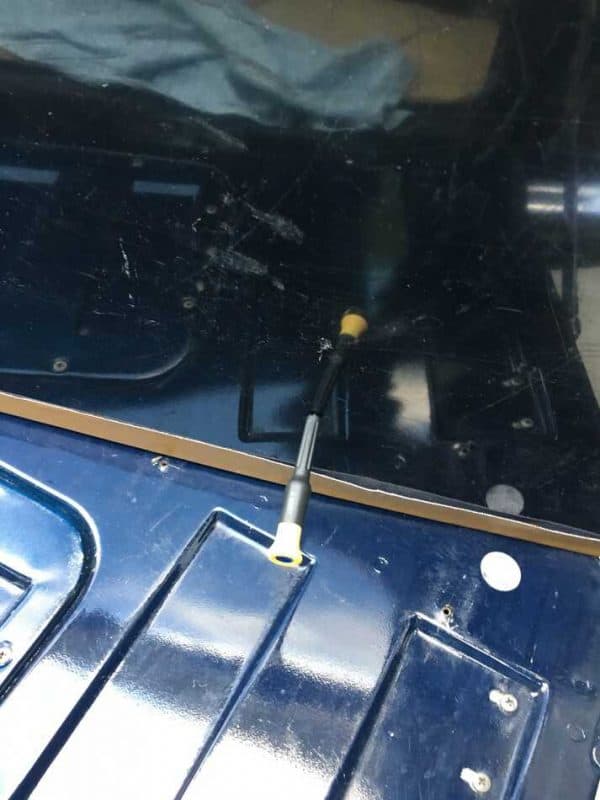
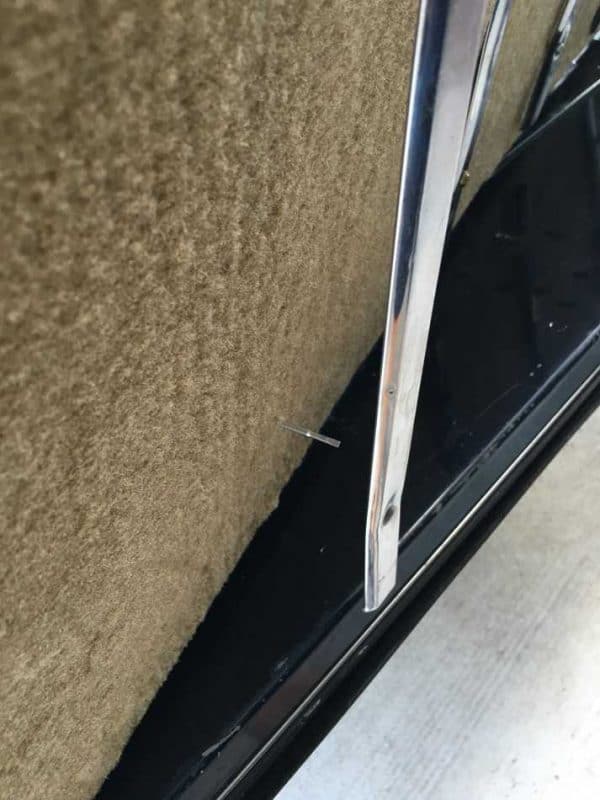
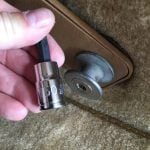
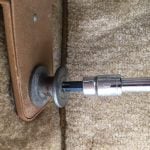
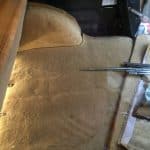
These photos show where I was lining everything up. I used a small screwdriver to poke holes in the carpet and to help align the screws with their original holes in the tailgate.
Here you can see the screwdriver. Without it, it would have been a real challenge!
Using this little screwdriver REALLY helped. I don’t remember where I bought it, but here is something similar on Amazon: Sample Screwdriver for size
Now on to the rest of the pictures:
See what I mean about wanting to see a little accomplishment early on!
I am thrilled with how well the tailgate looks.
(Side Note: I was playing with LEDs in the rear lights, but not thrilled with the LEDs. I went back to regular bulbs for now)
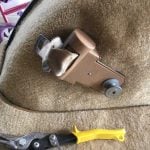
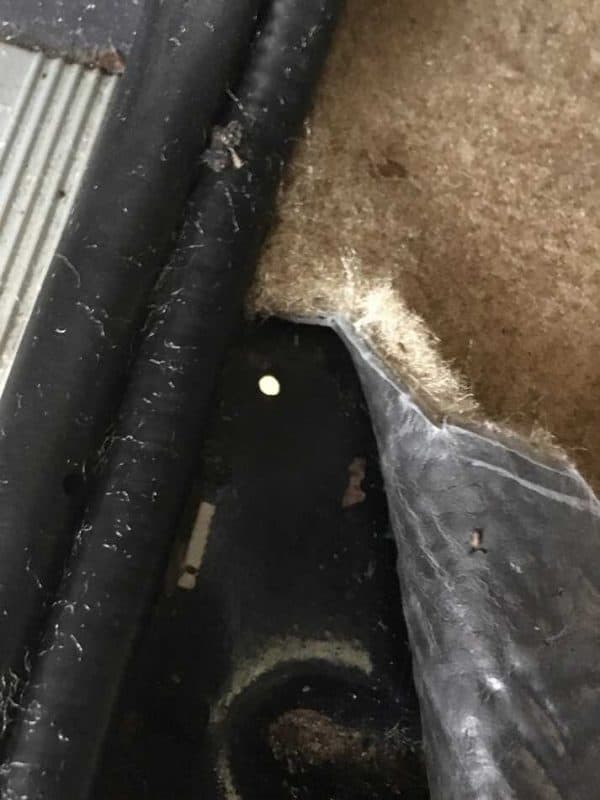
Having a pair of snips to use makes the job easier too. One item that I did not know about until after installing the carpet is a carpet knife. This may be worth the $5 to see if it is better than the utility knife.
With this said, the utility knife I used did a good job, but I almost cut a wire below the carpet that I didn’t see. With the carpet knife, I probably would not have had that same risk… just a thought.

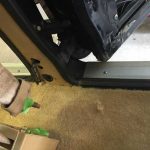
I notched the carpet very carefully to allow the wiring to easily rise through the carpet while still keeping the carpet tight to the Jeep side.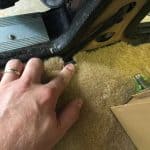
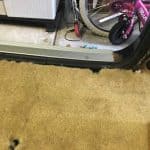
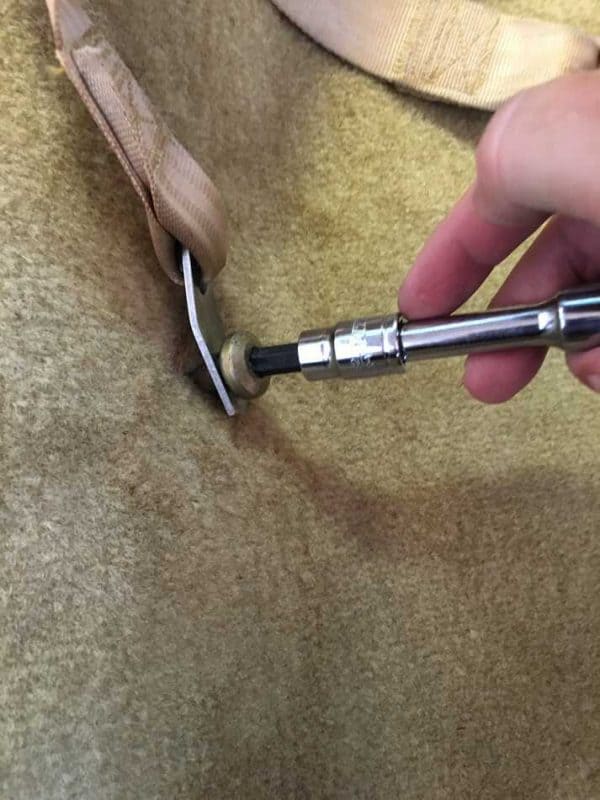
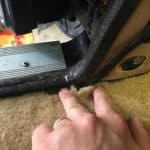
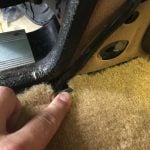
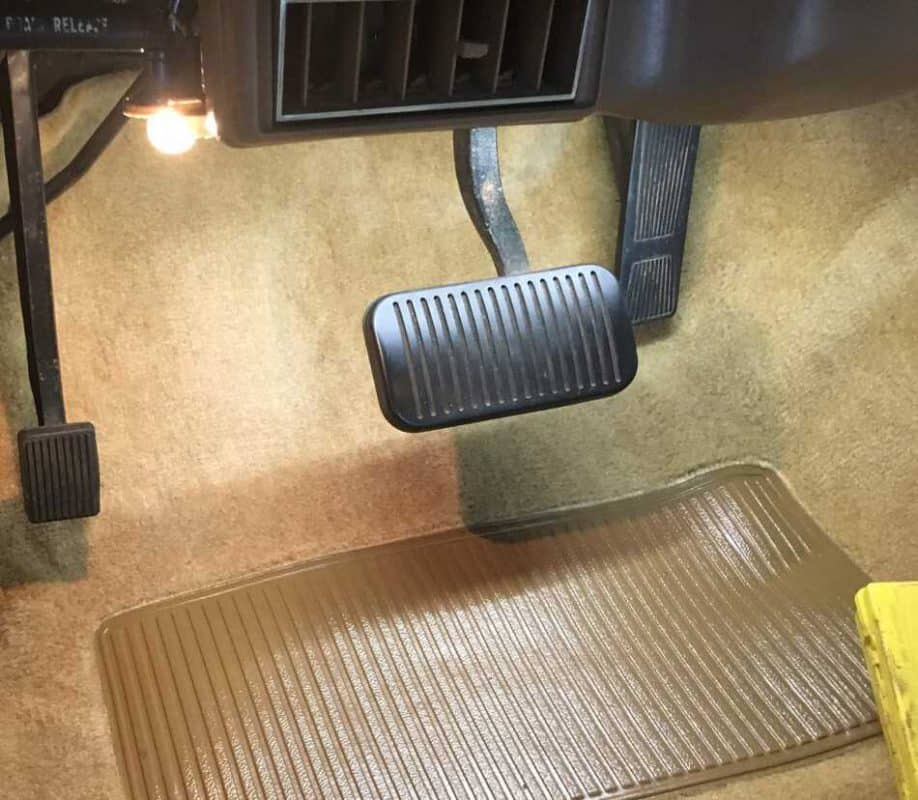
With the mass backing, the carpet is more ridged. As a result, I needed to use a heat gun in spots to make it pliable to be able to get it to fit the contours and to slide under the gas pedal, brake pedal, and parking brake.
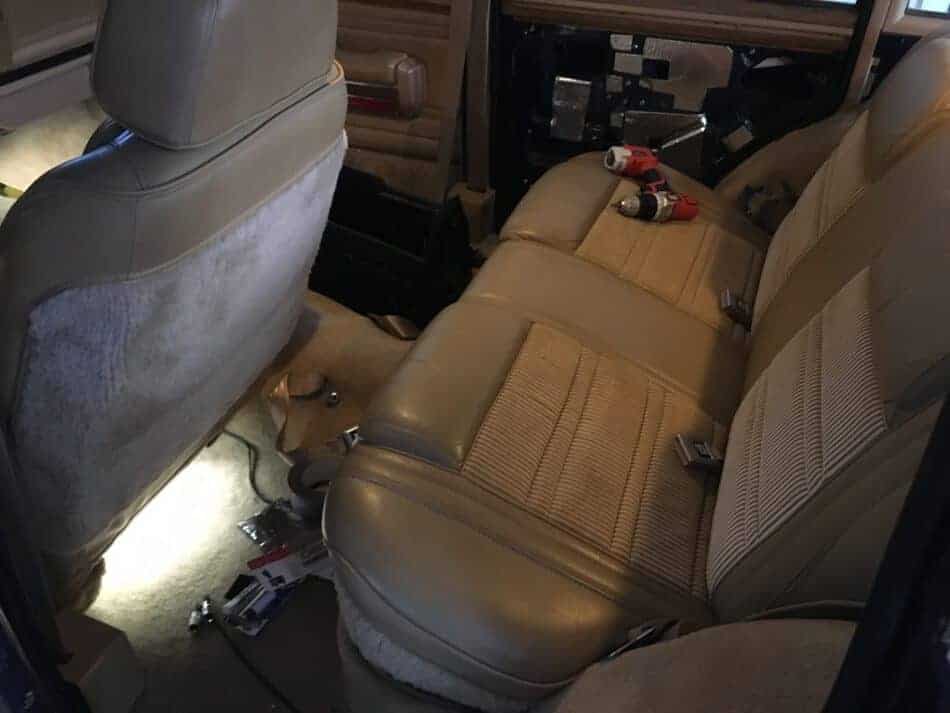
I took the opportunity to paint the rear seat brackets and bolts. First I used Rustoleum rust converter, and then an enamel gloss black.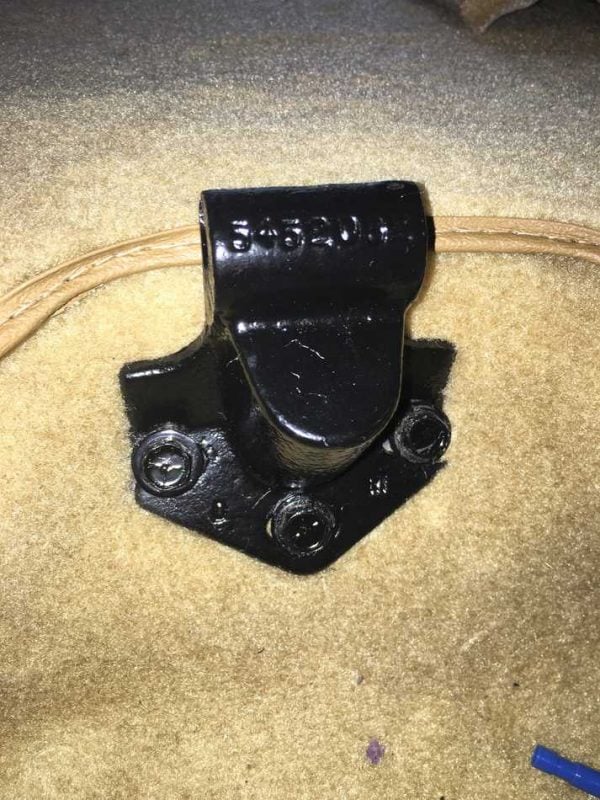
Before painting, I cleaned and scrubbed with a wire brush to get off as much grime and loose rust.
Then I used 2 to 3 coats of rust reformer before the final two coats of gloss black.
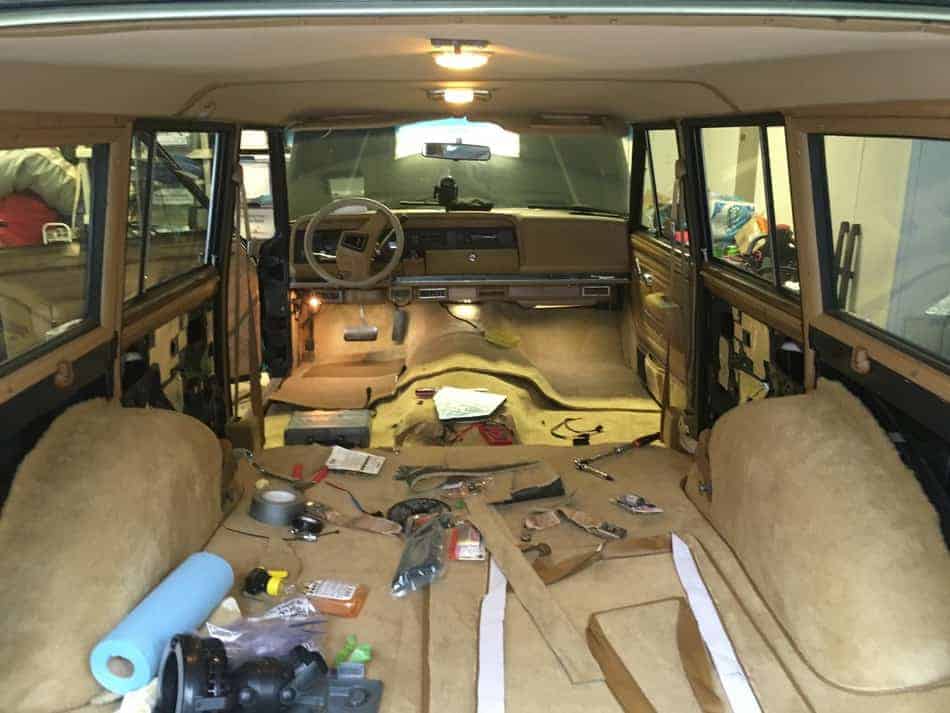
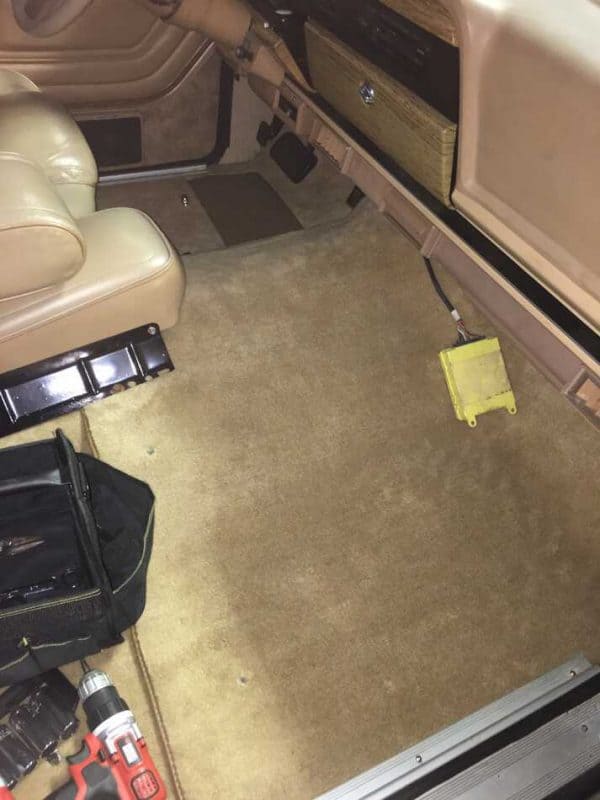
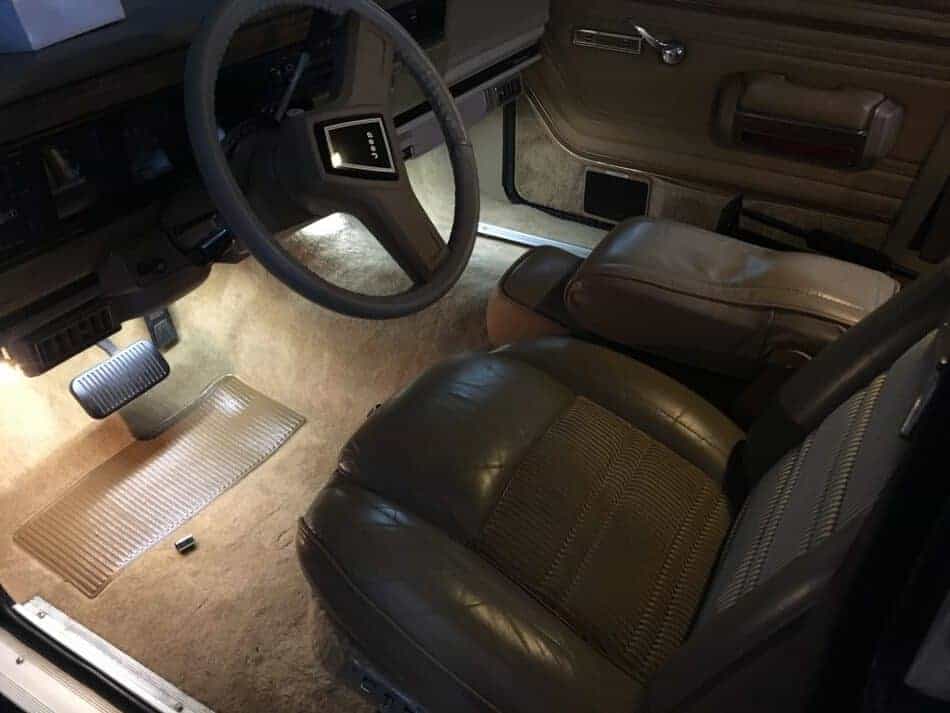
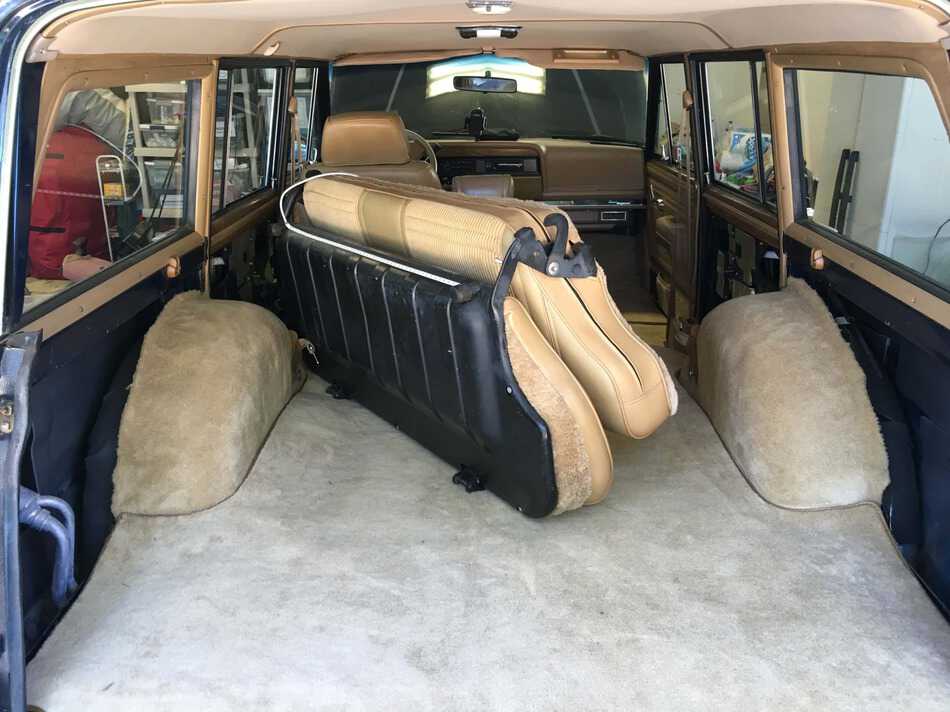
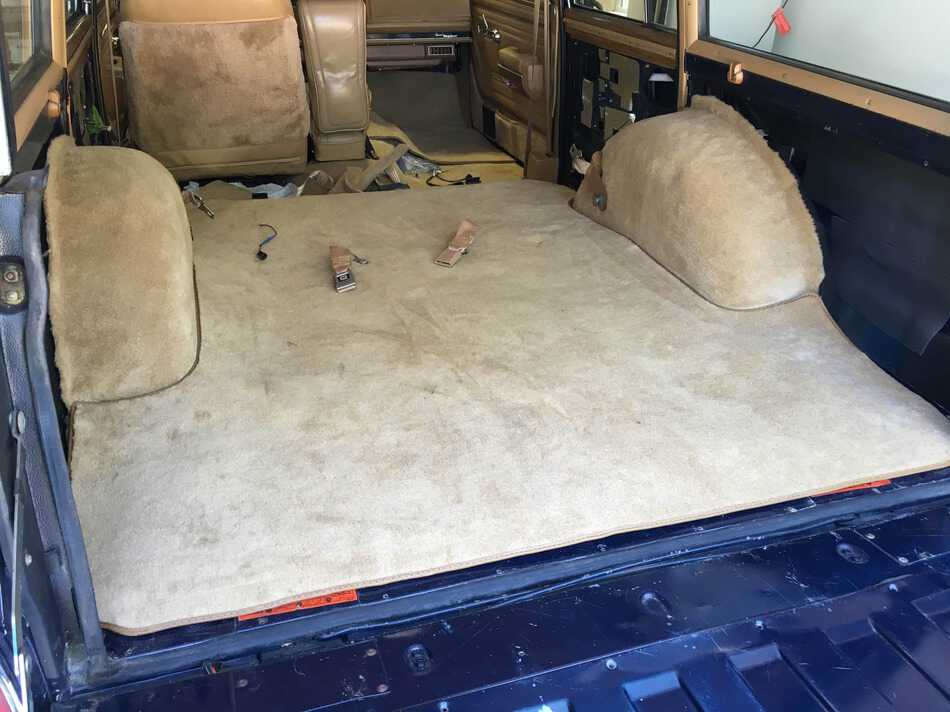
And finally, let’s take a look at the final photos. I still need to put the passenger seat back in, but I am doing a few projects under the dash before re-installing.
Let’s take a look…
You are getting a sneak peek at the new LEDs (shhh! Don’t tell anyone).
I still need to install the metal strips in the cargo area, but I still need to polish them to a mirror shine (or as close as I can get it).
Hope all of these photos inspired you enough to tackle the task. It takes a long time, but in the end, I believe it is worth it! It really upgrades the interior.
List of Items You May Want to Complete the Project:






Great info here. I’m considering recarpeting my ’91 and this post if very helpful. Did you run into issues when taking the seats out? Rusty bolts, etc? Thanks.
I didn’t run into issues. I did have rusty bolts but I just hit it with pb blaster and let it soak in well. Then I was able to remove them all. I did it by hand vs power tools just so I could feel if something wasn’t right.
Hope this helps.