How to Remove Ball Joints Without a Press: DIY Auto Repair Simplified
If you’re a DIY auto enthusiast or simply looking for a cost-effective solution to repair your car, removing ball joints without a press can be an essential skill. Ball joints play a crucial role in your vehicle’s suspension and steering, and over time can wear out and require replacement.
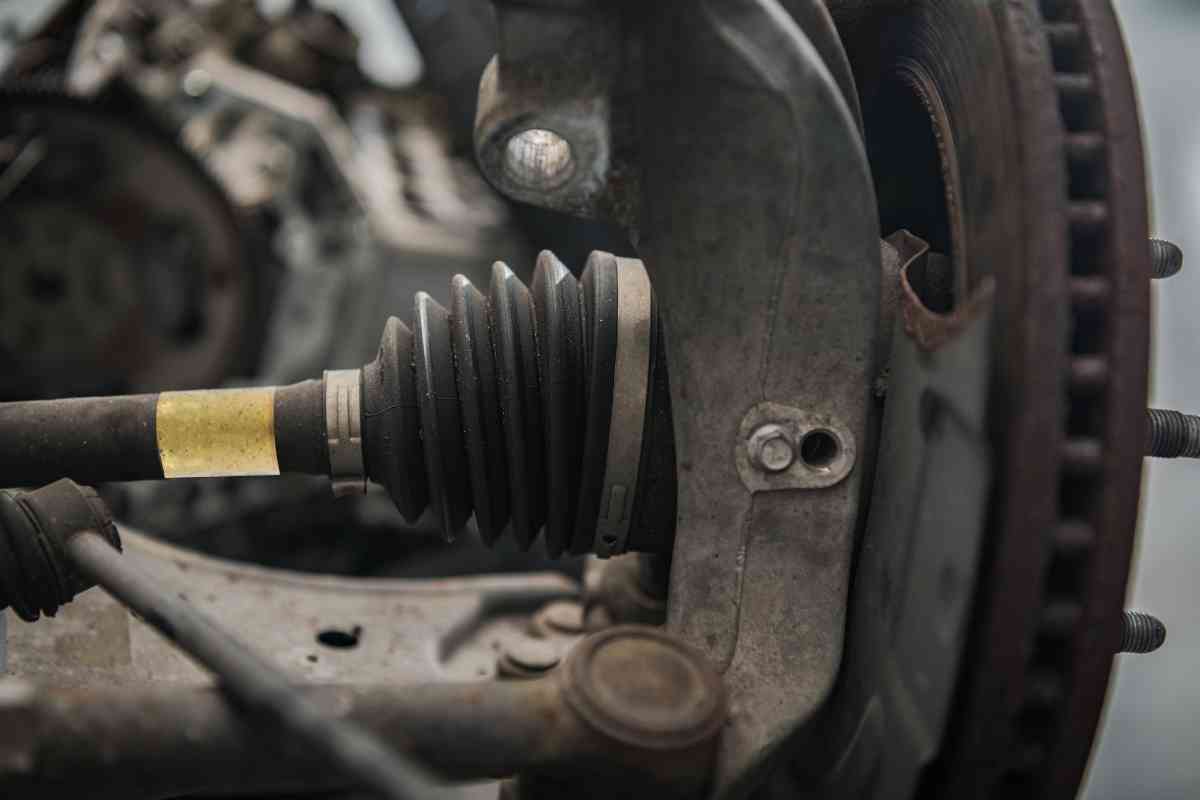
How do you remove ball joints without a press?
To remove ball joints without a press, you’ll need quite a few tools, including a ball joint separator tool, a jack and jack stands, and a thread locker. Once the vehicle is lifted, you’ll need to employ the “pickle fork technique” to remove the old ball joints before adding the new ones.
This quick and easy tutorial will guide you through the process of removing ball joints from your vehicle without the use of a press, saving you time and money. With a few basic tools and some patience, you’ll be able to remove and install new ball joints to get your car’s suspension back in shape.
Keep in mind that, while this method is generally reliable, there are instances where professional assistance may be necessary for more complicated repairs. Always take safety precautions, and consult a professional if you’re unsure about any aspect of the repair process.
What are Ball Joints?
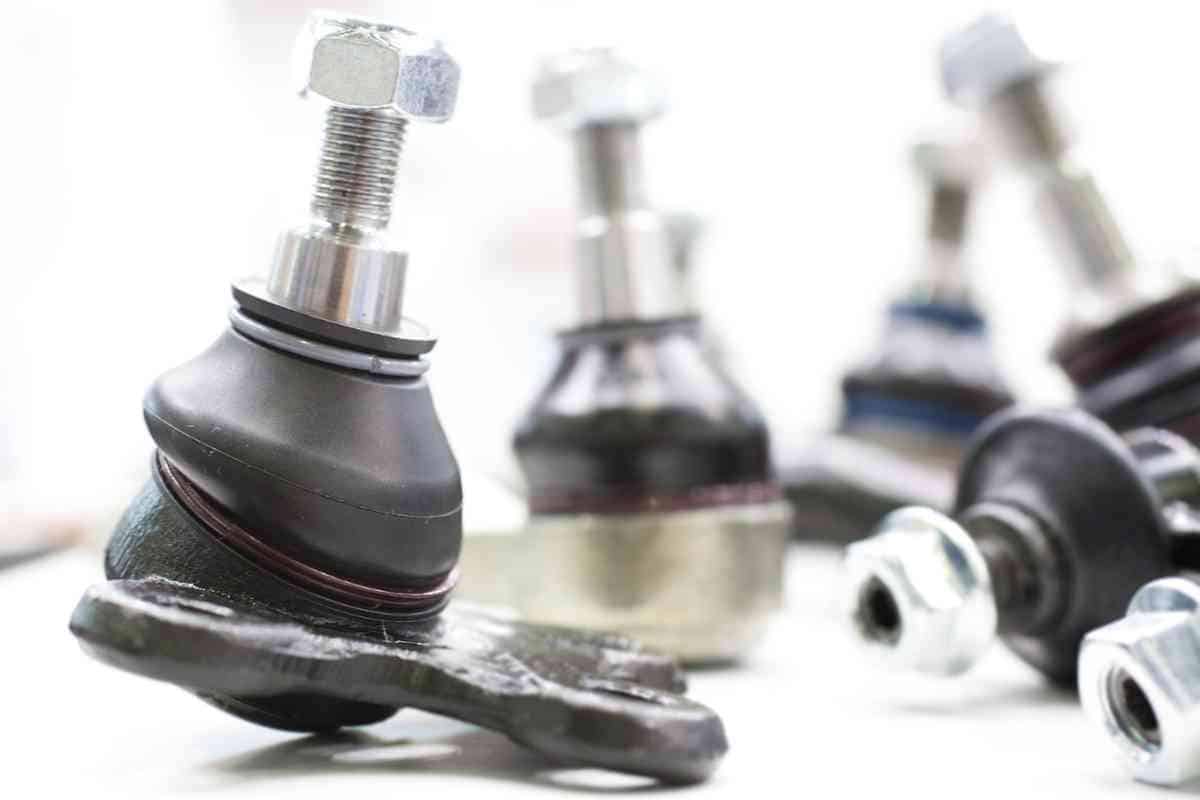
Ball joints are critical components in the steering and suspension systems of vehicles. They serve as pivot points, allowing the wheels to move up and down while simultaneously enabling the steering system to function smoothly.
Constructed with a ball and socket design, these joints have a ball stud that fits into a socket. This allows for multi-directional movement, helping your vehicle handle various driving conditions and absorbing bumps during the ride.
Over time, ball joints can wear out and result in poor handling, erratic steering, or even failure of the suspension system (this is a common problem with Kia Sorentos).
Regular maintenance is essential to ensure their longevity and optimal performance. If your steering wheel shakes while driving straight but not while you turn, you may need to replace your ball joints. When it comes to DIY auto repairs, knowing how to remove ball joints without a press is a valuable skill to have.
Tools and Materials Needed
In order to remove ball joints without a press, you’ll need a few essential tools and materials on hand. The list provided below summarizes the recommended items for this DIY auto repair. Remember, safety should always be a priority, and utilizing high-quality, proper tools will help ensure a successful project.
Tools:
- Ball joint separator tool (pickle fork)
- Sledgehammer or heavy mallet
- Socket
- Ratchet set
- Wrench
- Jack and jack stands
Materials:
- Replacement ball joints
- Grease (for lubrication)
- Threadlocker (optional)
Although the list above covers the main tools and materials required for this auto repair project, it’s important to review your vehicle’s specific requirements and consult your owner’s manual or a trusted expert if necessary.
Keep in mind that the process for removing ball joints may vary slightly depending on your vehicle make and model.
Prepare the Vehicle
Before you begin the process of removing ball joints without a press, it’s crucial to properly prepare the vehicle. This helps ensure safety and efficiency throughout the repair process.
Follow these steps to prepare your vehicle:
- Find a Flat Surface: Park your vehicle on a flat and level area, such as a garage or driveway. This ensures stability while working on the car.
- Engage the Parking Brake: To prevent the vehicle from rolling, always engage the parking brake before starting any repair work.
- Jack Up the Vehicle: Use a floor jack to lift the front or rear of the vehicle (depending on which ball joints you’re removing) and support it with jack stands. Make sure the jack stands are located at the proper jacking points.
- Remove the Wheel: With the vehicle safely supported on jack stands, remove the lug nuts and take off the wheel in the area you’re working on. Set it aside, giving yourself a clear workspace.
Once you’ve completed these steps, you’ll have a safe and stable working environment to proceed with the removal of the ball joints.
Loosen and Remove the Ball Joint
In this step, we will discuss the process of loosening and removing the ball joint from the vehicle without using a press. The use of basic hand tools and a simple modified hammer and pickle fork technique can make this process quick and easy for DIY auto repairs.
Now, follow these steps to loosen and remove the ball joint:
- Apply penetrating oil: Spray a generous amount of penetrating oil on the ball joint to help loosen any rust or stuck components, making it easier to remove. Allow the oil to soak in for at least a few minutes.
- Loosen the castle nut and cotter pin: Locate the castle nut and cotter pin on the ball joint. Using a wrench or ratchet and socket, carefully loosen the castle nut without fully removing it. This will initially keep the ball joint and control arm together while you hammer and use the pickle fork to separate them.
- Hammer and pickle fork technique: Position the pickle fork between the ball joint and the control arm. Gently hammer the pickle fork until the ball joint begins to separate. Be cautious not to damage any surrounding components during this process.
- Remove the castle nut and ball joint: Once the ball joint is separated from the control arm, completely remove the castle nut. Now, you can carefully lift the ball joint out of its mount.
After completing these steps, the ball joint should now be removed from the vehicle. Proceed to the next section in the tutorial to learn how to install the new ball joint.
Installation of the New Ball Joint
With the old ball joint removed, it’s time to install the new one. Before starting, make sure the new ball joint is compatible with your vehicle and is of high quality for a longer-lasting repair.
Follow these steps for a smooth installation:
- Use a clean cloth or brush to remove any debris, rust or dirt from the mounting area where the new ball joint will be installed.
- Apply a thin layer of grease to the contact area of the control arm and the ball joint, ensuring a smooth fit and easier movement.
- Position the new ball joint into the control arm and align it properly. This is crucial for a correct fit and to avoid any issues later on.
- Once aligned, insert the provided retaining clip, making sure it locks securely in place. If required, use snap-ring pliers to install a snap ring.
- Reattach the steering knuckle to the ball joint by sliding it onto the ball joint stud.
- Insert the new castle nut onto the ball joint stud and tighten it to the recommended torque specifications in your vehicle’s service manual.
- Secure the castle nut with a new cotter pin, ensuring it is properly locked in place.
With the new ball joint installed, you can now proceed to reassemble the remaining components in the reverse order of removal.
Don’t forget to double-check all connections, nuts, and bolts to make sure everything is securely fastened.
Reassembly of Vehicle Components
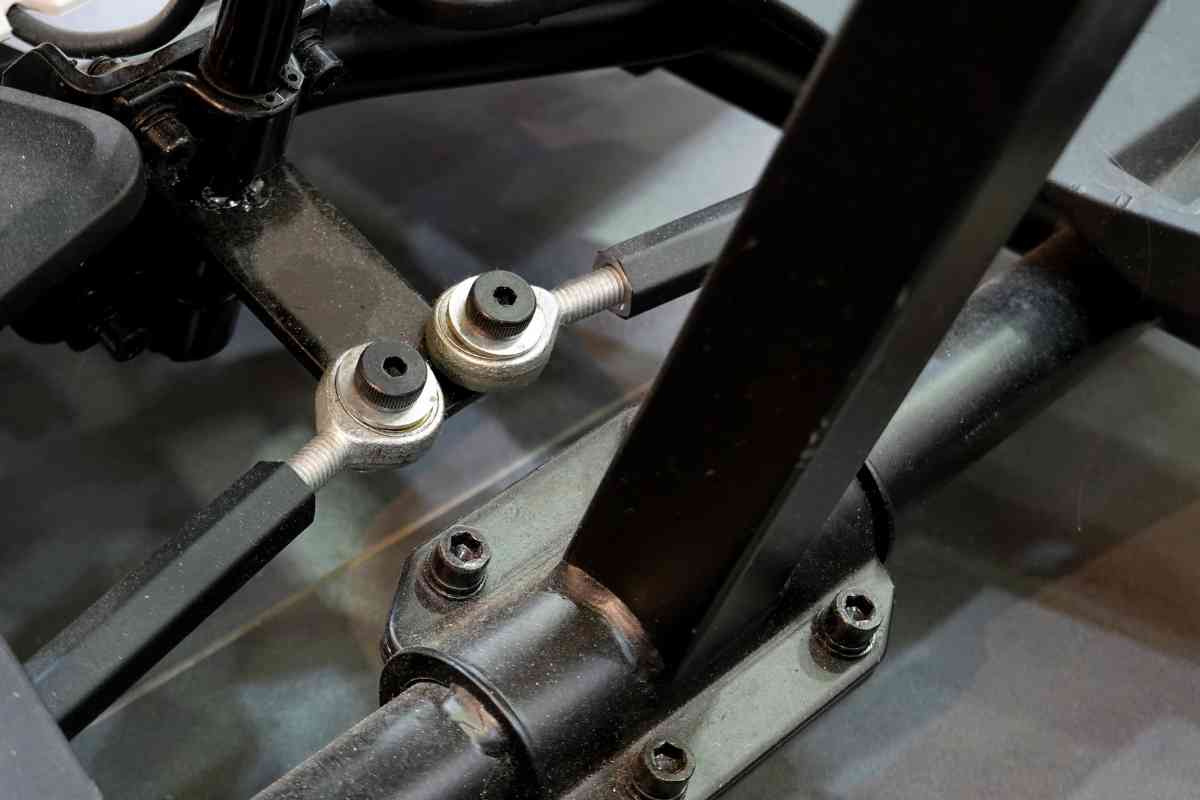
Now that the ball joint has been removed and, if necessary, replaced with a new one, follow the steps below to reassemble your vehicle’s components.
- Reattach steering knuckle: Align the steering knuckle with the new ball joint, and insert the ball joint stud into the knuckle. Secure it using the castle nut.
- Tighten castle nut: Torque the castle nut according to the vehicle manufacturer’s specifications. Insert a cotter pin to lock it in place.
- Reconnect the tie rod end: Install the tie rod end into the steering knuckle, and secure it with the castle nut and cotter pin.
- Install brake rotor and caliper: Reattach the brake rotor, followed by the brake caliper. Be sure to apply the recommended torque settings.
- Mount wheel and tire: Position the wheel and tire assembly back onto the vehicle, and hand-tighten the lug nuts.
- Lower vehicle: Carefully lower your vehicle back onto the ground, ensuring it is stable.
- Torque lug nuts: Confirm that your vehicle is securely on the ground before torquing the lug nuts to the specifications provided by the manufacturer.
With these steps completed, your vehicle’s components are successfully reassembled, and the ball joint removal and replacement process is finished. Be sure to test drive your car to ensure everything is functioning correctly.
Final Inspection and Test Drive
Once you have successfully removed and replaced the ball joints, it’s essential to perform a final inspection and test drive. This will ensure that your DIY auto repairs have been effective and your vehicle is safe to drive. Here’s what you should do:
1. Double-check your work: Take some time to carefully inspect the area where you removed and installed the new ball joints. Look for any loose bolts or parts that could pose a safety risk. Make any necessary adjustments or corrections before moving on to the test drive.
2. Re-assemble the suspension and wheel: Once you are satisfied with your inspection, re-assemble the suspension components and place the wheel back on your vehicle. Don’t forget to torque the lug nuts to the proper specifications.
3. Perform a test drive: With everything re-assembled, it’s time for a test drive. Start by driving slowly around your neighborhood or on a quiet street. Listen for any unusual noises or sensations while steering, braking, or going over bumps. This could indicate an issue with the new ball joints or other parts.
4. Check for proper alignment: After your test drive, make sure your vehicle’s alignment is correct. Incorrect alignment can cause uneven tire wear and a decrease in fuel efficiency. If you notice any issues with the steering or uneven tire wear, it’s worth having a professional address the issue.
By following these steps, you can have confidence in your DIY auto repair efforts and enjoy a safe and smooth drive.
Conclusion
In this quick and easy tutorial, we have demonstrated the steps to remove ball joints without using a press. By following these instructions, DIY auto repairs can be both efficient and cost-effective for the average car owner.
Remember to adhere to safety precautions and always use the appropriate tools for each step in the process. With patience and practice, removing ball joints without a press will become a routine task for those who prefer to handle their own auto repairs.
What a crock, it’s pretty damn easy indeed when you skip the installation completely