How To Restore Vintage Jeep Speaker Grill Covers
If you are into restoring old cars or in my case a Jeep Grand Wagoneer, you are going to have to eventually figure out how to refresh and restore old vintage speaker covers.
The speaker grilles or speaker covers on vintage cars get so tired and worn out from years of being kicked, dinged and abused from opening and closing doors or years sitting there baking in the sun!
Don’t worry, in this post I will share with you the exact process and even the paint I used to restore the speaker covers on my 1987 Jeep Grand Wagoneer.
Alright, so here is the process I used.
Ste-by-Step Classic Car Speaker Restoration Process On A Classic Jeep Grand Wagoneer
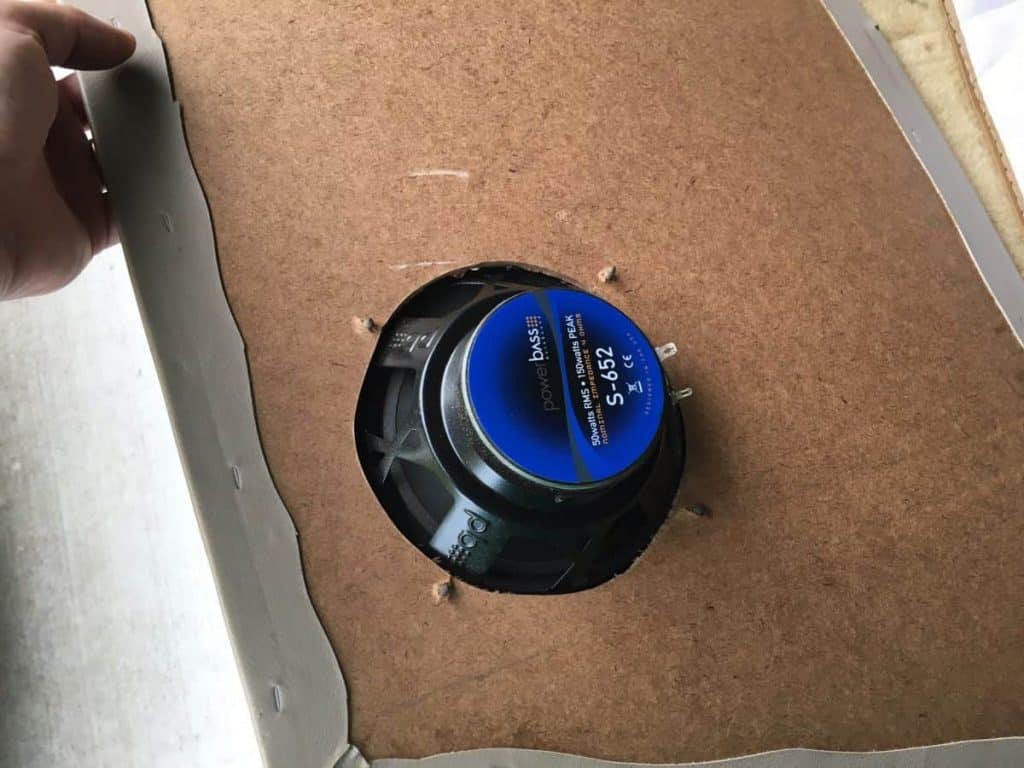
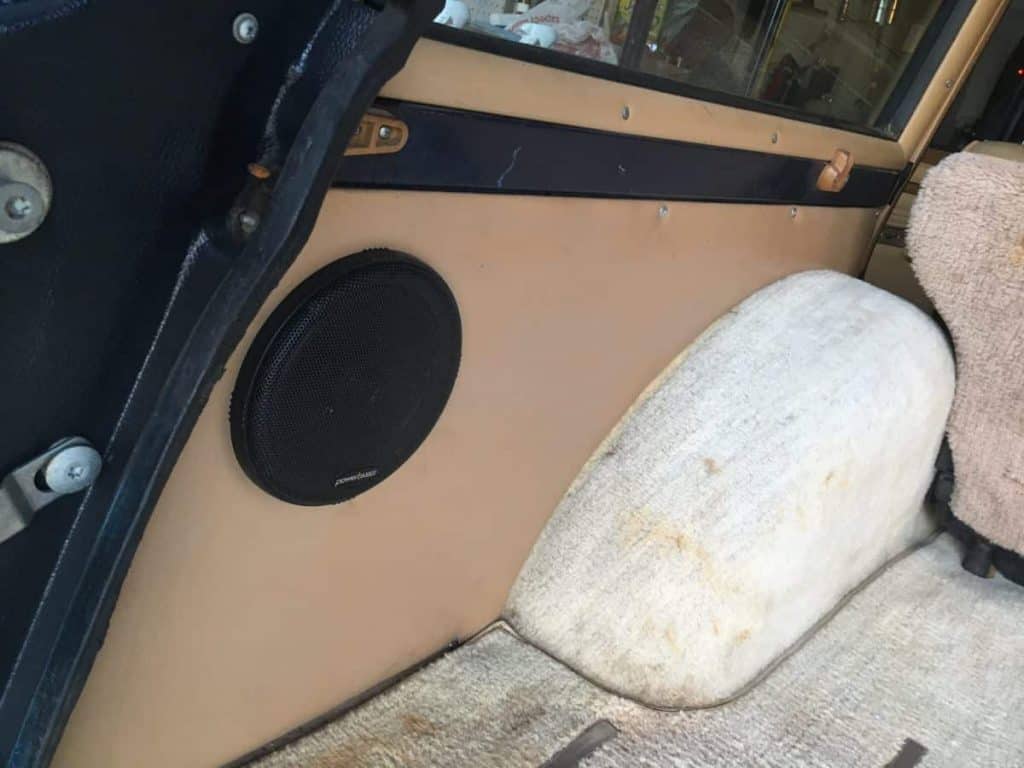
When I got my Jeep it didn’t have the rear speaker covers or carpeted cargo area sides. They were simply vinyl wrapped pressboard. It looked fine, but it wasn’t the factory look I wanted.
Take a look…
(look at that old carpet 😯 — glad that’s gone!)
As a result of trying to make the Jeep mostly stock with a few practical upgrades, I wanted to have carpet on the sides of the cargo area with the factory speaker covers.
Thanks to the guys at Watson and Son, I was able to pick up two used speaker covers. I also wanted to spruce them up a little so that was one of my projects today.
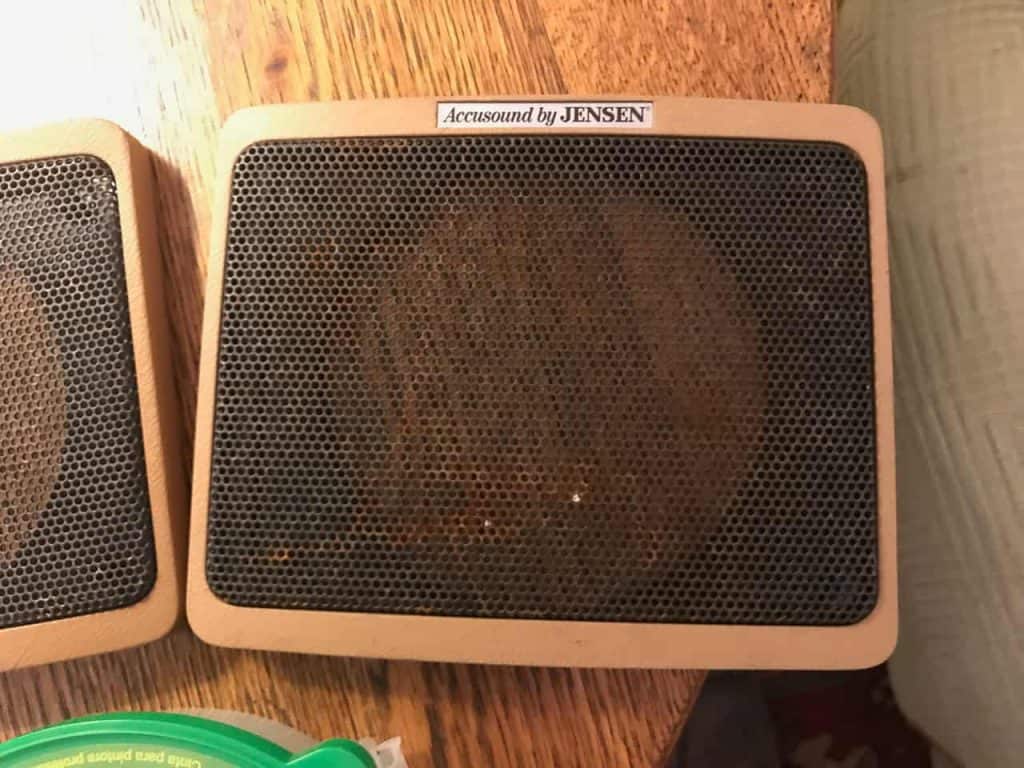
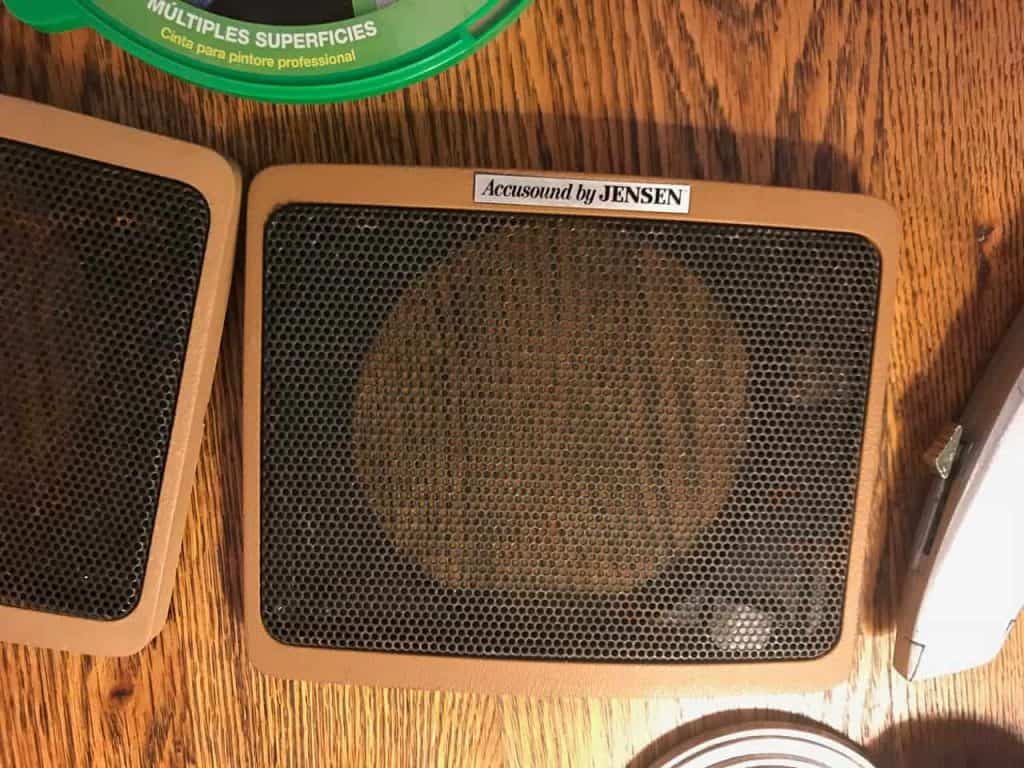
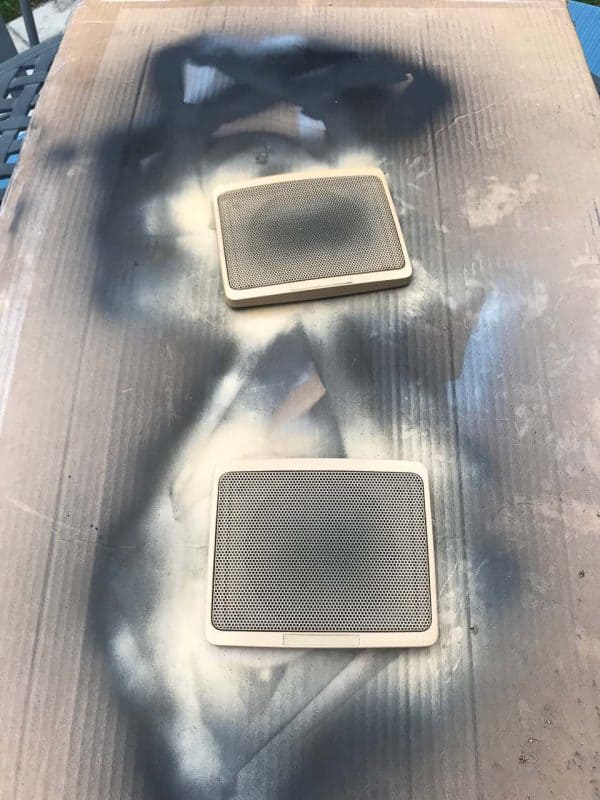
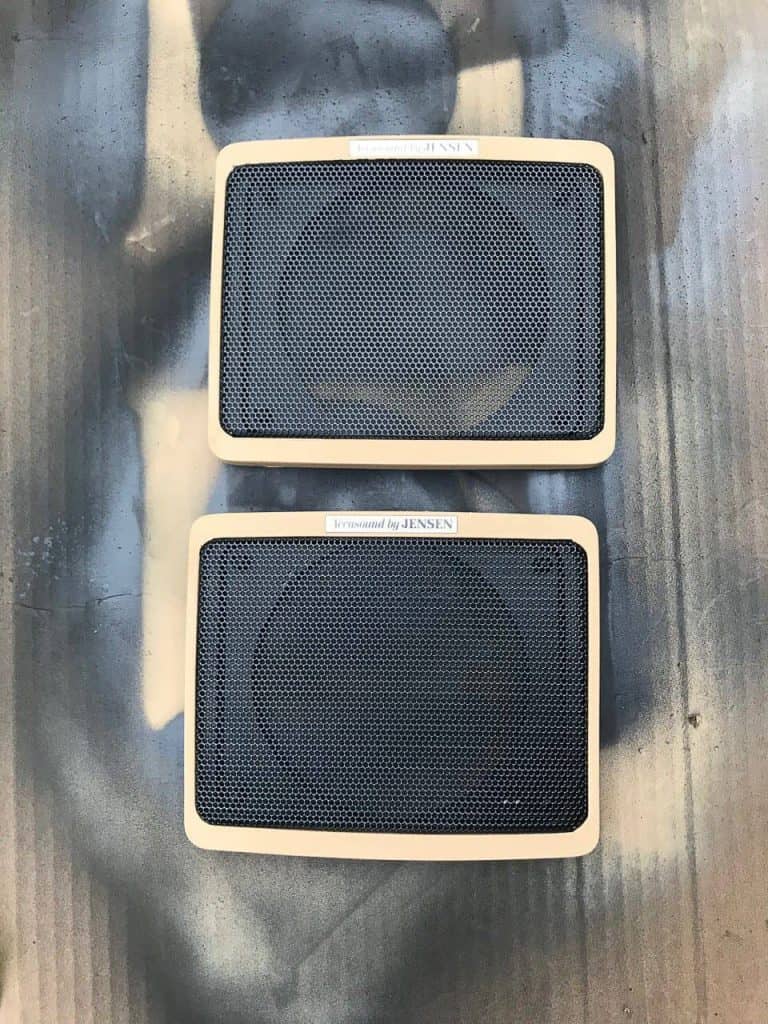
Here are the before photos:
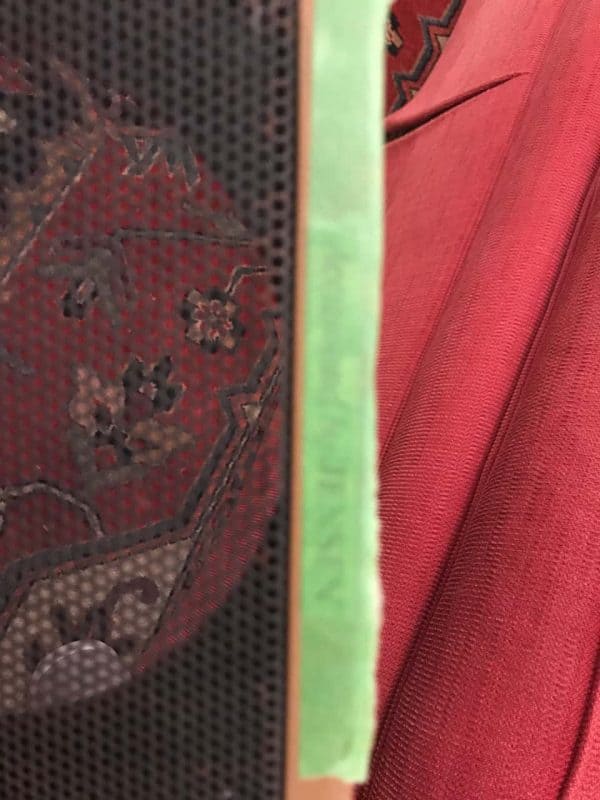
You can see in this second photo how the tan colors are close, but not identical. Few people would have noticed if I put them in like this, but I would know. It’s often the little things that make a big difference.
Phase 1 – Cleaning
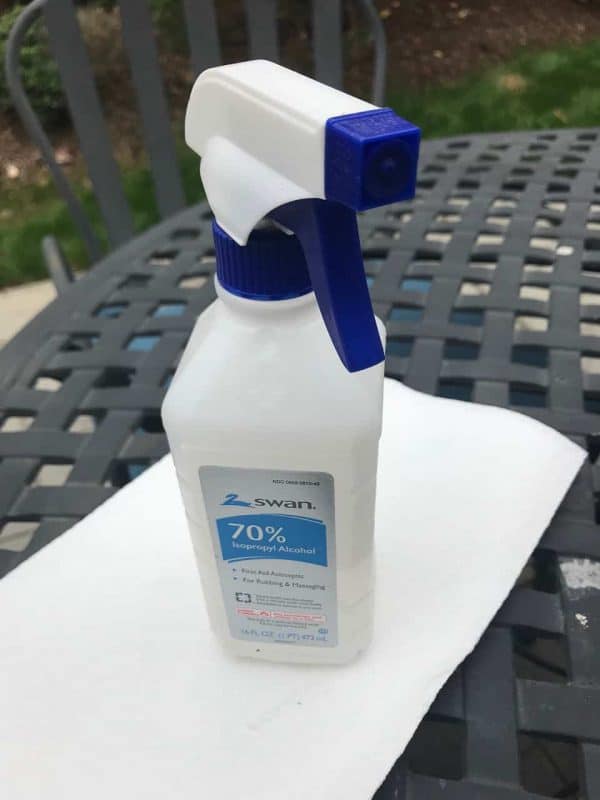
You need to deep clean the items you want to paint. I scrubbed with a towel and water to remove the bulk of the grime and dirt. Then, I sprayed everything with rubbing alcohol, rubbed it down, and left it out in the sun to dry. Rubbing alcohol drys quickly so don’t leave it all that long.
You can see that I put a spray bottle sprayer on top of the alcohol bottle. This made it a lot easier to make sure I covered everything with alcohol. Then wipe it down with a paper towel or microfiber towel. Be sure not to touch the surface you want to paint with your hands. The oil from your skin can make it harder for the paint to stick.
Phase 2 – Tape for Paint
Taping for paint is where I had to really think about the steps I needed to use to get the exterior tan, and the speaker grille black.
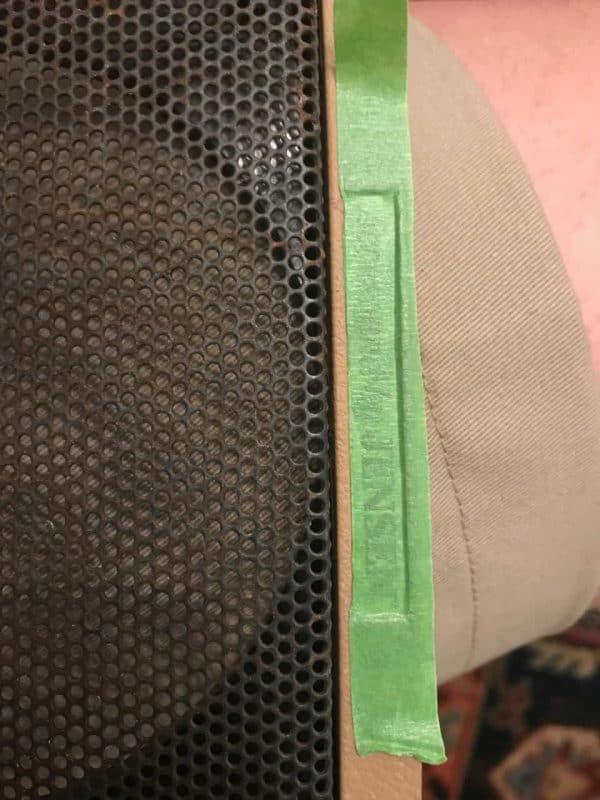
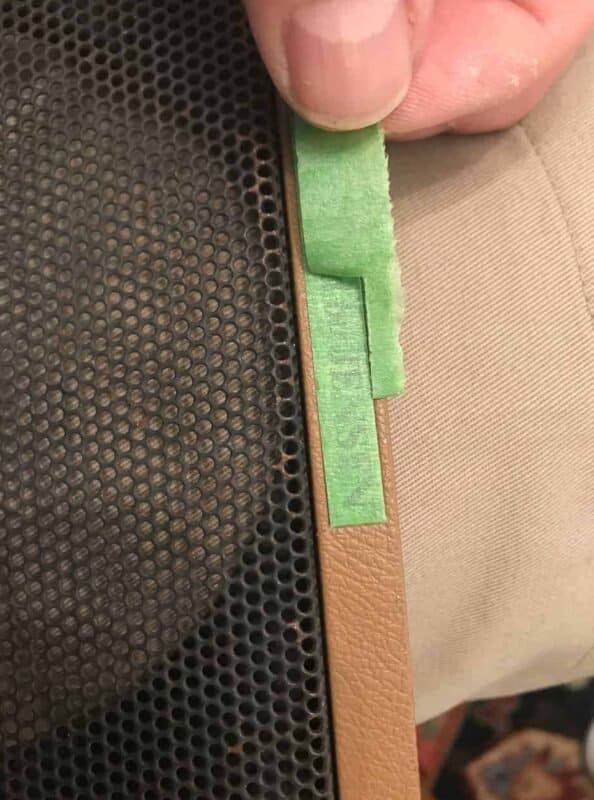
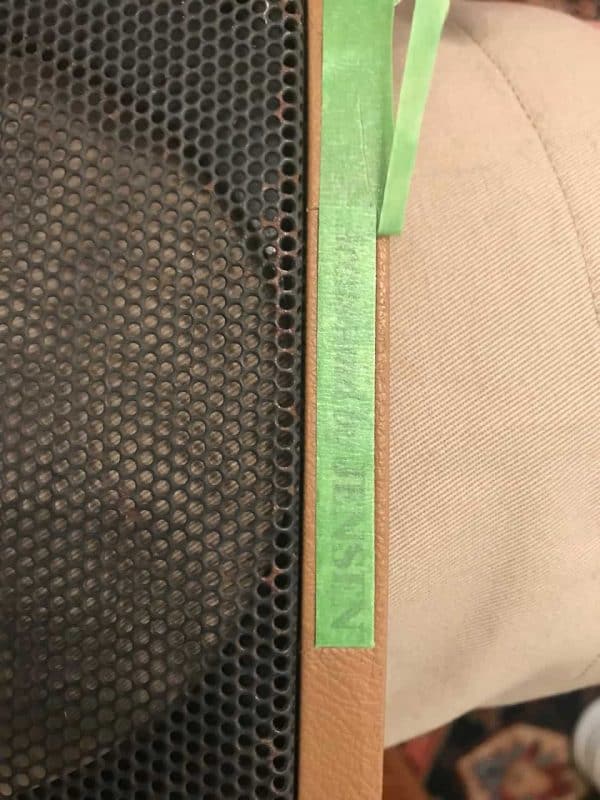
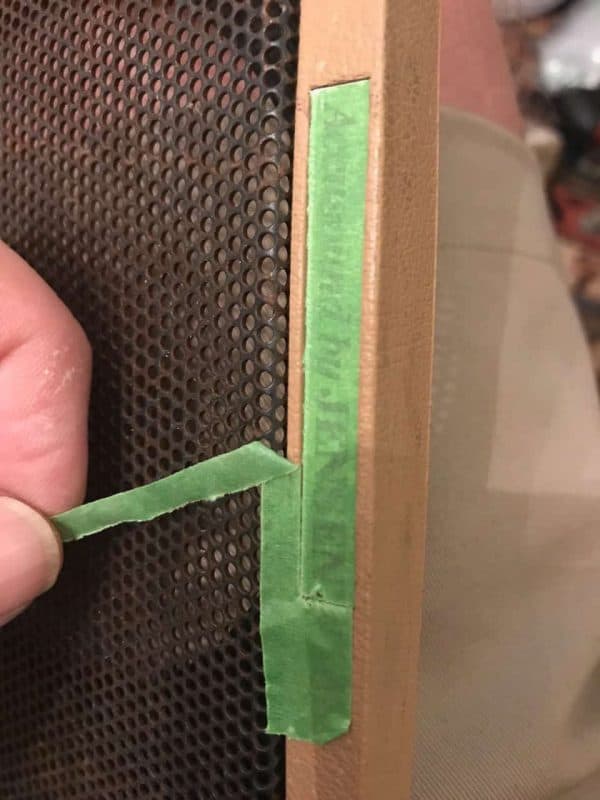
First I taped off the Jensen nameplate. Notice how one plate is sunken and the other raised. I used frog tape painters tape to mask off the speaker.


Once the tape was down, I ran my fingernail over it several times to get a good stick.
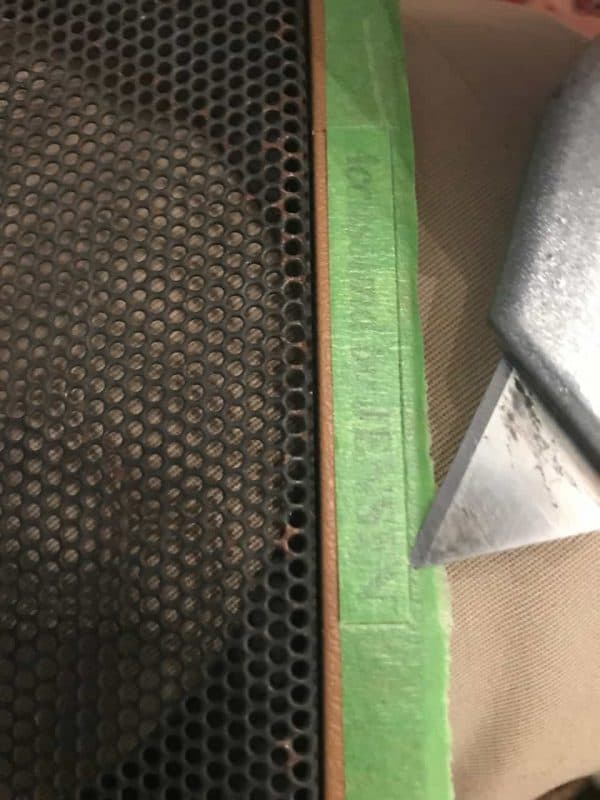
Then I used a box cutter to trace the Jensen nameplate and cut the tape. If you have an exact-o knife it will work too.
Phase 3 – Painting the Tan Color
Once the nameplates are taped, it’s time to paint the tan trim color. No need to tape off the mesh grille. We will be painting it black later so don’t worry about it right now.
Paint several light coats. You can do as many coats as you like but just go light. A little at a time will give you the best finish.
Let the paint sit and bake in the sun. If the weather is cool where you are, you can use a hair dryer or something similar to help the paint cure. You want the paint to stick well before moving on to the next phase of the process.
Phase 4 – More Tape for Paint
Get out your painters tape again, and now we are going to tape off the tan surround that we just painted in phase 3. [This is why you need to make sure the paint is fully cured before starting phase 4. If the paint isn’t cured, the painter’s tape could strip the paint you just finished.]
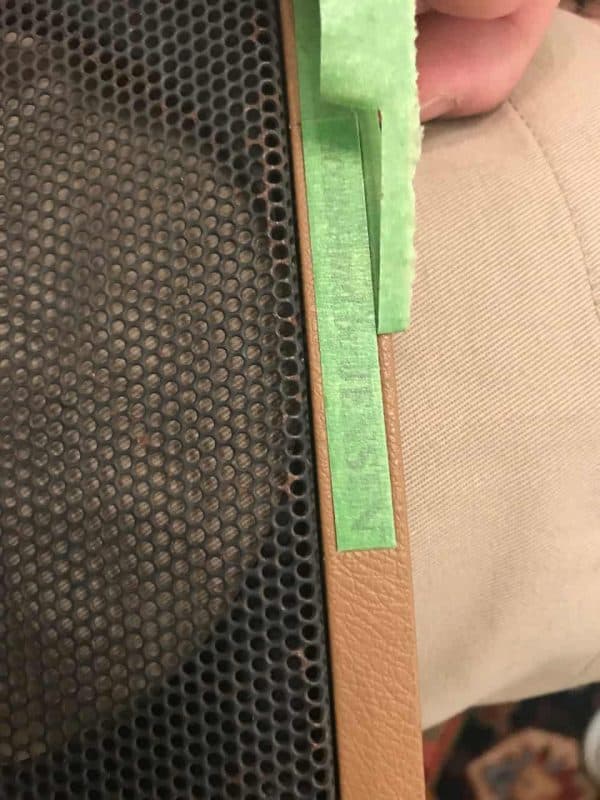
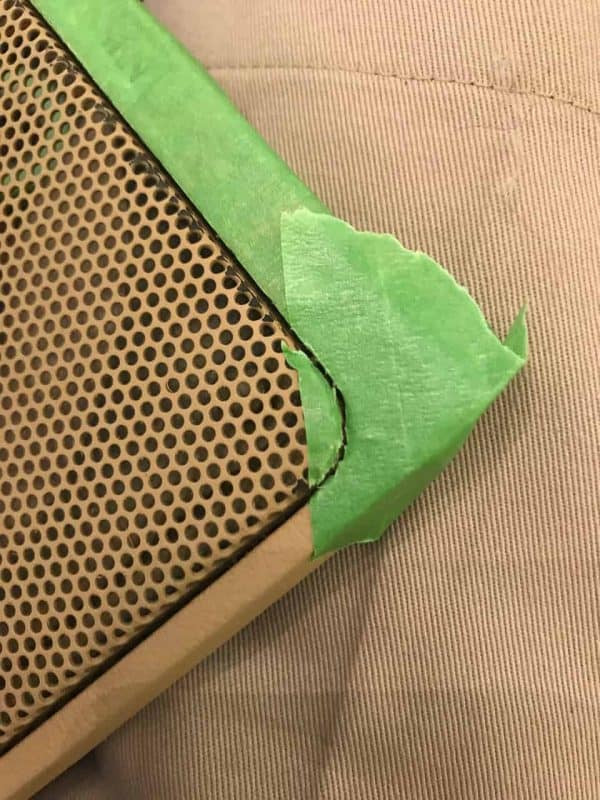
Tear long strips of tape to install along the edges. Be careful to fully cover the tan. Then use your fingernail to press the tape down into the groove between the side of the grille mesh and tan trim.
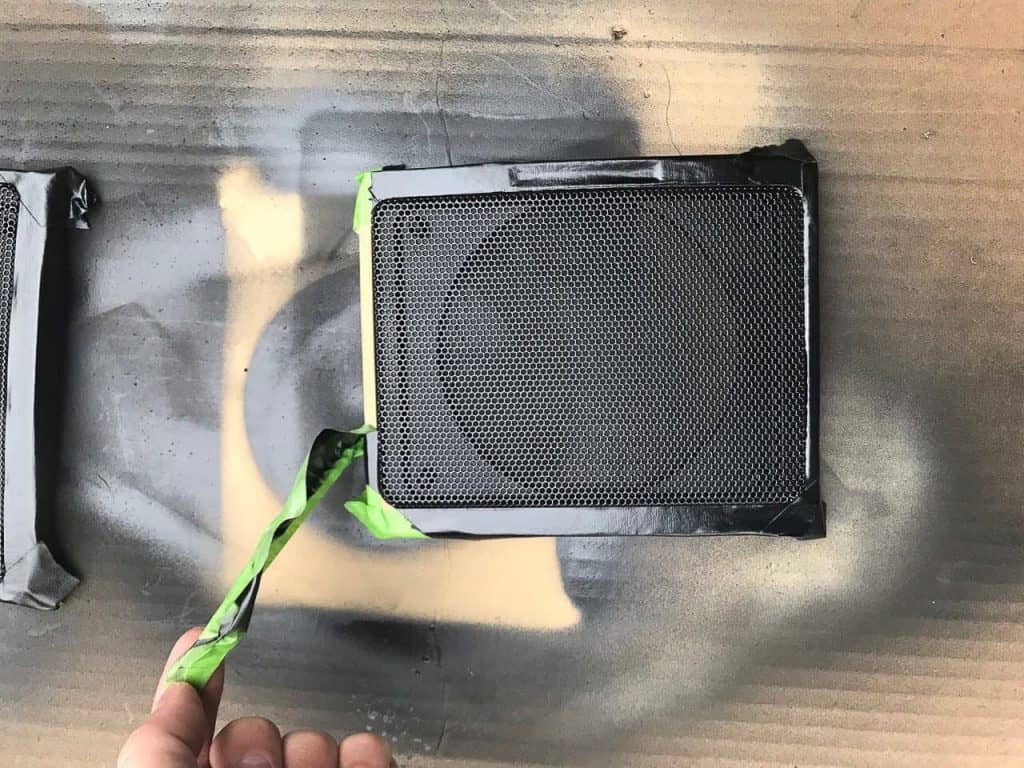
Then tear a small piece of tape and lay it across the corner (see above). Press it down into the groove with your fingernail and then use your razor blade to cut the tape off of the grille mesh as shown above.
Do this to all four sides and corners.
Phase 5 – Painting the Grille Black
It’s finally time to bring back the color of the speaker grille. For this task, I selected Rust-oleum paint.
This paint is made for trim and bumpers. I used it once on an old Jeep Wrangler to refresh the bumpers and it’s a perfect color for the Grand Wagoneer’s speaker grilles.
One warning…
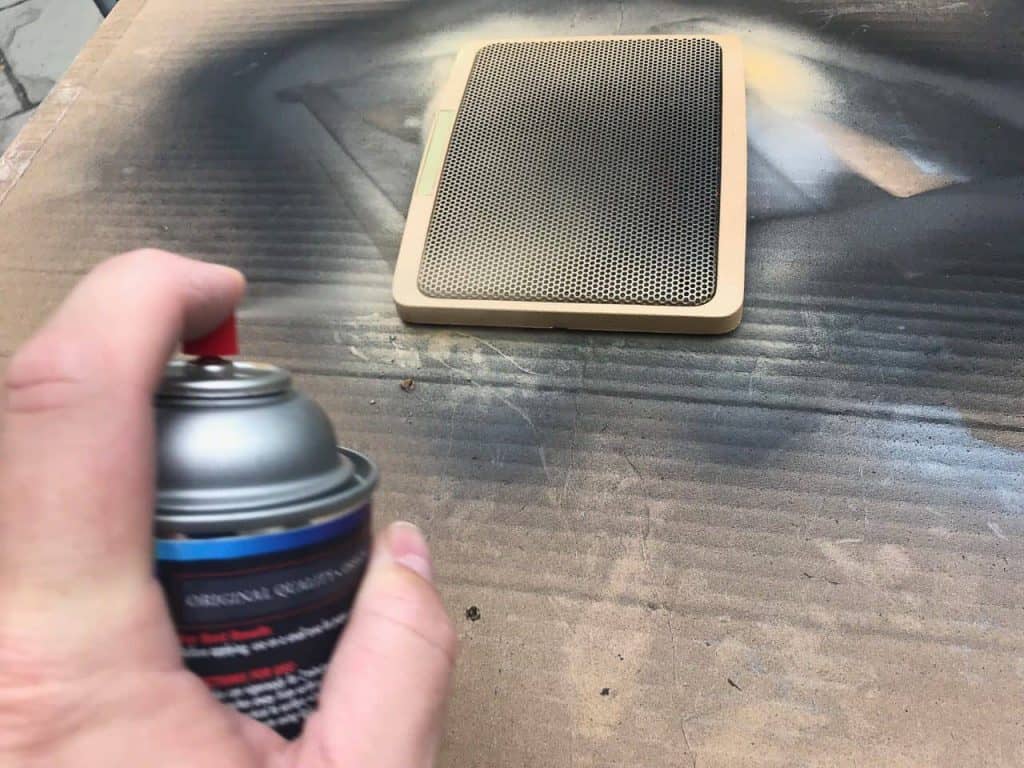
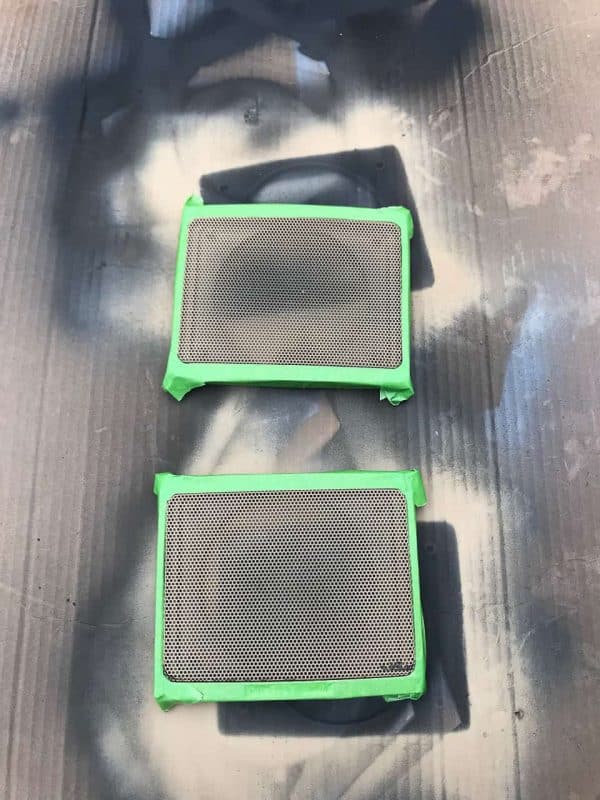
A lot of paint comes out of the can. You have to really work to keep it light. I started praying on the cardboard and then passed over the speaker to keep from pooling too much paint on the grill.
I suggest working from a 45-degree angle on all four sides. This way paint can get into the small holes of the grille. If one of the holes fills with paint, simply use a thumb tack or something else small and sharp to open it back up.
Be sure to give it time to dry between coats and also before removing the tape.
I let the final coat sit for twenty to thirty minutes before removing the tape.
Phase 6 – Remove the Tape
This part is pretty self-explanatory. You simply remove the tape. I prefer to pull at an angle away from the grille to try and keep a sharp edge. However, since there is a groove between the grille and sides, it really isn’t that important.
Final Phase — The Big Reveal
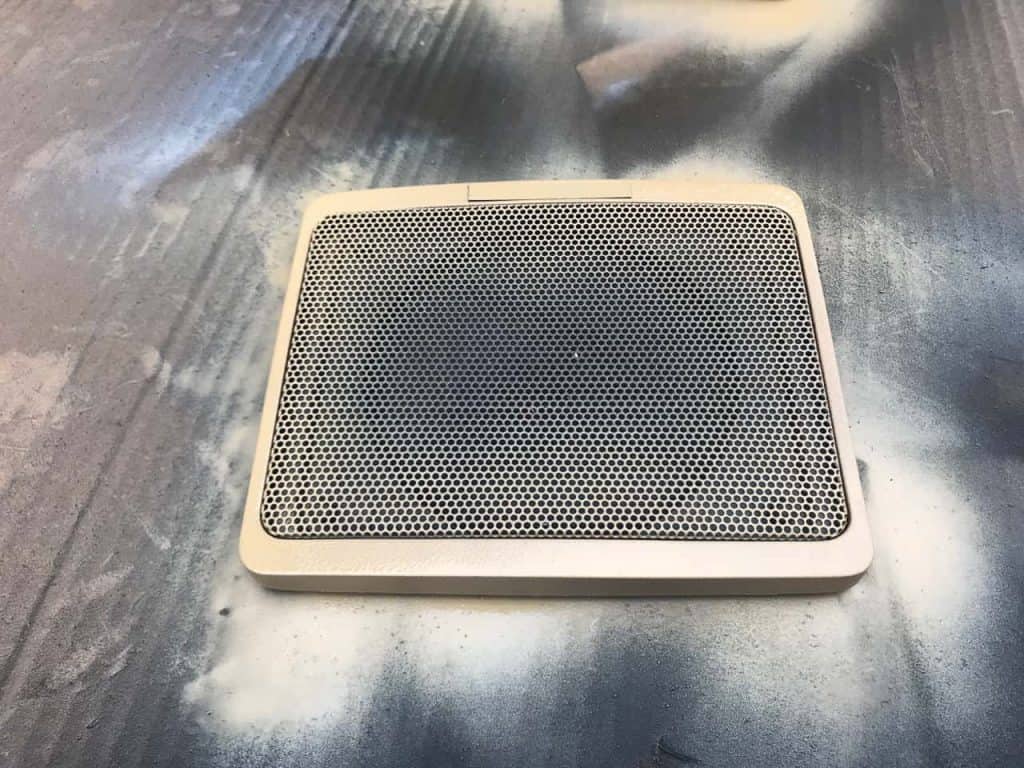
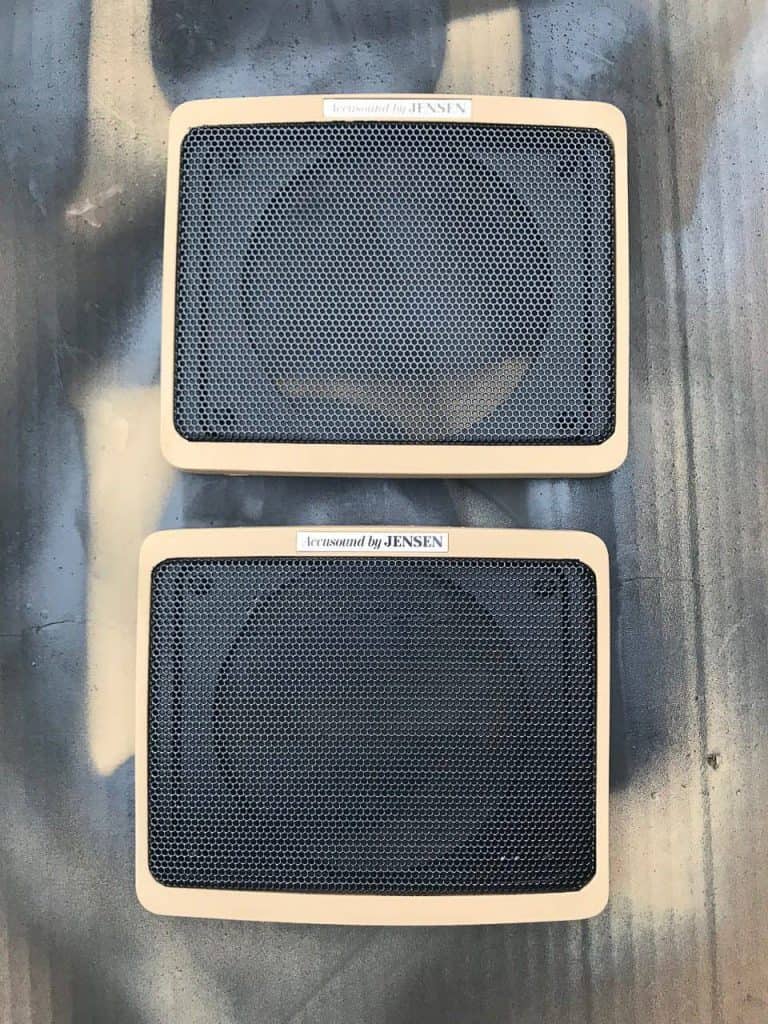
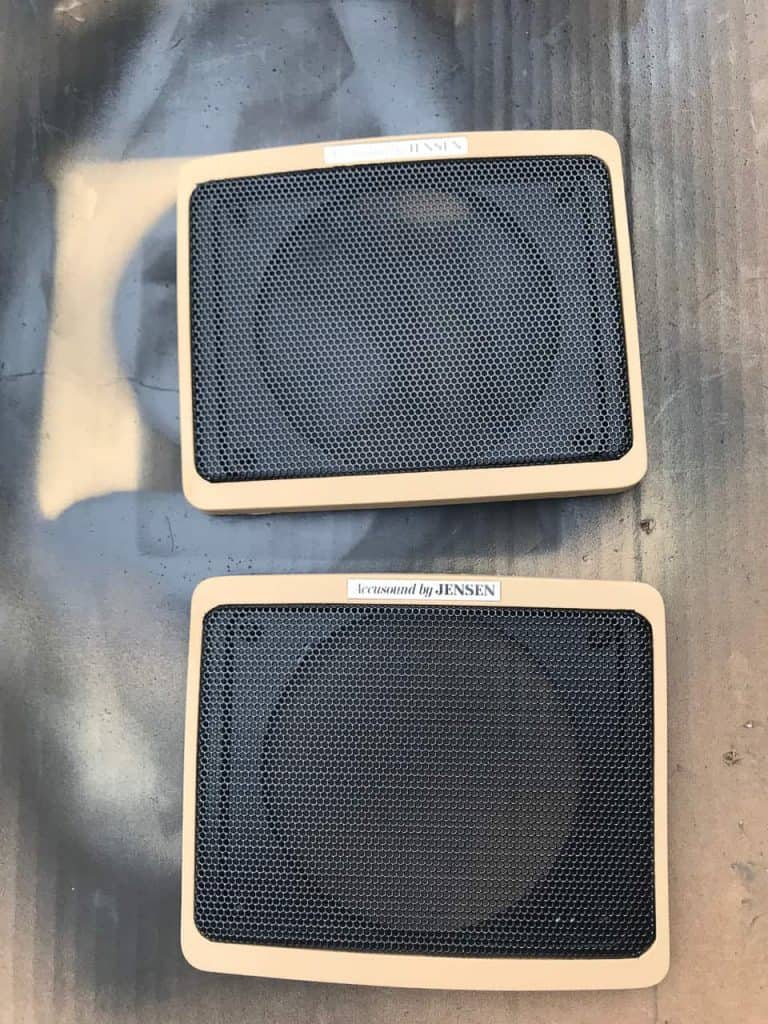
Okay, if you are still reading you have to be curious how it turned out.
So here it is…
Now all I need to do is get the carpet wrapped on the new ABS cargo cards and then I can install the speaker covers on the 1987 Jeep Grand Wagoneer.
Closing Thoughts
Classic cars require a tremendous amount of love and care to keep them running and looking in tip-top shape.
We are all passionate about our classic vehicles and focusing on the little details like speaker grills can go a long way to making our vehicles stand out from the crowd.
I hope this step-by-step guide to painting your speaker grills will help inspire you to work on your classic vehicle and make it look brand new!

Hi.. I’m the happy owner of a 1987 Grand Wagoneer..
I’m looking for replacements on the power window regulators for both front windows..
I already have the refurbished motors, but can’t seem to find the right regulator anywhere..
Any help is greatly appreciated..
Thanks
The part the flex track runs on, right? I just pulled one for the passenger back door. I think they are the same only driver/passenger side. Let me check.
Are you signed up for the mailing list? If so, send me an email so I don’t forget. I am traveling for work.