Will 35 Inch Tires Fit On A Stock Jeep Wrangler Rubicon?
You just purchased a new Jeep and you want to put on some bigger tires.
The only question is will 35-inch tires fit on a stock Jeep Wrangler Rubicon? What’s the largest tire you can fit?
Many people ultimately decide that they want to have a body lift kit installed before they put on some new 35s, however, is it absolutely necessary? Or can you simply put on 35-inch tires without altering the vehicle in any way?
Will 35 Inch Tires Fit On A Stock Jeep Wrangler Rubicon?
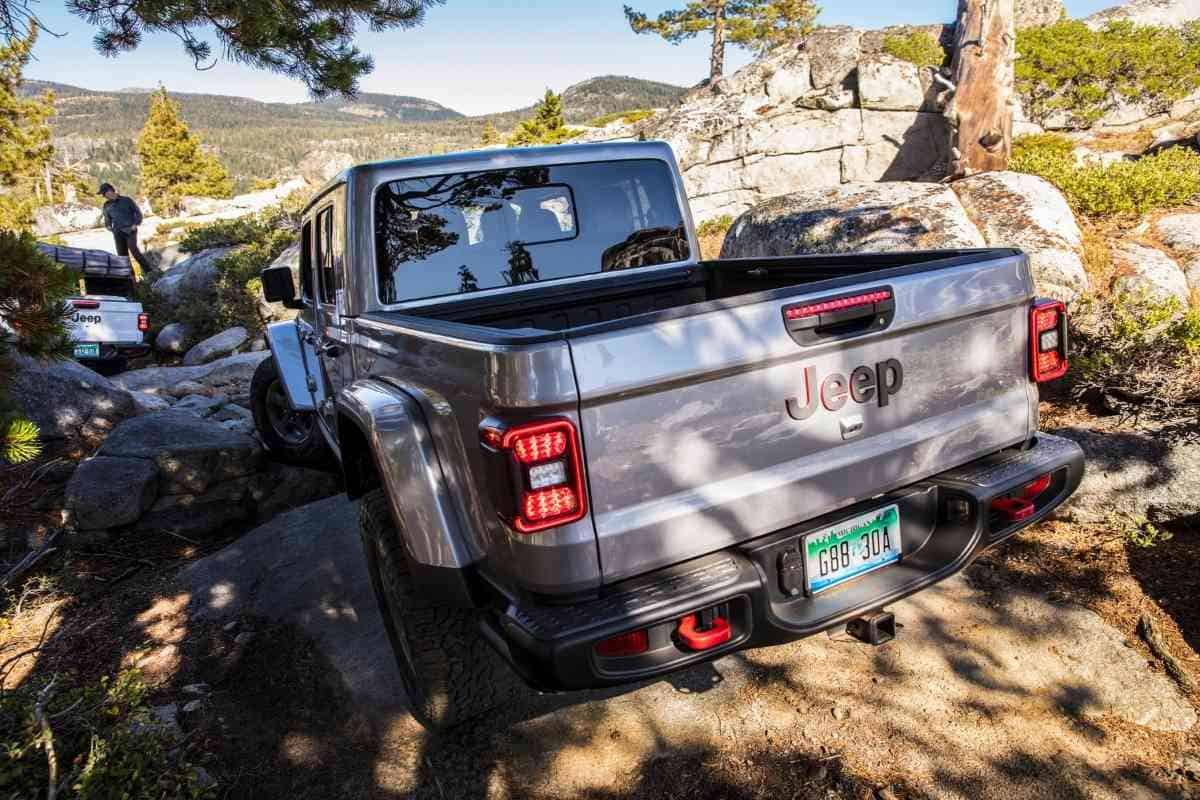
According to Jeep, the newer models of the Jeep Wrangler Rubicon come with high-line fenders to accommodate larger tires including 35-inch tires. Jeep does, however, state that if you plan on using your Jeep off-road, a minimum of a 2-inch lift is strongly recommended whereas a 2.5 or 3-inch lift is ideal.
Although you can put 35-inch tires on your stock Jeep Wrangler Rubicon, do you really want to without installing a body lift kit? If you do not install a body lift kit, then you will need to make sure that you stick to paved roads and highways at all times.
If you are not planning on going off-road at all, then you can install 35-inch tires without a lift kit, however, you are still going to need to do some additional work in preparation for the new tires.
This is why we are going to review the steps you need to take to put 35-inch tires on a stock Jeep Rubicon.
If you want to drive your Jeep off-road and in rougher trail-like conditions, you will need to install a lift kit and increase your tire size.
To create a step-by-step guide explaining how to put on 35-inch tires without a lift kit on a Jeep Wrangler Rubicon, we searched for actual Jeep Wrangler owners who have successfully completed the process.
Again, there are several things that must be done in preparation for placing 35-inch tires on a Jeep Wrangler Rubicon, and these Jeep owners not only have done it, but they also wrote their own complete guides to help other Jeep owners through the process.
Let us take a closer look at how these Jeep owners managed to complete this kind of project on their own.
How to install 35-inch tires on a stock Jeep Wrangler Rubicon

Before you begin, the first step of the process is to select the type of 35-inch tires that you would like to install.
There are a variety of brands and tire manufacturers who make all-terrain 35-inch tires for the Jeep Wrangler Rubicon.
You can choose your tires simply based on price or you can look into other features like increased traction in snowy/wet conditions, tire weight, tread design, road noise reduction, or the types of warranties that are available.
Once you have the tires that you would like to install on your Jeep, there are some things you need to do before you can place the tires.
Here is a step-by-step guide explaining how to install 35-inch tires without a lift kit on a Jeep Wrangler Rubicon.
1. Remove splash guards
The first thing you need to do before you can install your new 35-inch tires is remove the splash guards to create more room in the wheel-well.
In order to remove the splash guards, at a minimum you are going to need to remove the air dam, however, some people prefer to remove the entire front bumper as well to make the process easier.
It is not necessary to remove the front bumper but it is necessary to remove the air dam.
To remove the air dam and the splash guards you are going to need a socket wrench, an 8mm and 7mm socket, a panel tool or flathead screwdriver, and a torque driver.
To remove the splash guards, you first need to remove the air dam.
To remove the air dam take the panel tool or the flat head screwdriver and remove the eight clips from the bottom of the bumper that is holding the air dam in place.
Once the eight clips are removed, take the 8mm socket with the wrench and remove two bolts holding the air dam in place.
Once the bolts are removed, the air dam should pop right off.
After the air dam is removed, go behind the splash guard and with the 7mm socket wrench, remove the bolt on the back of the splash guard.
Next, use the torque driver to remove the six torque screws holding the splash guard in place.
Once the six torque screws are removed, the splash guard should easily drop out of the wheel well.
Lastly, you can either put the air dam back on or leave it off as well.
Now you have created more room between the wheel and the fender to make space for your new 35-inch tires.
2. Place rear spare wheel spacer/extender
Now that you have larger tires, you also have a larger spare tire.
The stock spare tire carrier on the back of your vehicle is not designed to hold a 35-inch tire.
Because of this, you will need to install a new spare wheel spacer/extender.
The installation of this extension will allow you to place a 35-inch spare tire on the back of your Jeep.
After you purchase the new rear spare wheel extender, you will need to remove the old spare tire if you have not already done so.
You can remove and place spare tires onto the spare tire carrier using a ¾” socket wrench.
Once the old tire is removed, go ahead and install the provided wheel studs on the new spare wheel spacer.
Next, simply place the spacer onto the stock spare wheel carrier and fasten the spacer with the provided ½” bolts and nuts.
Now you can install the new 35-inch spare tire onto the rear spare wheel carrier with the added extender.
Use a ¾” socket wrench to fasten the new spare tire to the carrier.
Be sure to retorque all of the blots after 500-miles and to make regular routine inspections of the rear wheel spare tire carrier to ensure it is secure.
3. Place wider aftermarket wheel flares
Another step that you will want to take to create enough room for your new 35-inch tires is to remove the stock fenders and replace them with wider aftermarket fenders.
If you do not remove the old fenders, you risk having them ripped off when you first start driving your Jeep with the new 35-inch tires, especially if you go off-road.
With a panel tool or a flat head screwdriver, you are going to remove seven clips from the inner-liner of the stock fender.
Next, remove all of the rivets that line the outer edge of the fender and that fasten the fender to the vehicle.
Once all the clips and rivets have been removed, you can gently but firmly pull on the fender and remove it from the vehicle.
Once the fender is removed, go ahead and remove any additional clips you may see in the body of your vehicle, and then give the newly exposed area a good wash with warm water and vehicle soap.
Next, take the new clips that are provided with the newer wider wheel flares and see if they fit into the clip holes
You may have to gauge out the clip holes on the body of the vehicle with a drill bit to ensure the new clips fit.
Do not gauge the holes too big, but just big enough that the new clips fit snuggly into the clip holes.
Thread in an M8 bolt with two washers and nut into each of the clip holes.
Place the new wheel flares flush against the vehicle and simply secure the fender with the provided clips and rivets.
4. Leave the front sway bar connected
The last important thing to remember when placing new 35-inch tires onto a stock Jeep Wrangle Rubicon is that you are going to want to make sure the front sway bar is connected.
If you have a rear sway bar, you should keep that bar connected as well.
A sway bar is designed to help regulate your vehicle’s suspension movements and to reduce the risk of rolling when you make fast turns or take sharp corners.
The sway bar is not only for off-roading, it helps to keep the Jeep from swaying too much in either direction when taking sharp turns even when driving on regular roads and highways.
The sway bar, also known as a stabilizer bar, connects the left and right wheels of the Jeep together to give increased control when going over bumps, uneven terrain, or when taking corners and sharp turns.

Most 35 tires say a minimum of 8 inch rims. The OEM rims are 7.5. Do you need to change rims to at 35 inch tires?